


Beachy, Weathered End Table

- I have 3 of these sorry looking end tables and a sofa table to match. I knew I needed to do SOMETHING with them, but I had no idea what...then my friend posted a pic of a project that she did with this magical stuff that is chalk paint. I had never heard of it (yes, I live under a rock
 ). I was terribly intrigued and took to pinterest to see what I could learn. OMG, you guys!!!! Chalk paint!!! I'm in love! I'm also cheap...I couldn't possibly spend $40 for a quart of paint
  I was pretty sure that there would be many Mama's out there just like me that had conquered this dilemma...and I was right! So, for a $2 quart of mistint paint, and a $4 box of Plaster of Paris, I was in business! Of course, the piece that I chose as my inspiration on pinterest HAD to be one that took 5 different colors and a rubbing technique that could have gone very wrong very fast...that's just how I roll
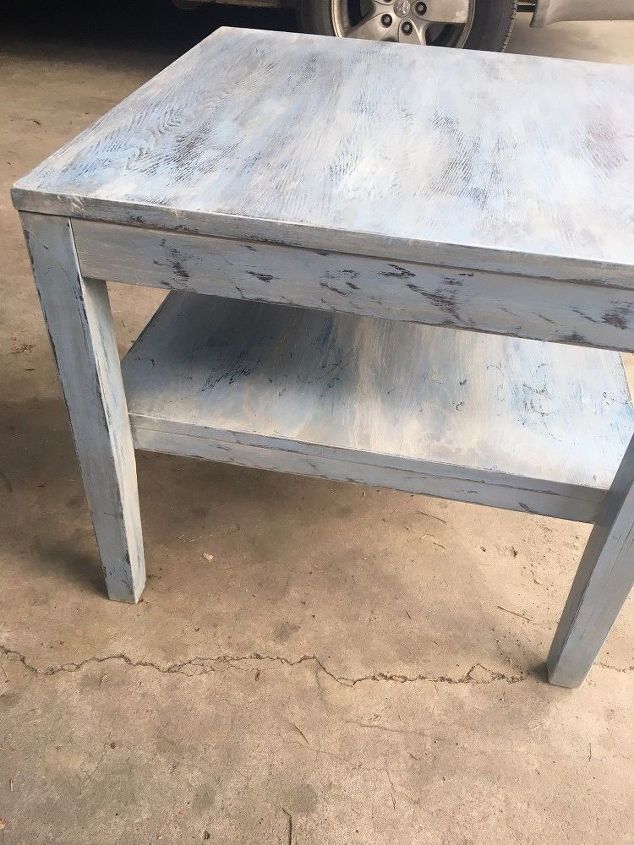
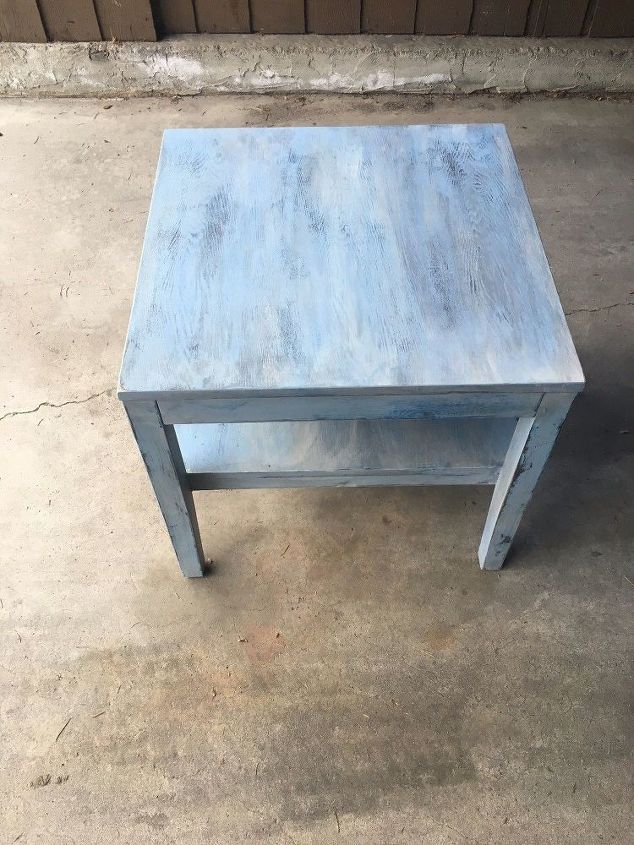
  And this is the result...tada!!!! It's my first time, so be gentle with me...
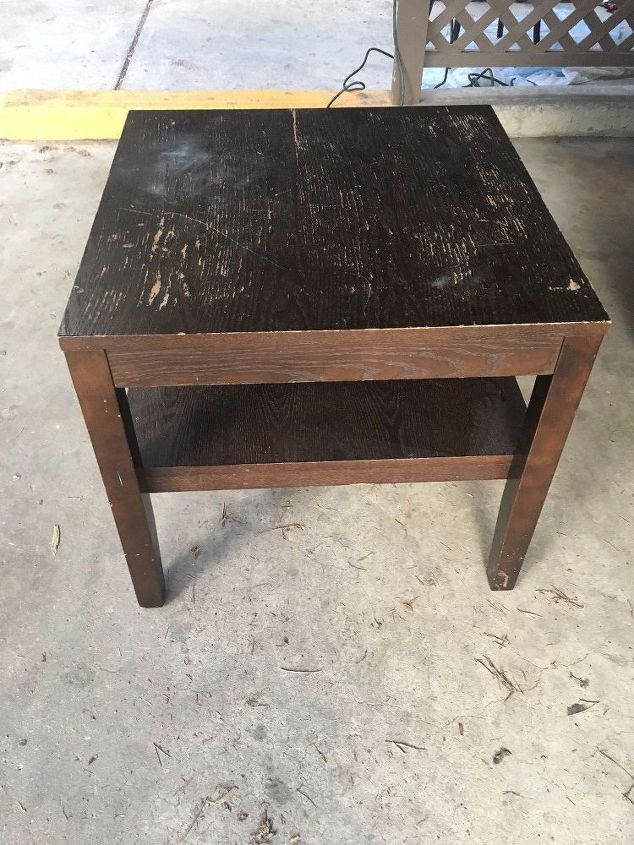
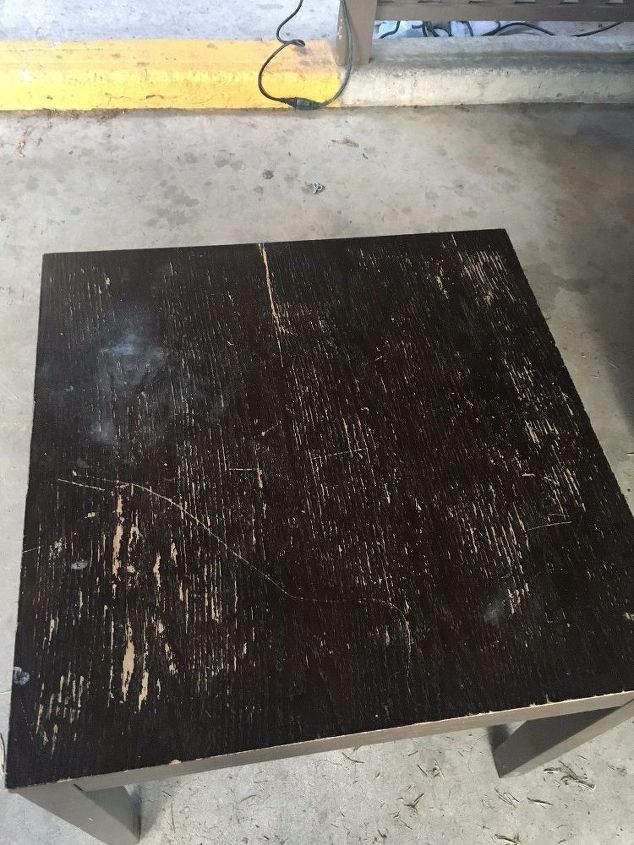
Ugly, nasty old end table.
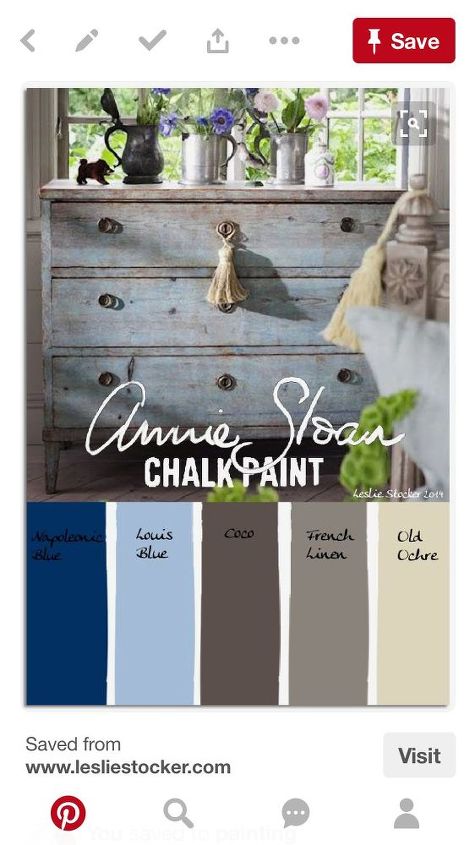
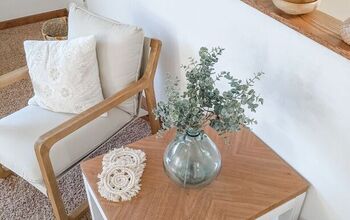
This is my inspiration. Credit to lesliestoker.com. I gathered a selection of mistint latex paints from several of the paint stores on my street (there are FIVE within 2 blocks of my house! Lucky me!!) I was able to find shades very close to those shown above. I mixed one part plaster of paris with enough water to make it like pancake batter, then added 3 parts paint in a mason jar. I stirred and shook until they were thoroughly blended, and then I got to work!
Unfortunately, I did not think to take photos as I worked, so I don't have any in betweens, but first, I pained a solid coat of the dark blue. I then used a palm sander and sanded it back until it looked distressed and I could see a bit of the dark wood underneath.
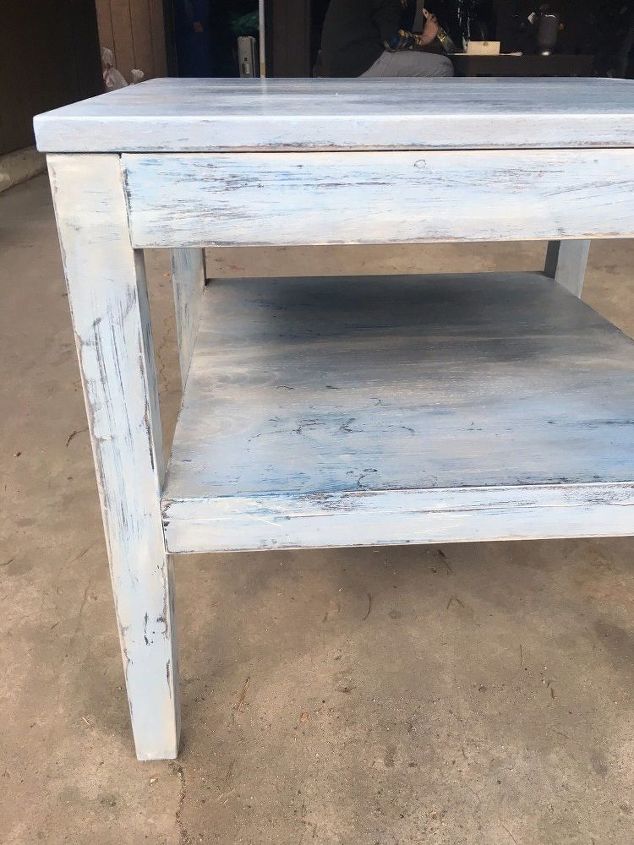
Next, I applied a light but full coat of the lighter blue. When it was dry, I sanded it back a bit until there were bit of the darker blue and darker wood peaking through. It looked beautifully distressed and I almost left it at that stage, but I kept going.

Next, I rubbed a small amount of the cocoa into the blue with a very slightly damp rag, as though applying stain. I just played with it a bit until I like the look. It was starting to look like an aged barn board with the cocoa making a bit of a grey, weathered look.
After the cocoa dried, I used the tan color in the same way, and then the cream color as a rub as well. I finished it off with a very light sanding and then 2 coats of cream wax. I hope you love it as much as I do!
Comments
Join the conversation
2 of 3 comments
-
Wow! I really love how it turned out! I agree with Charlee, now you can do anything

-
Beautiful! Love how it turned out!


Frequently asked questions
Have a question about this project?