


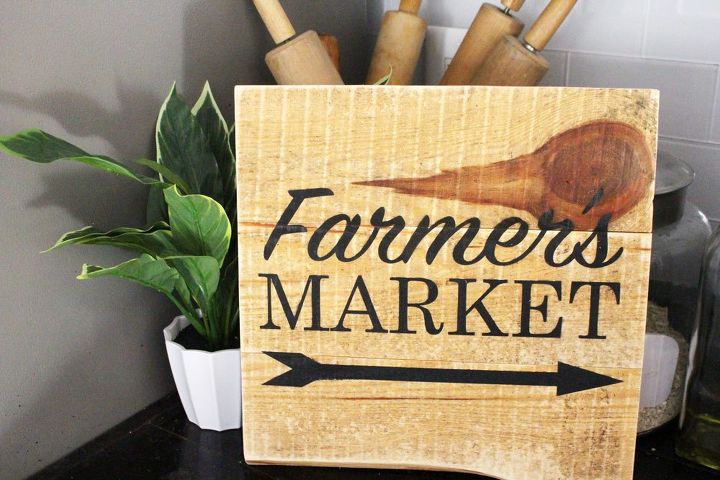
DIY Farmers Market Wood Sign PLUS Free SVG Cut File
$20
1 Hour
Medium
A few months ago I decided to share my tips and tricks that I’ve learned over the years running my own shop about sign making in an eBook I’ve written called The Ultimate Guide to Making Your Own Signs. It includes 30+ techniques, suggested materials, tutorials, videos, and various other tips to help you create the best looking signs for your own wall decor needs!
With that being said, I thought I'd give you a little preview of what you can expect in my new book! Are you ready to get started? **Please check out the full blog post tutorial for all the details though**

Supplies
- 3 – Pallet Wood Pieces (12″L)and 2 – Wood Pieces (2″W x 8-10″L for back support)
- 1-3/16″ Brad Nails (or finish nails), Brad Nail Gun (or hammer), Sander or sand paper
- Black Stain Spray Paint or black acrylic paint and a brush if you want to hand paint
- Silhouette CAMEO and Mat
- Stencil Vinyl
- Transfer Tape
- Squeegee or a credit card.
- Farmer’s Market SVG Cut File
- Matte Top Coat Spray Paint
STEPS
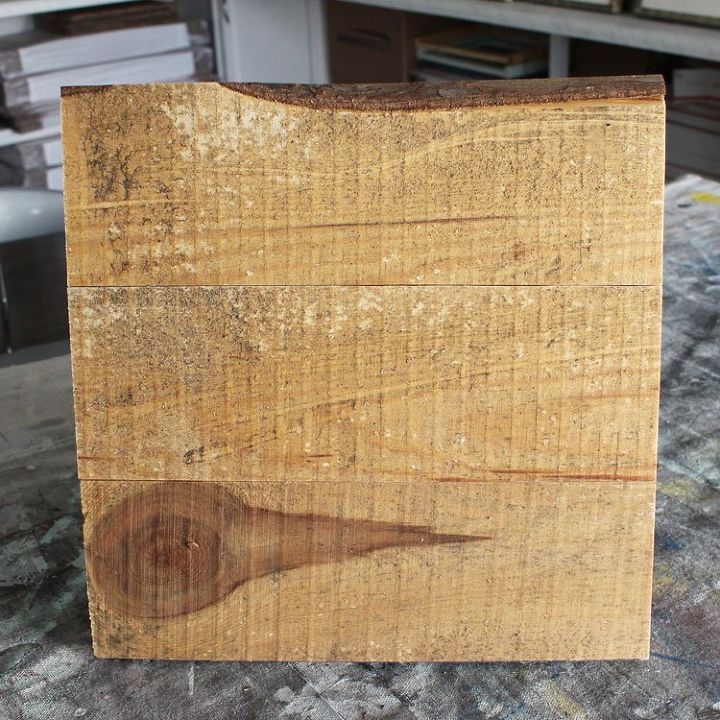
- Clean and sand off your pallet boards. I like to literally brush off all of the dirt from my surface after sanding them to ensure I have not missed anything.
- After you have finished sanding it is time to create your sign. Line up your three boards on a flat surface so they sit evenly next to each other.
- Next, take your two back support pieces and place them evenly away from each other on the backside. Nail into place.
- Then, add a light layer of your top coat spray paint to help reduce the amount of your paint you will be using. Let it dry.
- Next, it’s time to add your design! It’s extremely important that you do not apply too much paint, or it will go underneath your stencil creating a less than perfect design. Always use several, light layers.
- Using your Silhouette CAMEO cut out your SVG cut file design with the vinyl on your mat.
- Remove the vinyl from your mat, and apply your transfer tape.
- Now, remove the backing from your vinyl, and carefully take out the vinyl pieces of your design that you will be painting.
- Once you have removed all your vinyl pieces it is now time to apply your stencil to your sign. Line up your vinyl with your board so it will be applied evenly, and using your squeegee firmly push it down. Check out the video above!
- Next, slowly remove your transfer tape so that only your vinyl is left on your board.
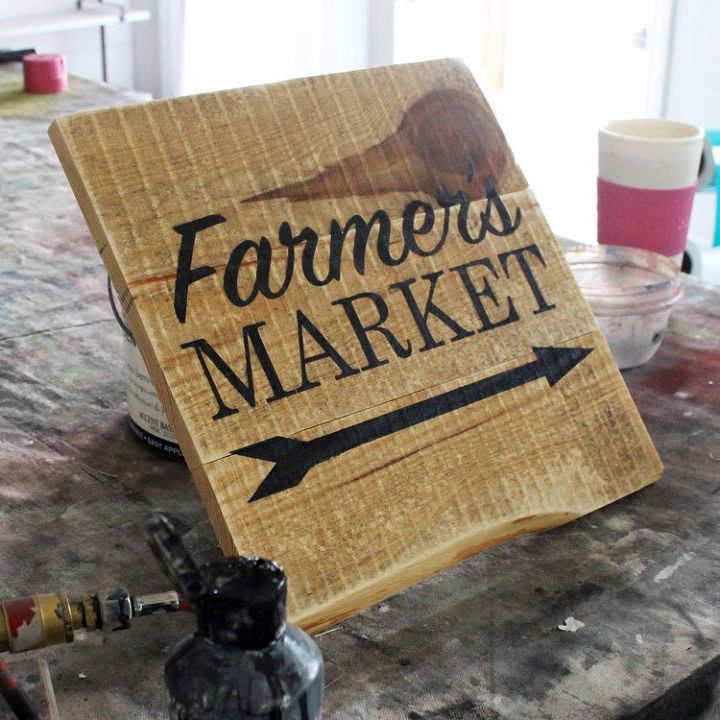
- In a ventilated area, evenly apply a light coat of spray paint it (or with lacquer paint and your airbrush) to your vinyl. Allow it to dry and then apply your next coat. Repeat this step until your desired color has been achieved.
- Once your paint has completely dried remove your vinyl.
NOTE: Need more in-depth instructions on how to do the above steps? Check out the blog post below for the video tutorial that will provide you with more info!

Want more details about this and other DIY projects? Check out my blog post!
Comments
Join the conversation
3 comments
-
Love the sign
-
Lovely!


Frequently asked questions
Have a question about this project?