


Paper Mache Goose

This is the 2nd one of a series of paper mache critters I am creating. So far, the first two have been gifts, but the next 6 will be kept for a gallery submission. The next one on the design table is a porcupine, Wish me luck!
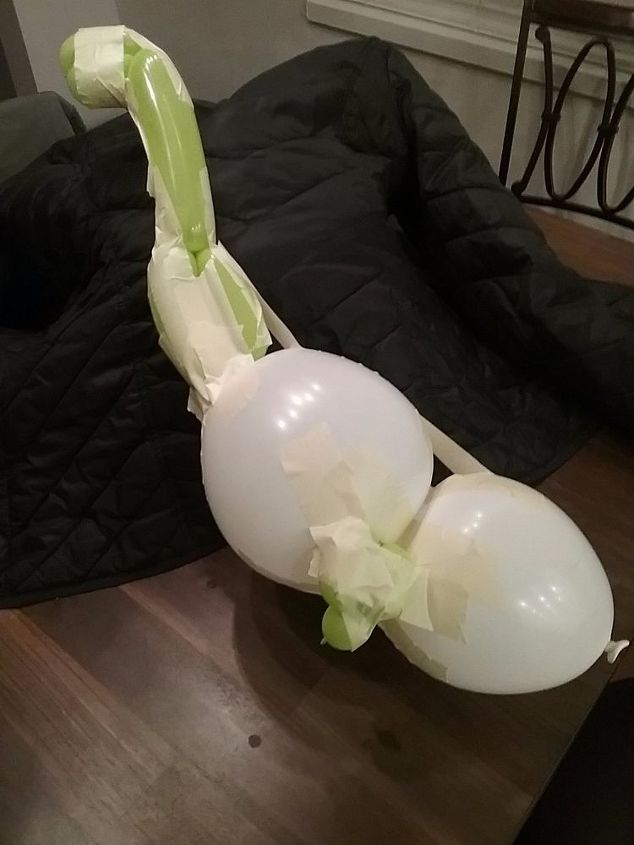
CreatIng the basic form.
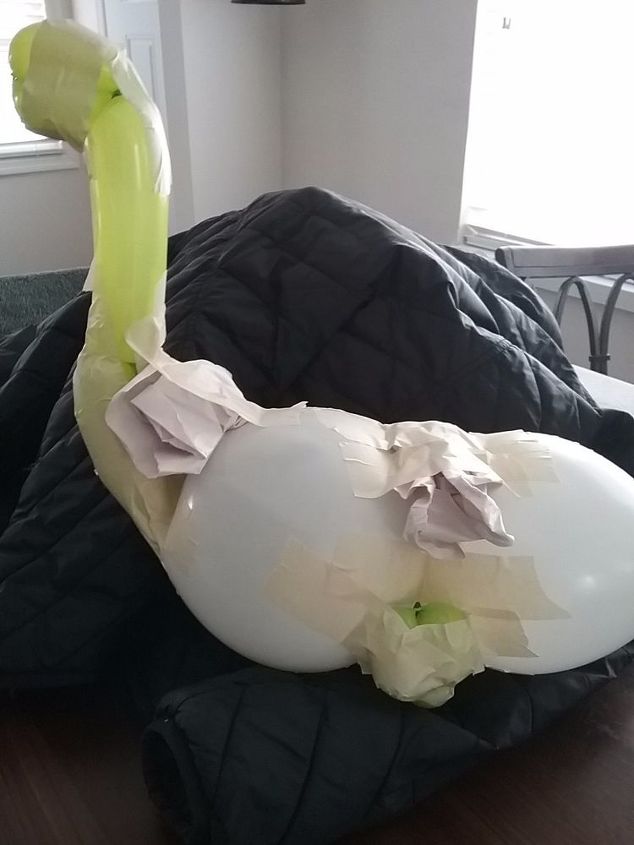
Adding some scrap paper to continue building the shape.
I used masking tape to finalize the form. Keep in mind, you must form it and get the casting material on in the same day or your balloons will deflate and ruin the form. I have also had a balloon pop on me just as I was finishing the tape. I was able to insert another and inflate it to the proper size and shape without starting over.

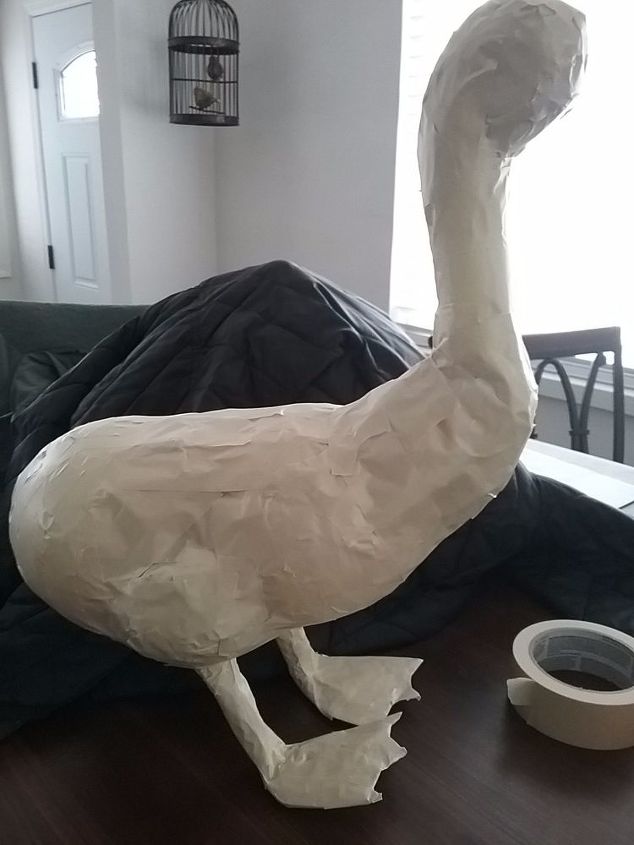
This is the form after casting.
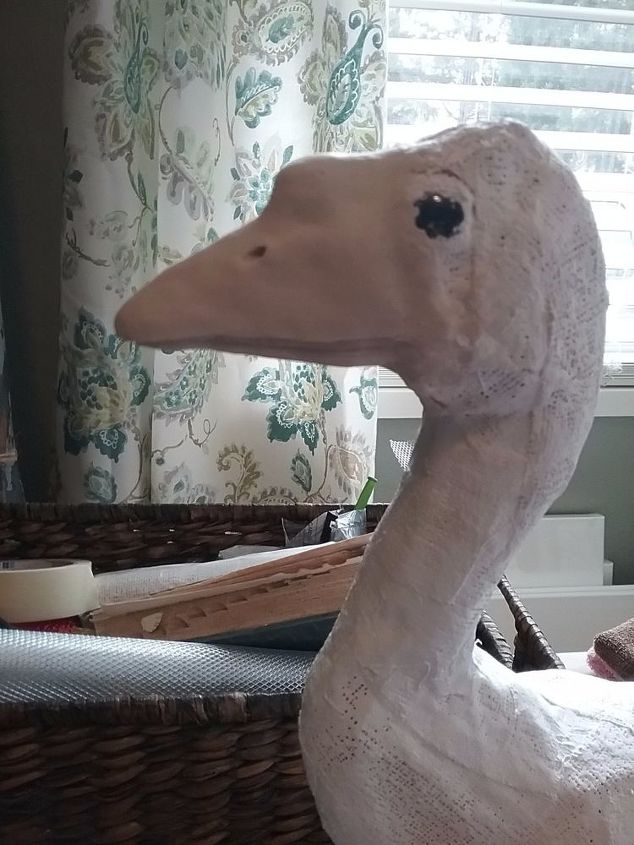
After the casting dried overnight, I painted the back of the glass stones and glued them into place. Then, using paper clay, I built the eye surrounds, beak, and covered the legs and feet.

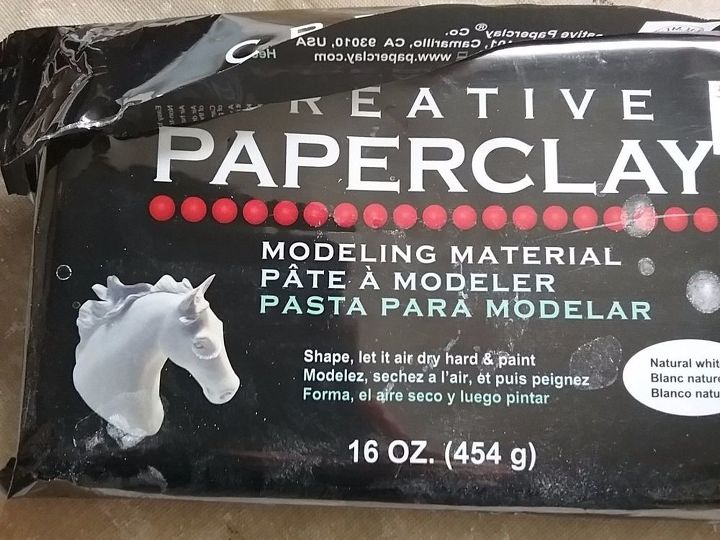
The paper clay is very light weight and air dries fairly fast.
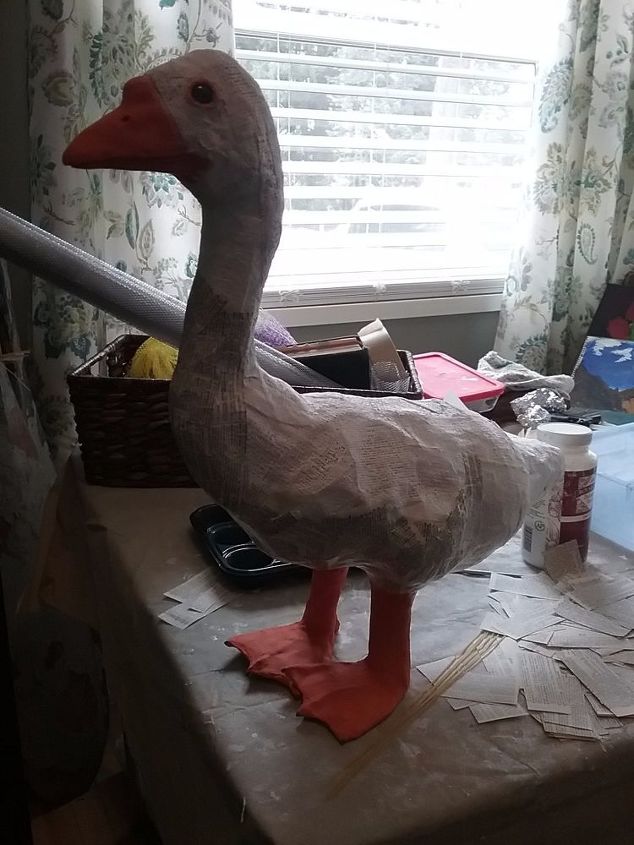
Next up, paint the clay parts. Let dry and now your ready to start with the paper mache.
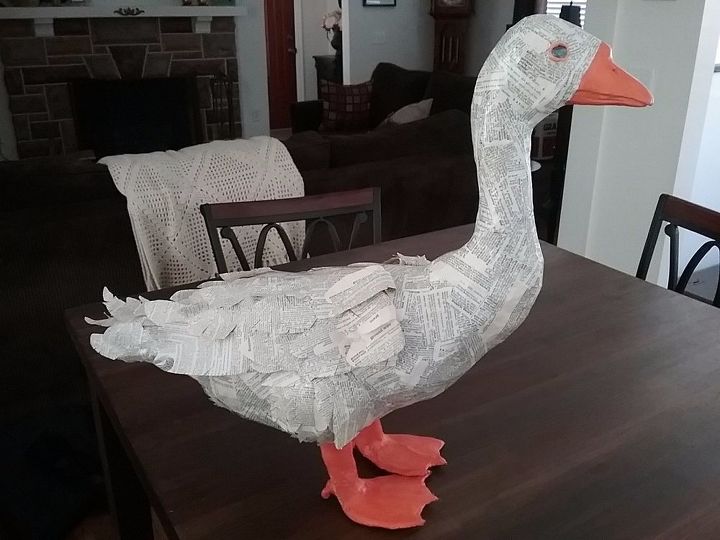
Here is the finished goose! He will be migrating West tomorrow for the journey to his new home.
DIY home decor using recycled paper
Comments
Join the conversation
-
Love it!
-
CONGRADULATION it is very very Nice, i would like to know how do u make your paper mach because i would like to make little thing with my grand-kids, THANK-YOU in advance...


Frequently asked questions
Have a question about this project?