Solution to Vinyl Flooring: How to Paint With Floor Stencils

by
Royal Design Studio
(IC: professional)
6 Materials
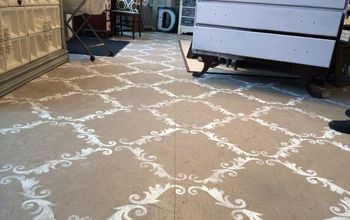
It looks like a LOT of homes still have those ugly vinyl floors, but don’t worry if you have one too! There’s an easy and affordable solution: Paint and stencil vinyl flooring for a fresh update on a serious budget. Floor Stencils from Royal Design Studio can make it look like you ripped out that outdated vinyl and put in new, expensive flooring. Only your full wallet and happy smile say otherwise ;) Watch the video and follow the instructions below to learn how you can transform your vinyl floor in 10 easy steps using floor stencils:
{
"id": "3830939",
"alt": "",
"title": "",
"video_link": "https://www.youtube.com/embed/z5PwF_3Ladw",
"youtube_video_id": "z5PwF_3Ladw"
}
{
"width": 634,
"height": 357,
"showRelated": true
}
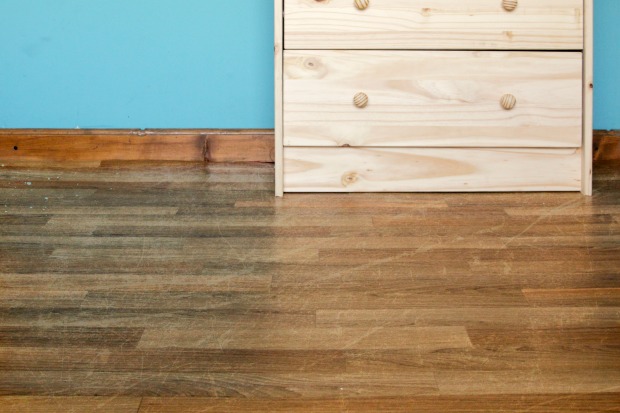
Before, the old vinyl shows wear and tear… Let’s make it pretty with floor stencils!
Supplies:
- Grecian Tile Damask Stencil from Royal Design Studio
- Annie Sloan Chalk Paint®: Arles, Honfleur, Amsterdam Green, Primer Red, Antoinette
- Annie Sloan Floor Lacquer
- Royal Stencil Brushes: 3”, 1”, 3/4”, and 3/8”
- Zinsser Bulls-Eye Primer, paint roller, measuring tape, painter’s tape, paper towels
Step 1: Clean your vinyl flooring then apply a coat of primer according to the manufacturer’s instructions. Let dry overnight.
Step 2: Use a roller to apply 2 coats of Antoinette Chalk Paint®. PRO TIP! We added a touch of Arles Chalk Paint® to the Antoinette Chalk Paint® to neutralize the purple hues. Let dry.
Step 3: Find the center of your room using measuring tape. Center the Grecian Tile Damask Stencil and face it parallel to the wall. Secure the stencil in place using painter’s tape.
Step 4: Load the 3” stencil brush with a pink color mix (2 parts Antoinette + 1 part Emperor’s Silk Chalk Paint®). Offload the excess paint from the brush onto a paper towel. This distributes the paint evenly on the brush and prevents the paint from bleeding under the stencil. Stencil the entire design.
Step 5: Load and offload the 1” stencil brush with Amsterdam Green Chalk Paint®. Stencil only the selected design elements. PRO TIP! You can use a piece of paper or painter’s tape to mask off elements you don’t want to stencil.
Step 6: Load and offload the 3/4” stencil brush with a green color mix (1 part Amsterdam Green + 1 part Arles Chalk Paint®). Stencil only the selected design elements.
Step 7: Load and offload the 3/8” stencil brush with Honfleur Chalk Paint® in the smallest design elements.
Step 8: After stenciling the first repeat, move and align the stencil using its built-in registration marks. Repeat Steps 1 through 8 until the entire floor is stenciled.
Step 9: Make sure to mask off the baseboard with painter’s tape. When you reach the wall edge, stencil as close to the corners as possible. Use your free hand to bend the stencil into the corner and then paint the rest of the design.
Step 10: Apply the first coat of Annie Sloan Floor Lacquer with a little water and a roller. Let dry for 2 hours. Apply a second coat and let it cure overnight before using your newly stenciled floor.
Enjoyed the project?
Any price and availability information displayed on [relevant Amazon Site(s), as applicable] at the time of purchase will apply to the purchase of this product.
Hometalk may collect a small share of sales from the links on this page.More info
Published April 27th, 2017 6:32 PM
Comments
Join the conversation
2 of 85 comments
-
 Merri Schmidt Silbernagel
on Feb 24, 2019
Absolutely love this floor! I’ve always loved the old, old linoleum that was printed(my Grandma had that kind). Now, thanks to you I know how to recreate it! Beautiful job!!!!!
-
-
 Janelle Anne Piazza
on Feb 24, 2019
Love it!! I started redoing my bathroom,perfect place to maybe try it out. I love the bolder colors.
-


Frequently asked questions
Have a question about this project?
Could this be done on hard wood floors?
That is very beautuful and certainly a lot of hard work and patience. How will that hold up under daily treaffic? Forgive me if you answered that already. Thank you.
Yes. . I will definitely do this. I have linoleum floors in my home. I was wondering what I can do. In the meantime before replacing them. And this answers my prayers! I've also heard and seen articles that you would use. Behr paint, or Kilz paint colors to paint the entire floor first?? Could I use these paints?