


Recover Your Old Outdoor Cushions Quick & Easy
5 Materials
$20
30 Minutes
Easy
Are your outdoor chair cushions looking a little sad after the long winter? Do you want to recover your outdoor cushions for the summer? I can show you how to do it … quickly and easily.
Get the full tutorial here.
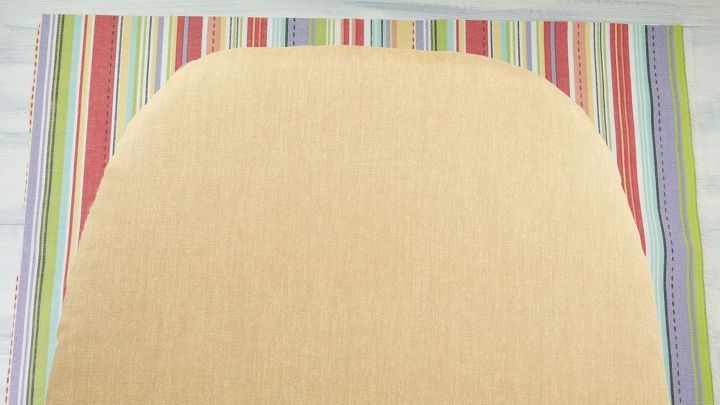
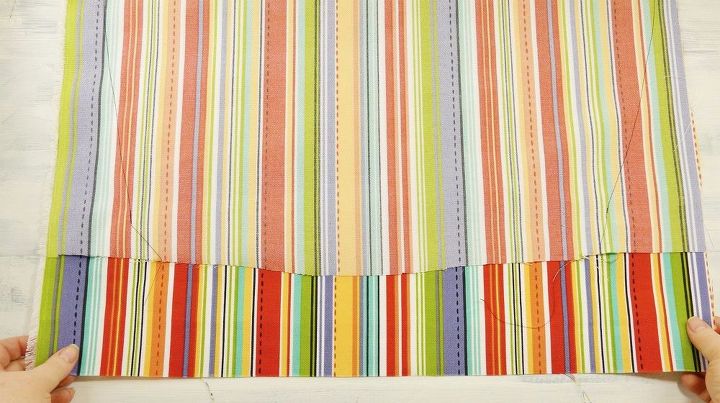
Lay your fabric out on a flat surface, pattern side up, and position your cushion on it. Put your cushion in the top corner of the fabric, with the rear of the cushion near the top side, and allow enough space on the side for the fabric to wrap up the side of the cushion. If your fabric is too wide or too long, trim it now. Just be sure there is ample fabric on both sides of your cushion (I left three extra inches on each side).
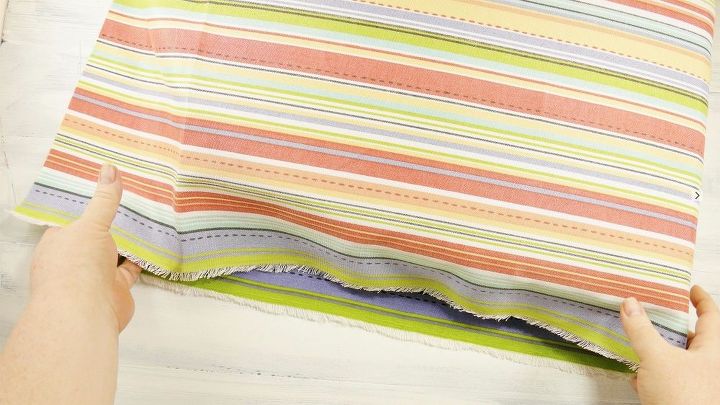
Next, pull your fabric up and over your cushion so it is covered it entirely. Your fabric will meet at the top. Leave an extra three inches of fabric at the top and then trim any excess.
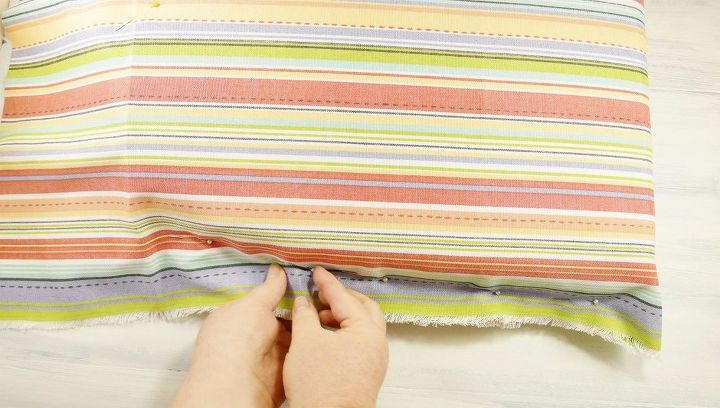
Once your fabric is in place on your cushion, pin the two sides closed. If your cushion is tapered at the back like mine, I recommend you skip the last pin and mark it in another way, such as pins on each side of the fabric in the spot you would have pinned it (just don’t close it) or a fabric marker. Be sure to pin the other side of your cushion, too.
Be sure to pin the other side of your cushion, too.
Now carefully pull the cushion out. If your cushion narrows at the back as mine does and you find it hard to remove, simply curl the cushion like a taco inside of the fabric, and you’ll be able to remove it easily.
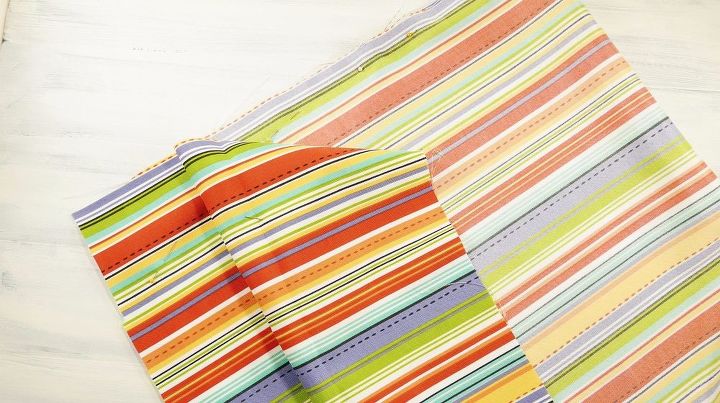
Sew up each side where you pinned it, then remove the pins. In the photo below, you can see my black stitch lines.
Next, insert your cushion back into the fabric “envelope” you’ve made (do not turn the fabric right side out yet). Note the extra fabric at each of two front corners of your cushion. Pin the fabric together at both corner so it is taut against the cushion.
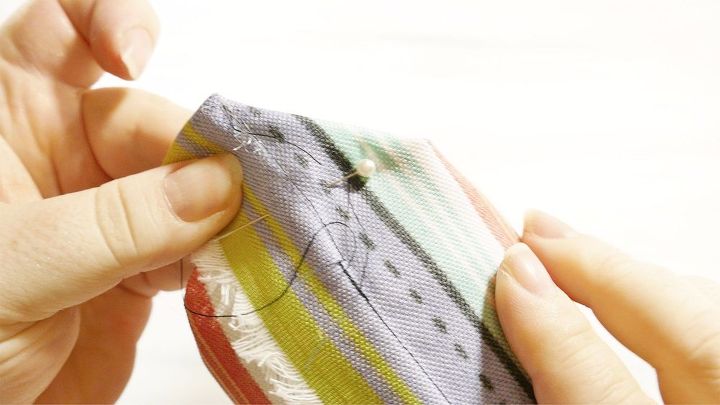
Next, insert your cushion back into the fabric “envelope” you’ve made (do not turn the fabric right side out yet). Note the extra fabric at each of two front corners of your cushion. Pin the fabric together at both corner so it is taut against the cushion.

Remove the fabric from the cushion again and sew a line along the corner in the spot you pinned. Remove the pins.
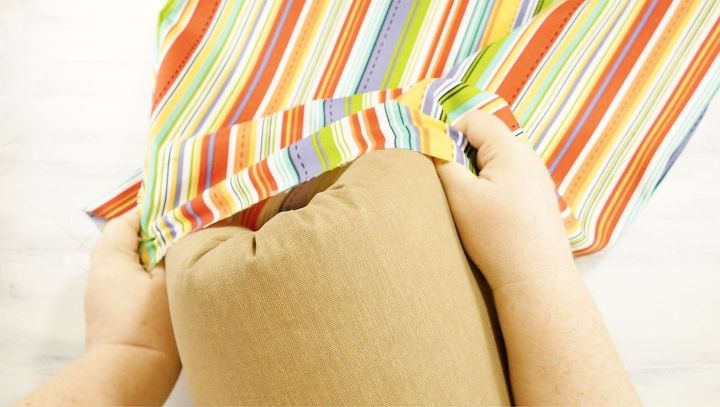
Now turn your fabric right side out and insert your cushion. In the photo below, you can see how I’ve curled my cushion to fit it into the fabric envelope I’ve made.
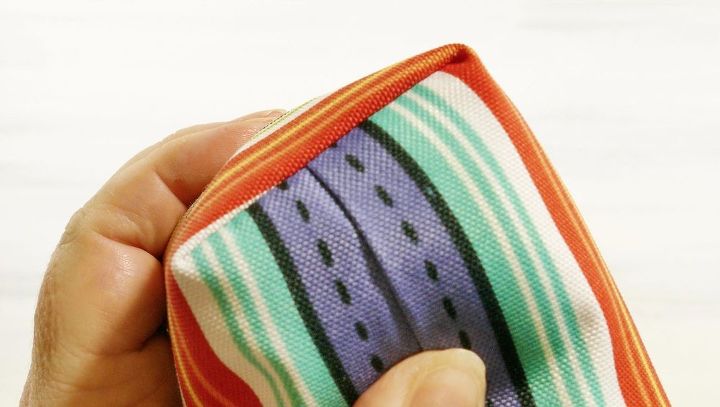
Push your cushion all the way down into the fabric. Look at the beautiful corner this makes!
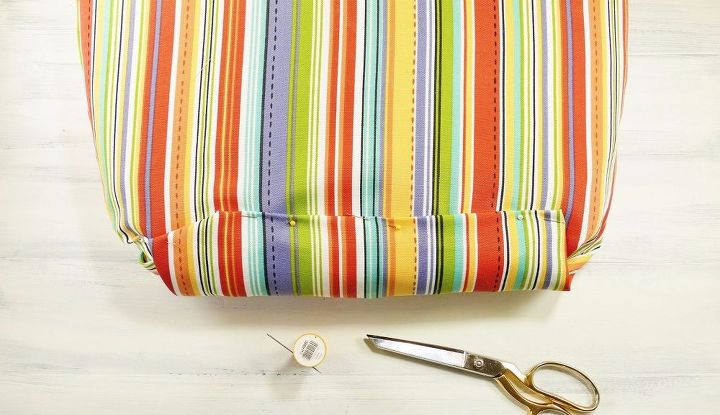
Now fold up the remaining fabric at the back of the cushion, just like you’re wrapping a present. Pin it into place.
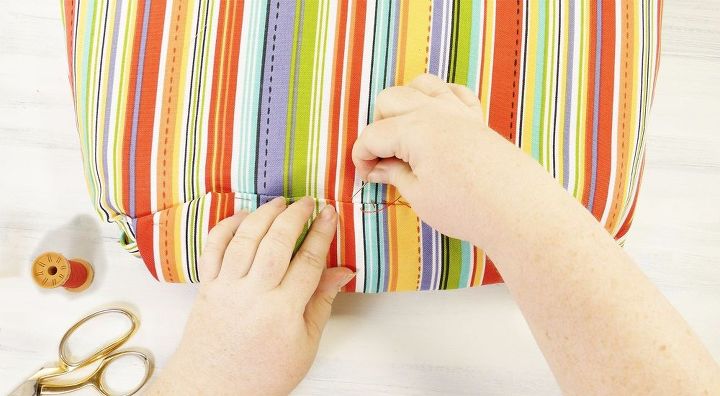
Hand stitch the fabric closed. Double your thread for strength.

And you’re done!
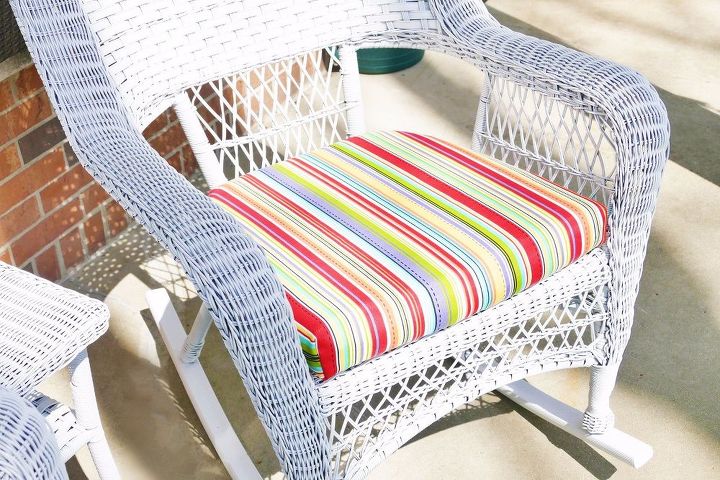
Here is my recovered cushion on my rocking chair.

Want more details about this and other DIY projects? Check out my blog post!
Comments
Join the conversation
2 of 5 comments
-
You have the traits of an excellent seamstress, I noticed you took the effort to match the stripes on the back side. My sweet Mom taught me this also.
-
My cushions have a single trim rib/piping all the way around. How do I adjust this envelope method for that?


Frequently asked questions
Have a question about this project?
WHAT??? I'm having a hard time following you. I was really hopeful that I'd found some good instructions for recovering some chairs I have saddly I will have to keep looking. Best wishes to you.
I can't sew. Is there a substitute way to connect?