


DIY Mother's Day Gift Ideas
Hey sweet friends! Thanks so much for stopping by today! Before we begin, I wanted to remind you to follow along with me on Pinterest, Instagram, Twitter, HomeTalk and Facebook, so you don’t miss another post!
Today, we're going to talk about some really fun and gorgeous gift ideas for your beautiful mama, mother-in-law and/or grandmother! (Pssss....You might even fall in love with your DIY goodies and end up wanting to keep them for yourself!)
These DIY gifts are inexpensive and super-easy to create, and you could even make some of these gifts with your children! Let's get started!
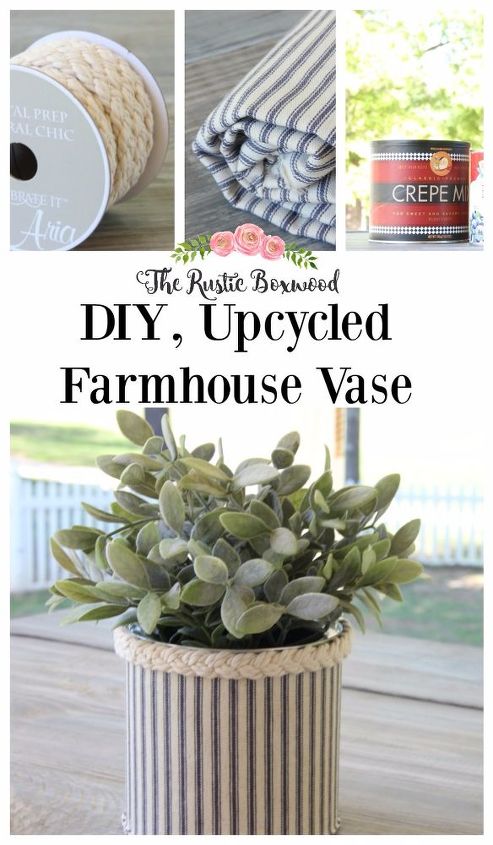
DIY Upcycled Vases
Here's what you'll need:
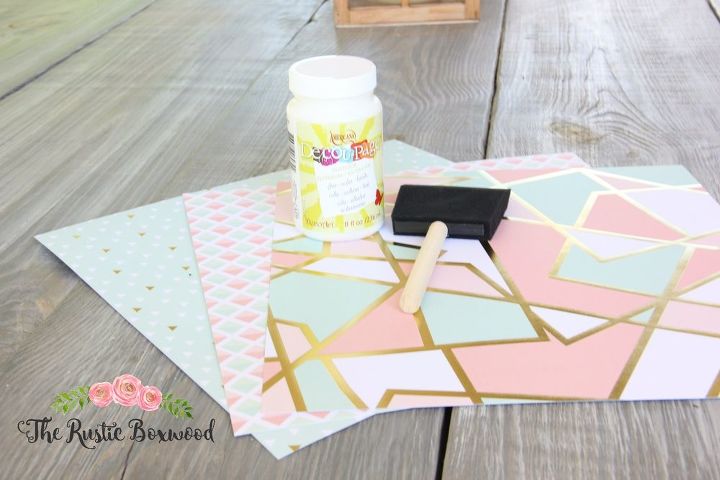
pretty scrapbook paper
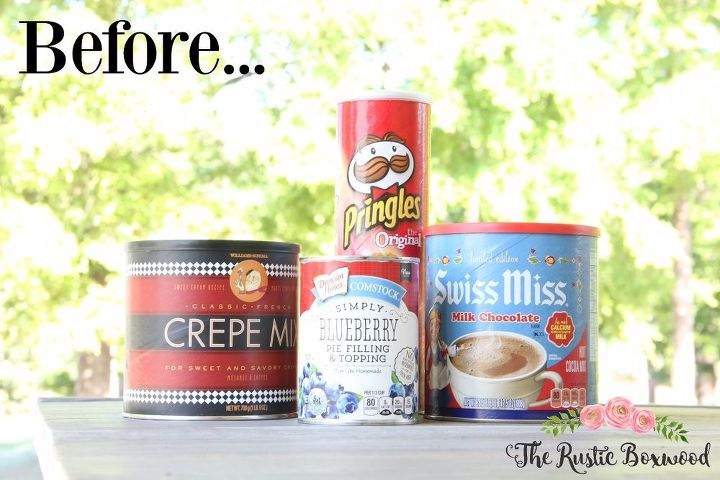
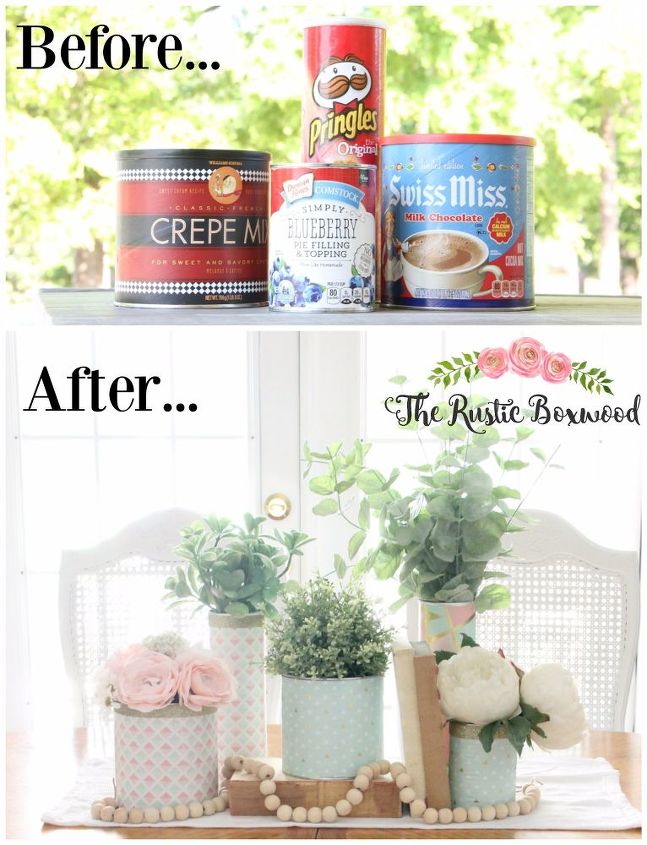
empty cans (such as chips cans, hot chocolate cans, soup cans, or crepe mix cans)
modpodge (I used Americana Decoupage by DecoArt in the matte finish.)
wooden-handled sponge brush
scissors
paper plate, paper towel, chip clips (optional)
First, make sure your cans are cleaned out on the inside first. In other words, you don't want any hot chocolate powder creeping onto your pretty paper! Not that I speak from experience or anything (ahem). ;)
Second, loosely wrap the paper around your can to make sure you've got enough of it to go all the way around, and then trim a neatly finished edge to your liking. Third, using your sponge brush, spread the mod podge onto the can, one section at a time. Immediately after, carefully line up your paper onto the glued layer of the can, stick it on and smooth out any air bubbles. Continue with this step until the entire can is covered. (Here's a helpful tip: Chip clips are great for holding the paper to the container while it dries. Give it a few seconds, and then move it to the next section, as seen in the pic below.)

Now, spread another layer of mod podge onto the outside of the paper to help seal and protect the paper. You'll be shocked at how easily this paper adheres to the can! Let this glue completely dry for at least a couple of hours or overnight.
You might want to take it a step further and add some pretty washi tape to the edges of your containers. I added some sparkly-gold, glitter tape to a few of these cans and then applied the mod podge over the outside of the tape. The crazy thing is that this glue dries clear, so the sparkly glitter will look as if there's no glue at all!
Now, you're ready to add pretty flowers to your vases! If you choose to use real flowers, be sure to insert a mason jar inside the upcycled vase, because some of the vases won't be able to hold water, such as the chip cans. If you don't like that idea, you could just add fake flowers, which is the route I chose! ;)
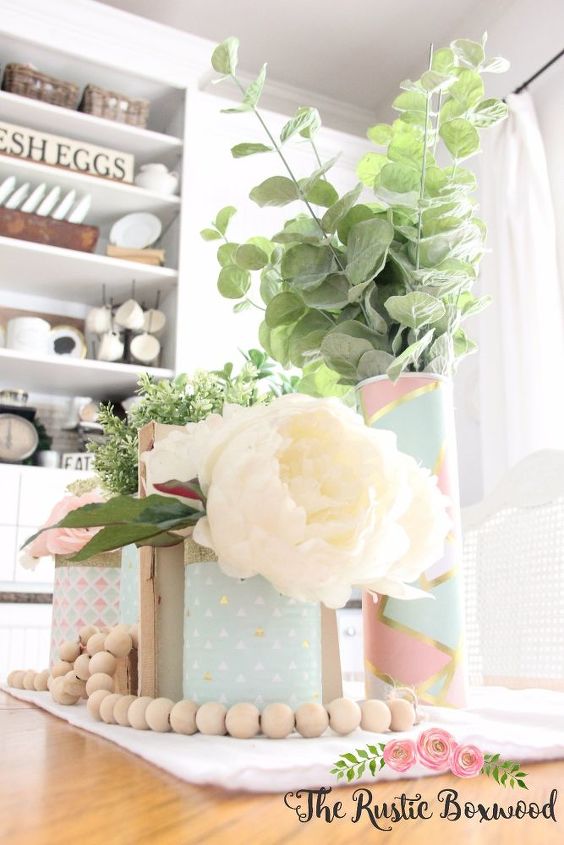
Here's another idea for a diy, upcycled farmhouse-styled vase: Take some ticking fabric remnants, an empty container and modpodge, and follow the same process that I mentioned above, and you'll have a beautiful, rustic vase!
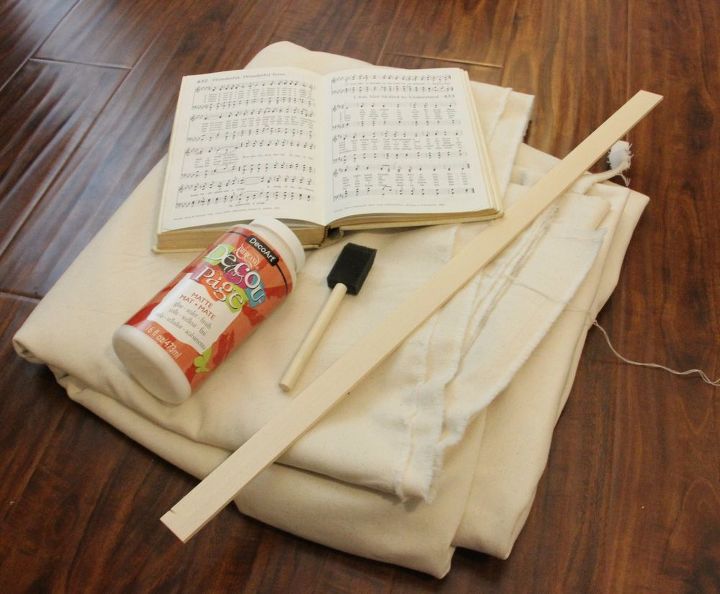
DIY Hymn Canvas Art
Here's what you'll need:
a hymnal (I bought mine at a thrift store.)
canvas fabric
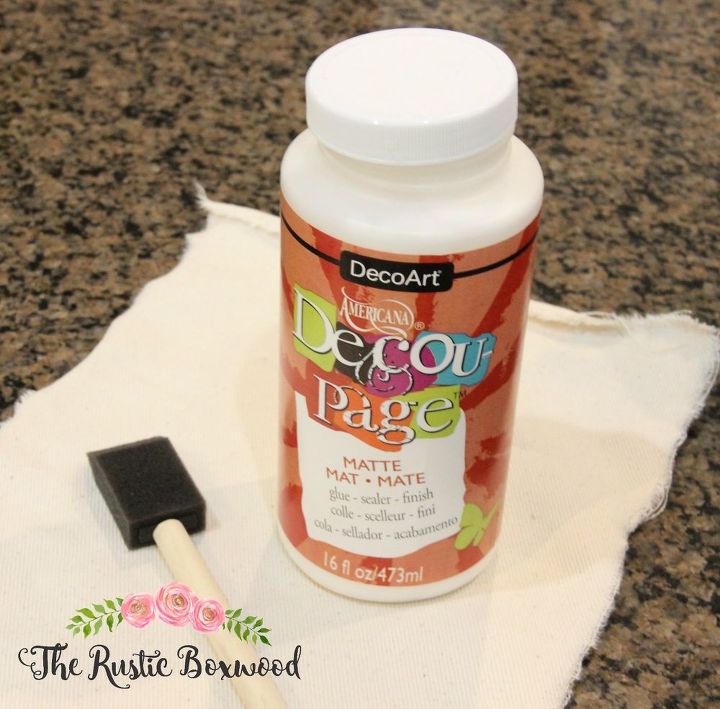
mod podge
wooden sponge brush
thin strips of balsa wood (I went with the really thin strips, so they'd be easy to cut. The exact measurements for each strip were 1/16"x1"x24".)
jute
black chalk paint or chalkboard paint
hot glue and hot glue gun
scissors
First, take your scissors and cut a small slit into the fabric, and tear your fabric (to give it that distressed look) to the desired length and width. Next, carefully tear out the specific hymn that you'd like to display. Pour about a tablespoon-sized amount directly onto your canvas, and spread the glue out to fit the width of your hymn.
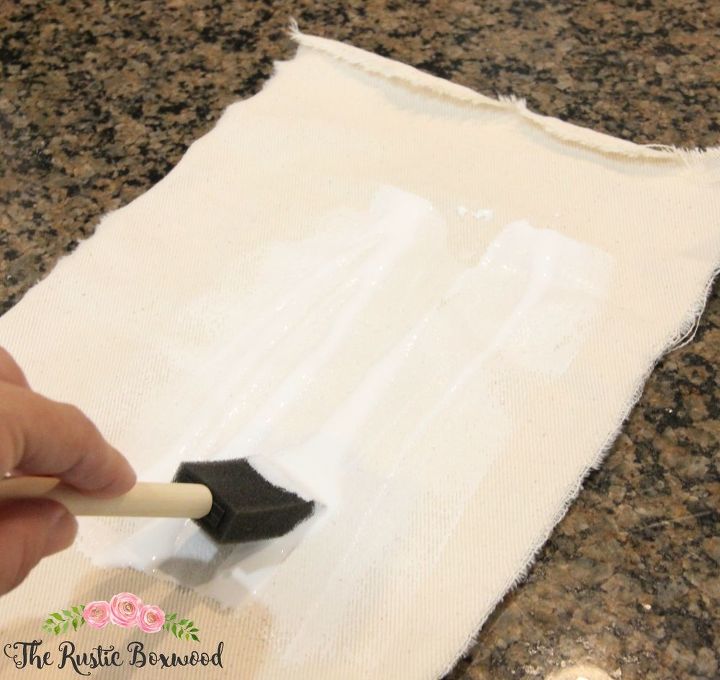
Immediately after you spread the glue, place the sheet music onto the canvas, and gently smooth it out.
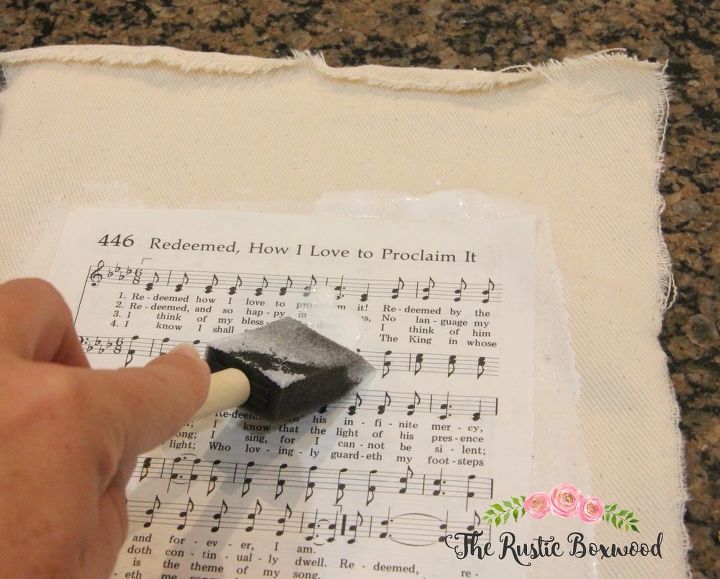
Don't be alarmed, you'll probably be able to see through to the other hymn on the backside since it's wet, but that's okay. Once it's dry, the back will disappear! (Or at least mine did!) ;) As far as dry time is concerned, give this process at least a few hours to dry, preferably overnight.
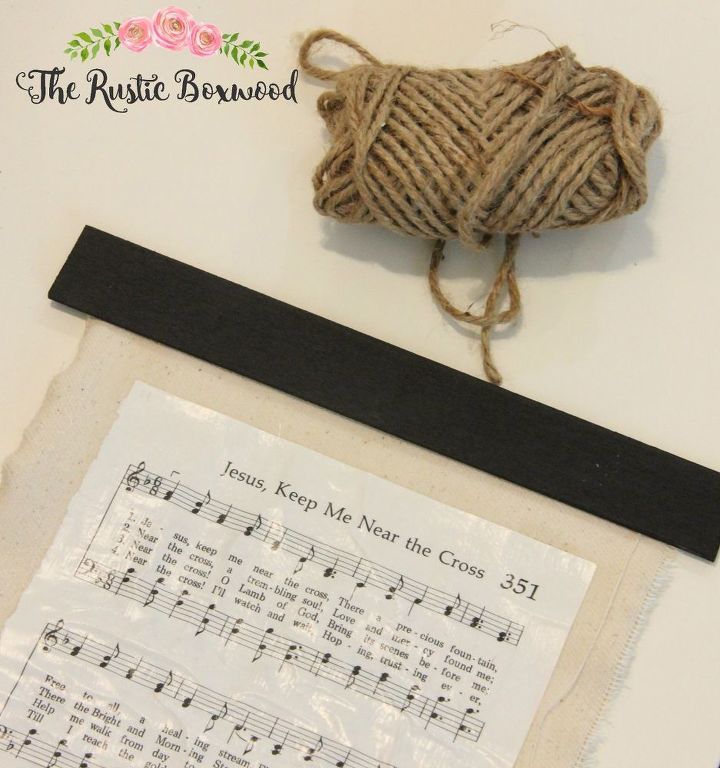
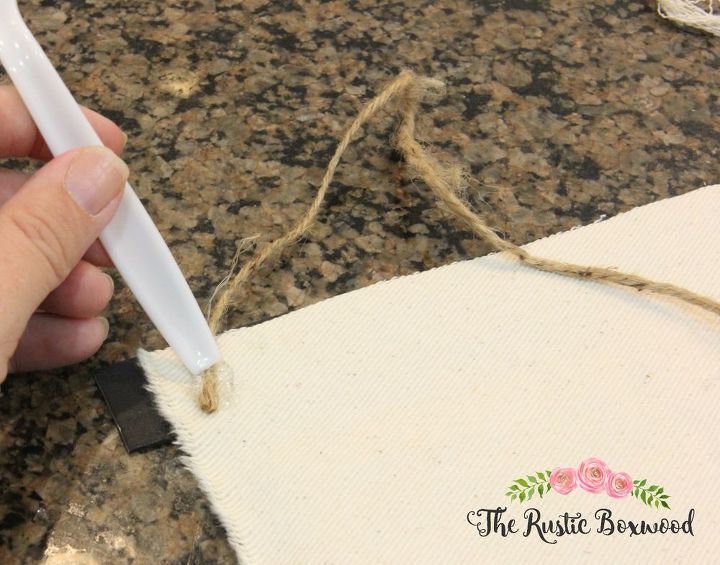
Okay, so now you're ready to make this an actual hanging sign! All you have to do is measure out how long you want your balsa wood strips to be. I cut mine to have about an inch overlay on either side of the canvas.
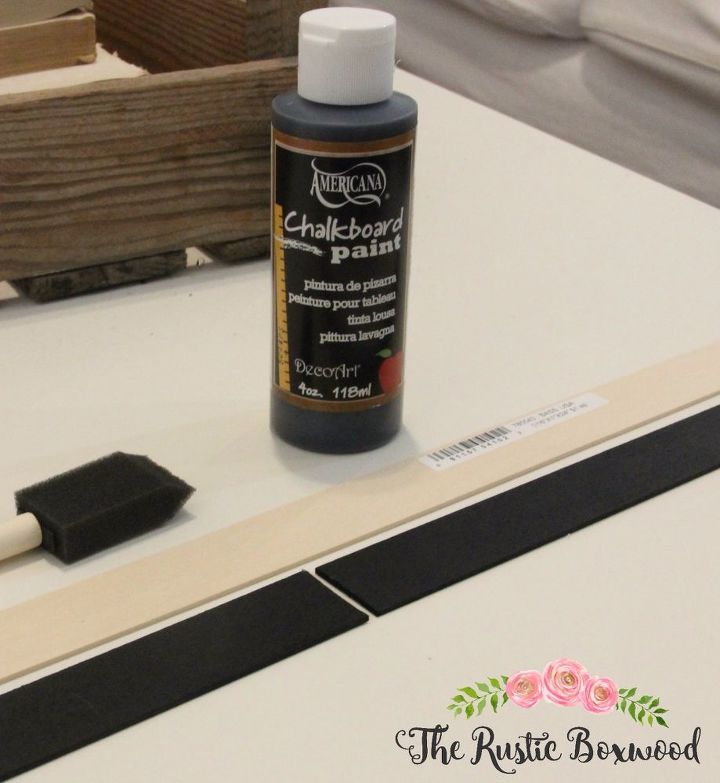
Then, using your sponge brush, paint the chalk paint all over the wood strips. Let dry. Once they're dry, hot glue the wood to both the top and bottom of your canvas.
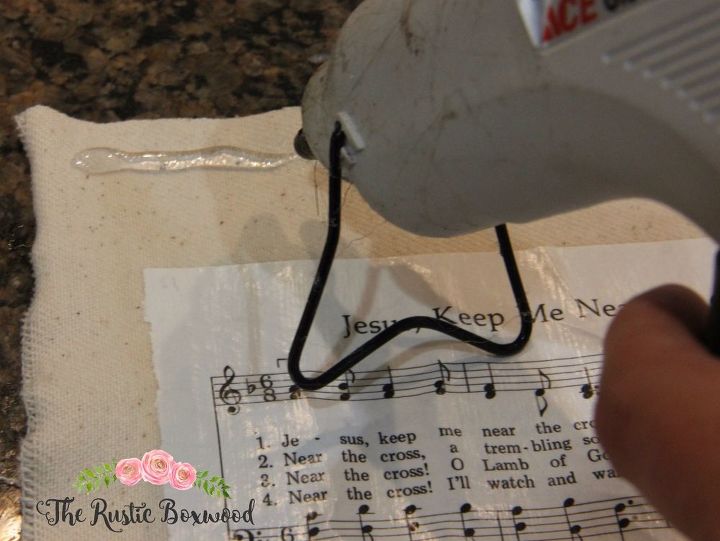
Afterwards, hot glue some jute to the back of the wood for hanging.
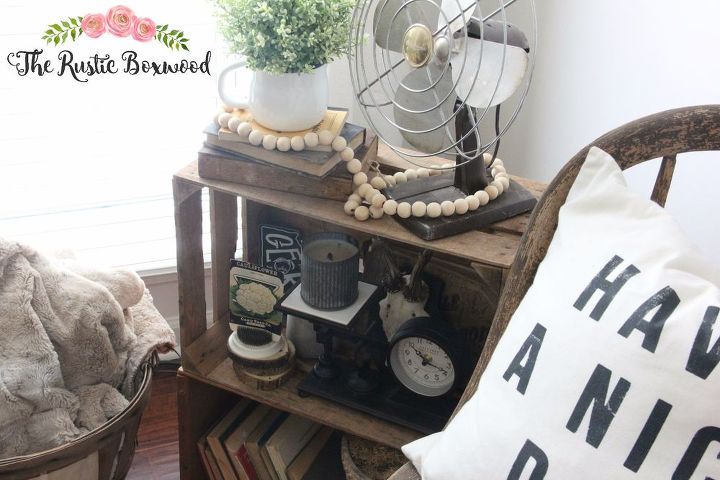
DIY Wood Bead Garland with Tassels
Here's what you'll need:
wood beads (I got mine at a crafts store for time's sake, but you can get about 200 for around $8 on Amazon!)
jute
scissors
This project is probably the easiest of the three! And it's so beautiful!
First, you'll want to make your tassels. Start by wrapping jute around something that's a few inches wide, such as a book, a cell phone, or even the palm of your hand.
I used a thick piece of cardstock and folded it in half to make it more sturdy. (I was in the car with my hubby, and we were driving to an awesome estate sale when I did this project! So, I'm sorry for the dashboard in the background. Okay...back to this tutorial.) ;) Next, I wrapped the jute around this cardstock about 15-20 times, until I was happy with the thickness of my tassel. Before sliding the jute off the cardstock, I slid a long piece of jute (a little longer than you want your garland to be) through the middle of the tassel and then tied a knot.
Next, I slid the jute off the cardstock, and then tied another piece of jute around the top of my tassel (about 1" down from the top) to hold it all together and tied a knot.
Now, it's time to make the garland! Slide the wood beads down through the jute and through the knotted end of the tassel. Keep adding the wood beads until you have the desired length for your garland. Once you've finished your beaded garland, go ahead and make another tassel, and add it to the opposite end of the garland.
That's it! How gorgeous is this?! I love mine and will be making lots more in the coming weeks for Mother's Day and end-of-the-year teacher gifts! I just hope none of the special mamas in my life and our kiddos' sweet teachers aren't reading this post!! ;)
I hope this post has inspired you in some way to add that special touch for a Mother's Day gift by making it yourself and/or with your kiddos! Do you have a favorite? If so, which one? I’d love to hear about it! Comment below, or stop by and say hey on Pinterest, Instagram, Twitter, HomeTalk and Facebook. It always makes my day to hear from my sweet readers!
Have a great day!
You might also like:
Rocking Chair Makeover: From Tired to Refreshed!
Easy and Thrifty DIY Moss Runner
DIY: How to Transform a New Chicken Feeder into an Aged Plate Rack

Want more details about this and other DIY projects? Check out my blog post!


Frequently asked questions
Have a question about this project?