


DIY Framed Collage Installation

by
Troom Troom
How to make framed collage installation. In our tutorial we'll show a new scrapbooking idea that help you to craft a bright and elegant paper photo frame. This amazing DIY collage frame will become a stylish interior decoration!
{
"id": "3837786",
"alt": "",
"title": "",
"video_link": "https://www.youtube.com/embed/ya9hY93OsPI",
"youtube_video_id": "ya9hY93OsPI"
}
{
"width": 634,
"height": 357,
"showRelated": true
}
Check out the video above to learn how to make your own!
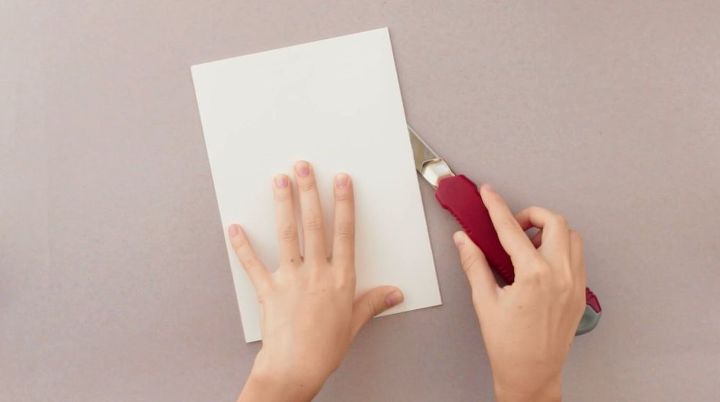
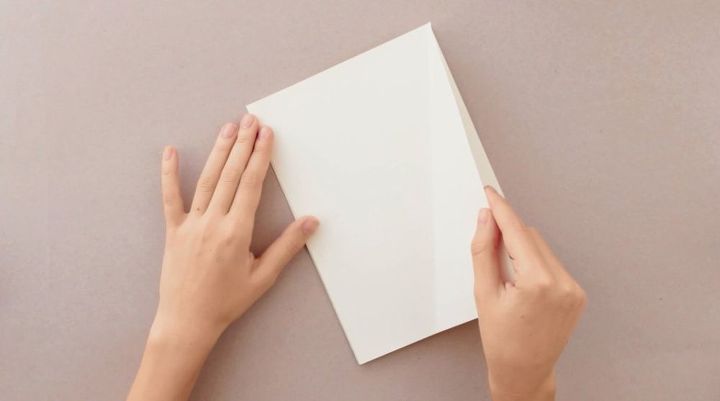
We’ll need A4 thick white paper.
Fold it in half creasing with a ruler.
Cut out with a craft knife.
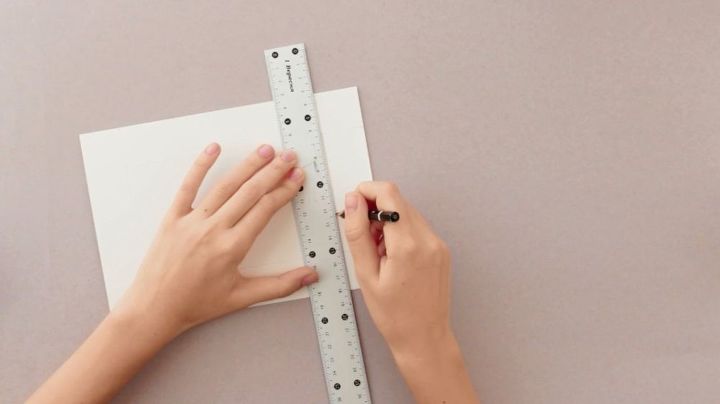
Take a half, mark off an inch from the edge on top and bottom. Use a ruler and a pencil.
Join the marks. Repeat for the other sides. You should get a drafted square.
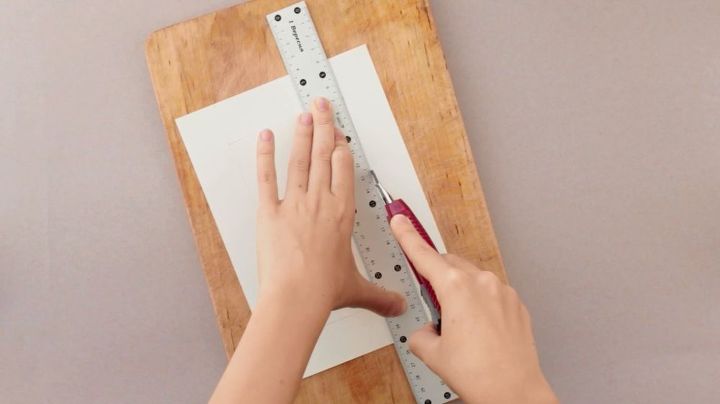
Lay a cutting board.
Use a ruler and craft knife to cut out carefully across the lines.
Remove the central square, we’ll use the frame.
Erase the pencil lines.

Now take the second half of the paper.
Add a line of white glue across the very edge of the three sides. Attach the frame and let dry.
Leave a width side loose.
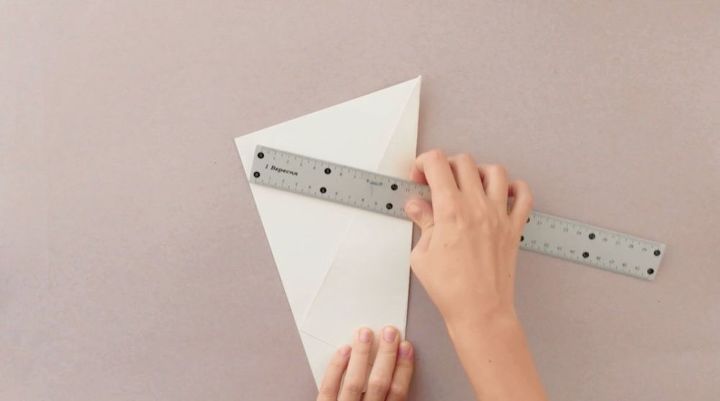
Now make a strut to stand the frame upright.
Take paper, fold a corner to the edge of the other side creasing with the ruler.
Attach the strut to the base.
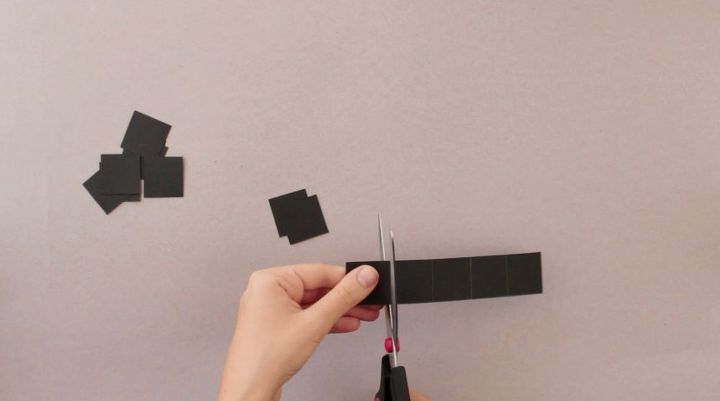
Let’s decorate the frame. Draw an inch-side grid on black paper.
Cut out the squares using the craft knife.
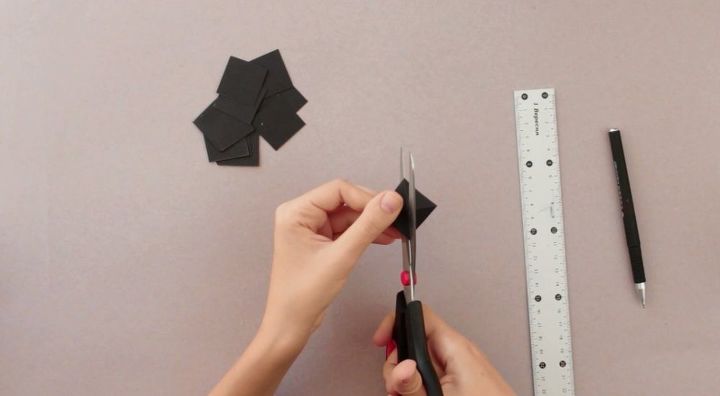
Score diagonals on each detail using an empty ballpoint pen or some other not too sharp tool. Scoring makes paper crease neatly and easily.
Make a cut across one of the scored lines up to the center. Use scissors.
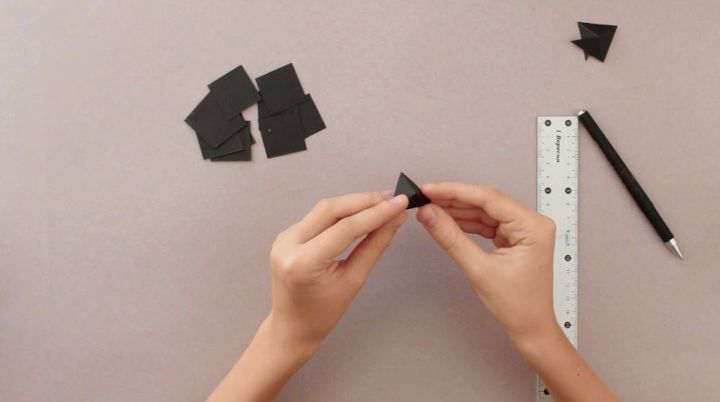
Fold the square to shape a pyramid. Make other details in the same way.
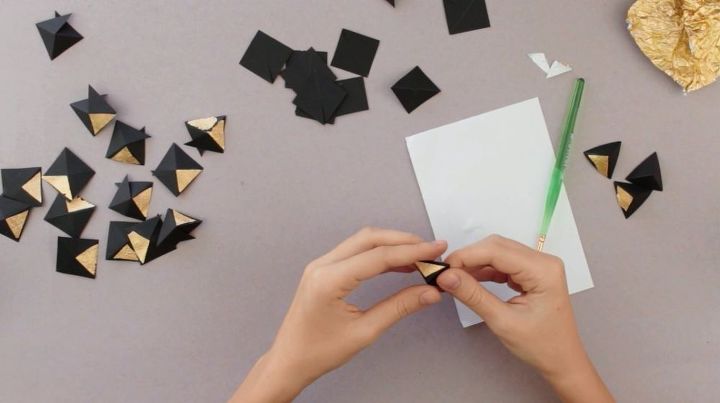
Black fits gold well. Take foil from sweets or buy in a supply shop. Prepare the material. Smooth the foil first.
Now cut small triangles to fit the pyramid side. Use scissors.
Attach the foil to the black details using white glue and a brush. Stick to one side, don’t cover the entire detail. You may leave some elements monochromic black.
Now make the details volumetric. Add glue to one of the sides and cover with the other shaping a pyramid. Repeat for the other elements.
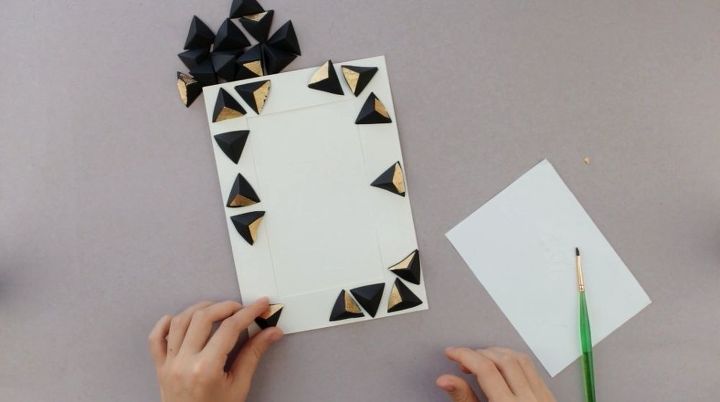
See how to place the decorations on the frame thinking out the composition.
Ok, let’s attach the pyramids. Add glue to the bottom edges and stick to the frame. Don’t press hard but wait to glue well.
The frame is ready, we can think up what we should put inside.
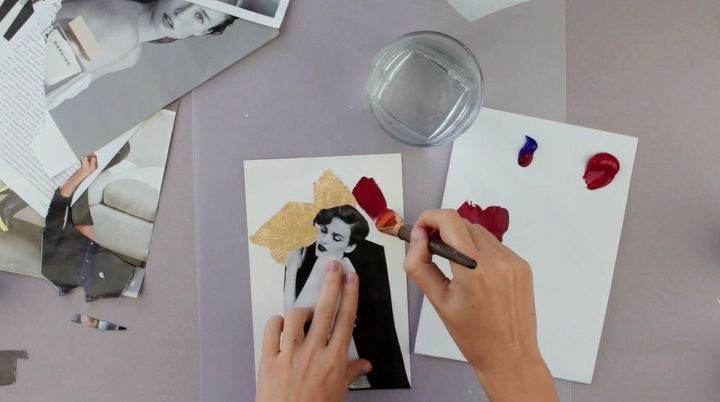
Today we’ll make collage to put in instead of photo. We’ll need newspapers, magazines, paper and your imagination, of course! Choose an image and cut it out with scissors. Keep in mind the size as the frame is already made.
Attach the composition.
Add some color. Acrylic paint will work well as it dries fast.
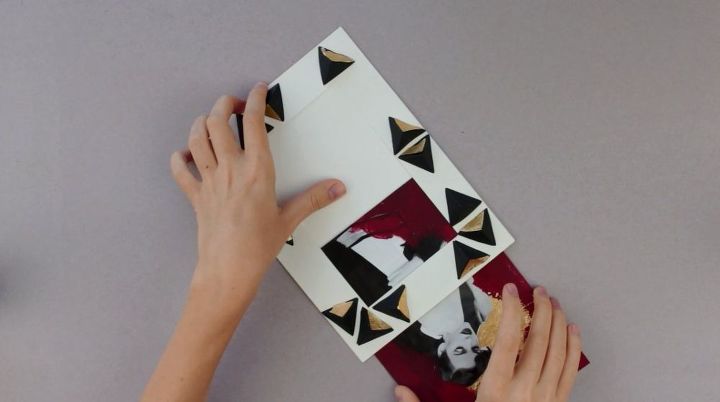
You only need to put the collage into the frame.
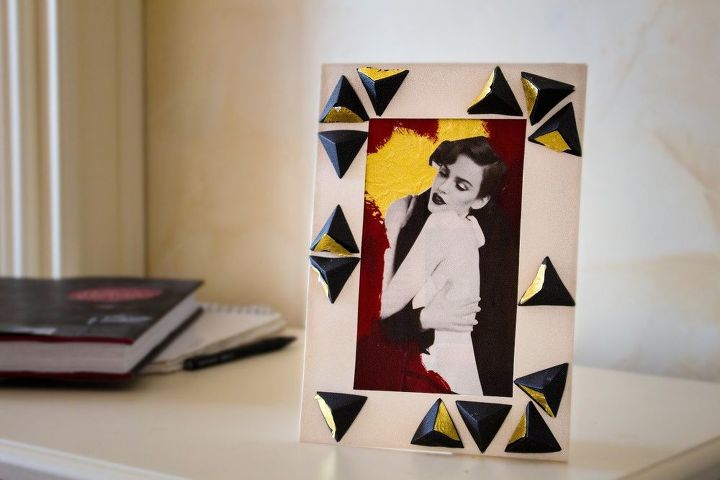
Done! This cute framed collage installation will become a stylish interior decoration.
If you're like this project, check out our youtube channel OR our super cool website
Thanks so much for reading/watching!


Frequently asked questions
Have a question about this project?