


Free Printable Letters & Instructions For Making Farmhouse Style Signs
Hey Friends!  I love the look of painted signs using stencils! The problem is that I can’t find letter stencils that are big enough to make the size of letters I want to make. My only option is to by custom stencils (which can be costly) or buy a cutting machine and make my own stencils (even more costly).
I love the look of painted signs using stencils! The problem is that I can’t find letter stencils that are big enough to make the size of letters I want to make. My only option is to by custom stencils (which can be costly) or buy a cutting machine and make my own stencils (even more costly). 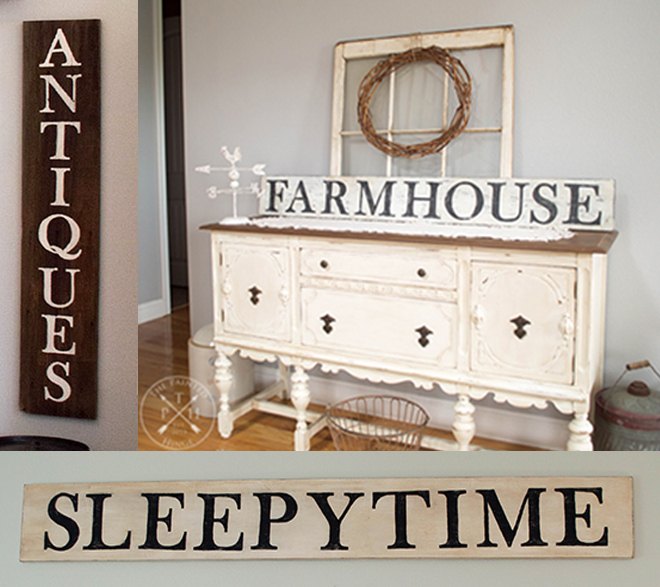
This is an alternative that takes a little more time, but saves a lot of money!
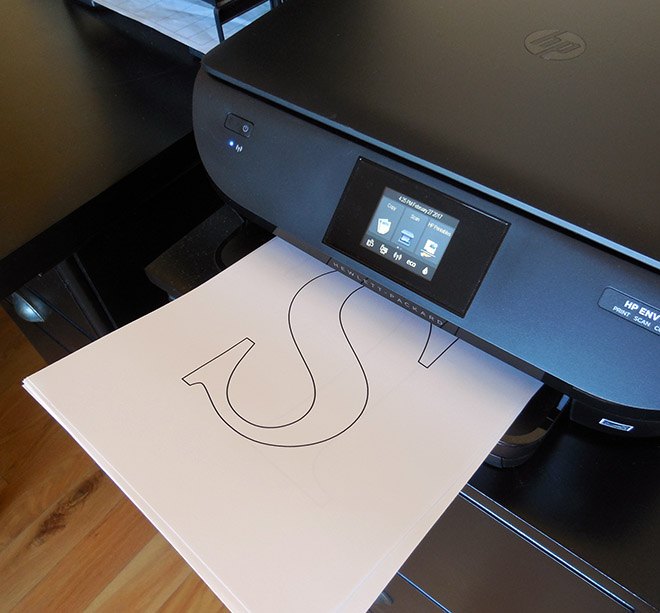
First thing you need to do is visit my blog and download & print the letters, numbers, and punctuation you need for your sign HERE!
For the list of materials I used to make this sign, please click on the link to my blog below!
Now I know that I’m not going to make some people happy here, but fitting your letters to the size board you are using (or vice versa) is not an exact science. The questions you will want to ask yourself is how big do you want the sign to be, then how big you want the letters on that sign to be. Once you get that all figured out, measure out each letter using the ruler in your word processing software, figure out how much space you want between each letter, and add it all up to get a decent estimate if it’s going to fit the height and length board you’ve chosen for your sign before you print anything out. Sometimes, you may want a sign that is 6′ long, but the word(s) you want to put on the sign in the font size you want to use won’t fit. You will have to either make the font smaller or get a longer board.
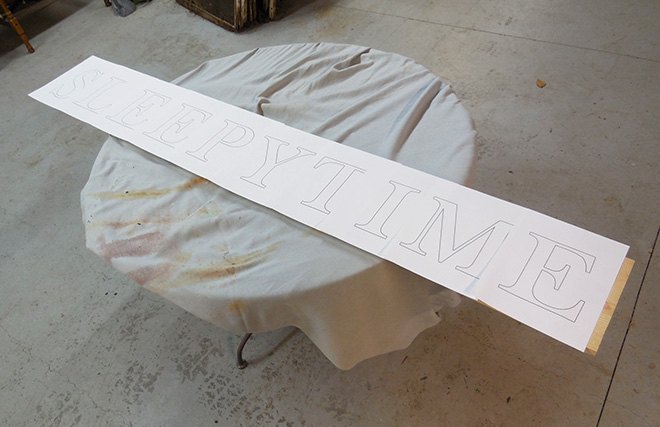
Once I get to the point that I am reasonably satisfied that the font size I chose is going to fit the board I chose, I print them all out and roughly arrange them on the board to see if I’m right.
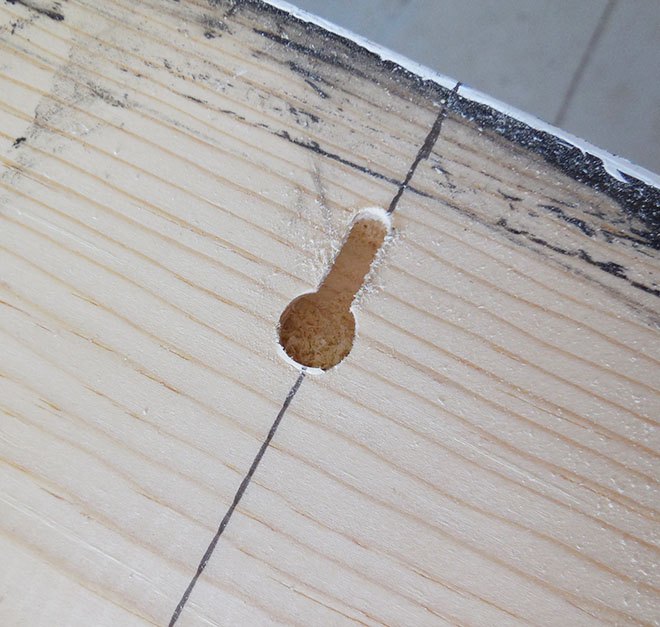
Once I get the font situation all figured out, I start working on the board. I like my signs to hang flush on the wall, so I have my hubby drill a keyhole hole that the hanging screws fit over. You will need a keyhole drill bit and guide in order to do this. You can use whatever hanging hardware you like best; I’m just sharing how I like to do it as a possible option. If you do use keyholes in your sign, make sure to do them before you start painting… I forgot to have my hubby drill the keyholes until I had the stain and one coat of paint on it, and when he gave it back to me, the paint was pretty dinged and scratched up from the process! Fortunately I intended to do two coats of paint on my sign, so the second coat covered all that up.
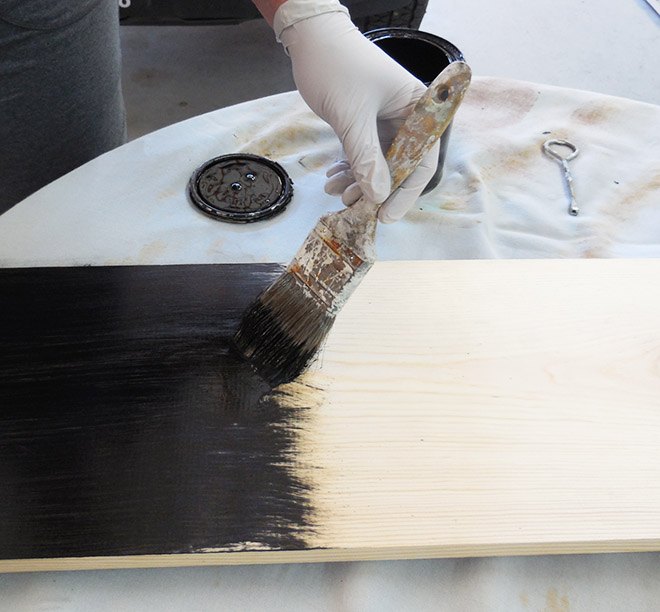
Now it’s time to stain the wood. I used Varathane wood stain in Ebony. I did two coats, painting each coat on using a brush, allowing it to set for a few minutes, then wiping off the excess with a clean lint-free cloth. I allowed it to dry thoroughly between coats. The wood stain has a strong smell to it so you will want to do this outside or in an open area like a shop, which is where I did it.
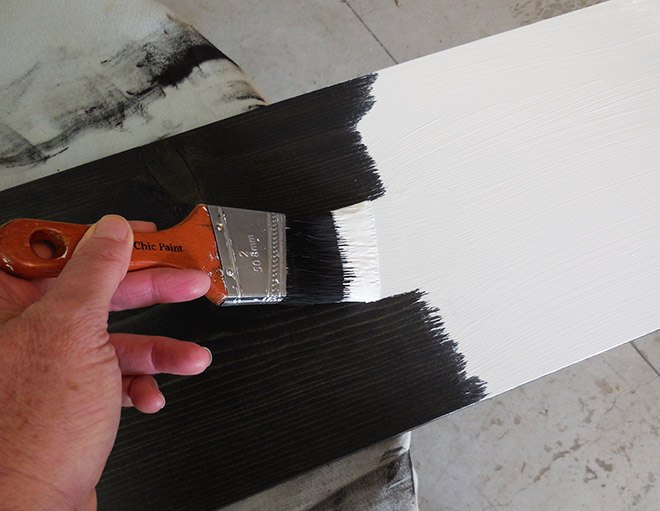
Once the stain was thoroughly dry, I put on two coats of paint, allowing each coat to dry thoroughly. The paint I used Is FolkArt Home Decor chalk paint in White Adironack.
In order to trace the letters onto the sign, you will need graphite paper. The graphite paper I used is Royal Brush Gray Graphite Paper.. It comes in white color as well for tracing on darker colored surfaces. I also got the Royal Brush Embossing and Styling Set to trace the stencils.
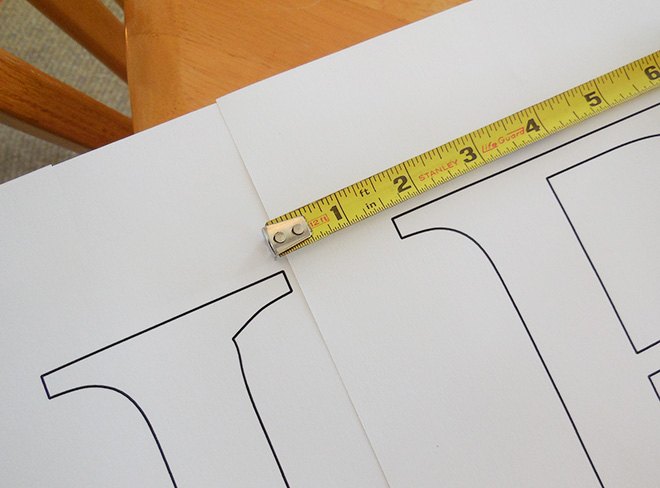
Lay the letters out on the board and measure in between them in order to arrange them how you want to fit. Mark the paper on the top and bottom of the sign for all the letters so they will be straight. Don’t worry if it’s not perfect; I always get a letter or two a bit crooked, but trust me – no one else will notice!
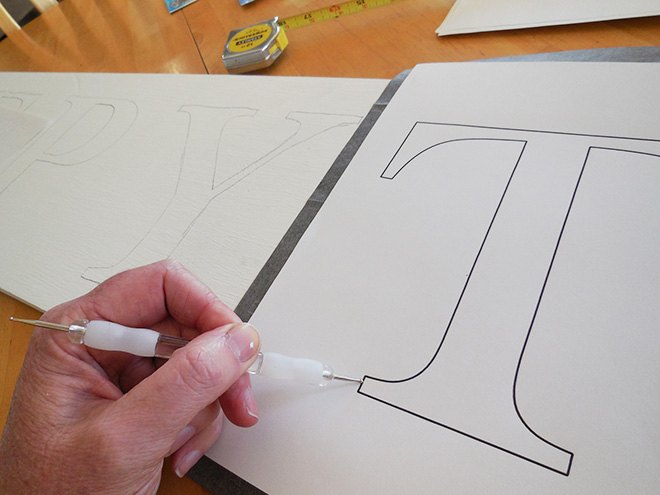
Once you got the letters laid out and measured up, start tracing!
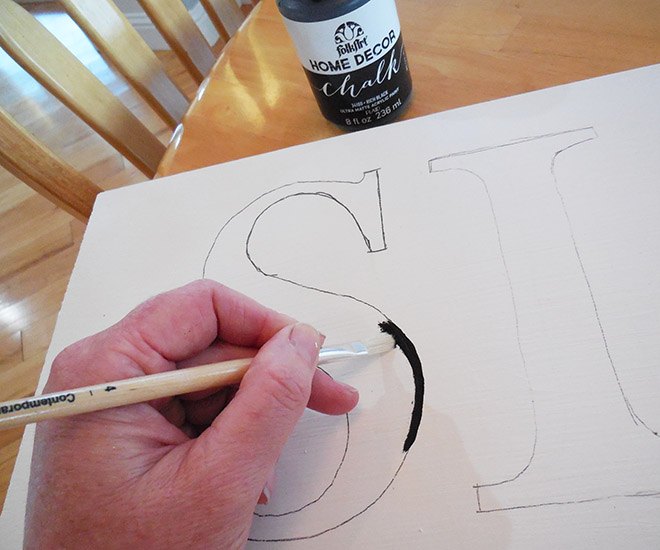
Once you got all the letters stenciled on, you can start painting them in. I used FolkArt Home Decor Chalk Paint in Rich Black. I just used an art paint brush to paint on the letters. Again, don’t worry about being perfect – you can always touch it up with more white paint, and once you distress the sign, you won’t see any minor mistakes anymore anyway.
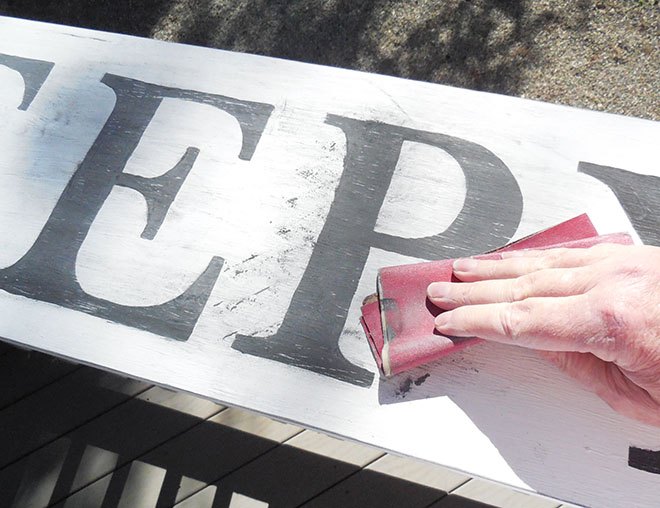
Now it’s time to distress the sign. You’ll want to take the sign outside because as you can see below, sanding the sign makes quite a mess! I used 150 grit sandpaper and sanded the face and edges of the sign. Once you’re done sanding, wipe everything off with a clean cloth, then go over it again gently with a clean damp cloth. Allow it to dry a bit before you put on the wax.
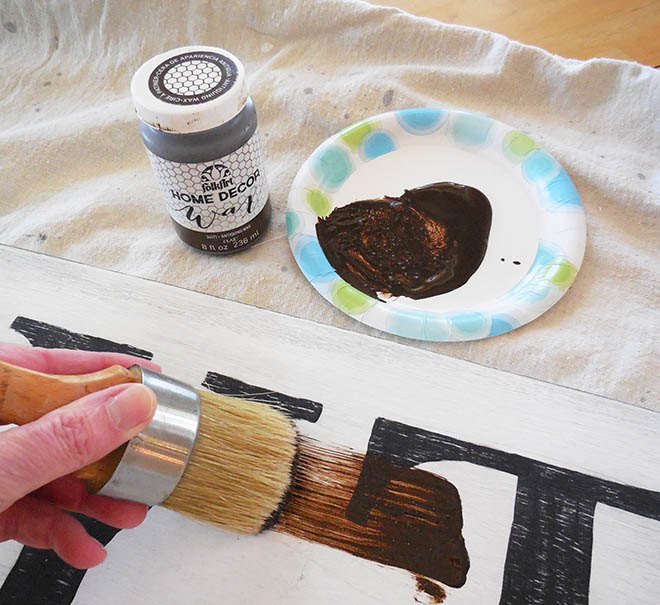
Working in sections, apply the Antiqing wax with a wax brush, allow to sit for a minute, and wipe off the excess with a clean, damp, lint-free cloth. Let it dry for a couple of hours and then apply the Clear wax, working in sections and allowing it to sit for a few minutes before wiping the excess of with a clean, dry, lint-free cloth. Allow your sign to dry thoroughly before hanging it up.
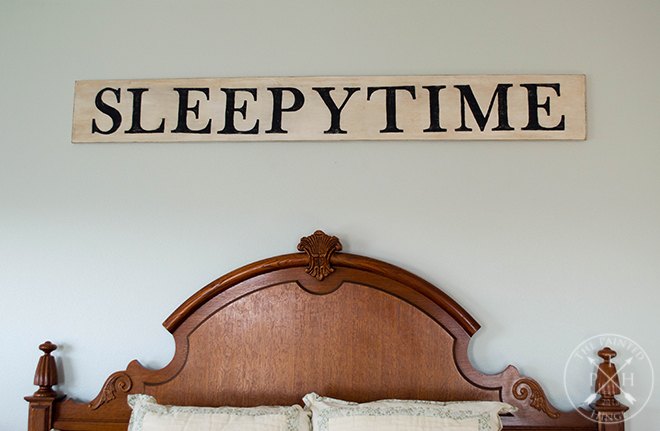
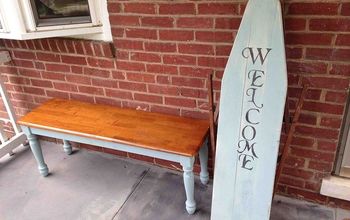
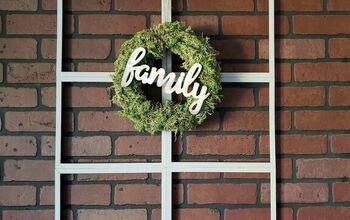
Once you’re all finished, hang up your new sign and enjoy!
To download and print the letters, numbers, and puntuation to make your own signs, click HERE!
To view more pictures of the finished sign and get the materials list for everyting I used in this project, please click the below!

Want more details about this and other DIY projects? Check out my blog post!
Comments
Join the conversation
2 of 14 comments
-
Love these letters. How can I download letters and numbers stencils
-
Hometalk. This is a great post however you might as well remove the "link" to the letters offered as the site is no longer viable. The domain is for sale. Wish it weren't !!!!!


Frequently asked questions
Have a question about this project?
Any chance you could send me the whole alphabet? I want to make an alphabet sign for my pre school.
hi!
How can I make these letters a little smaller
Why did you have to stain it two times before adding the chalk paint? I understand that when you sand the white, the stain comes through giving it a distressed look, but is it necessary to have two coats of stain?