


2 Bookmarks From Food Boxes - Recycled Craft

2 Materials
I love to make things from old stuff and old food boxes and packaging are a great source of card for crafting. They often have varied colours on them and different patterns which can be used to make all kinds of things. I decided to go for a couple of simple bookmarks just to show how easy it is. Check out the video on my YouTube Channel, more detailed instructions follow below.
I hope you enjoy it!
{
"id": "3856506",
"alt": "",
"title": "",
"video_link": "https://www.youtube.com/embed/eHRl6-k3XMY",
"youtube_video_id": "eHRl6-k3XMY"
}
{
"width": 634,
"height": 357,
"showRelated": true
}
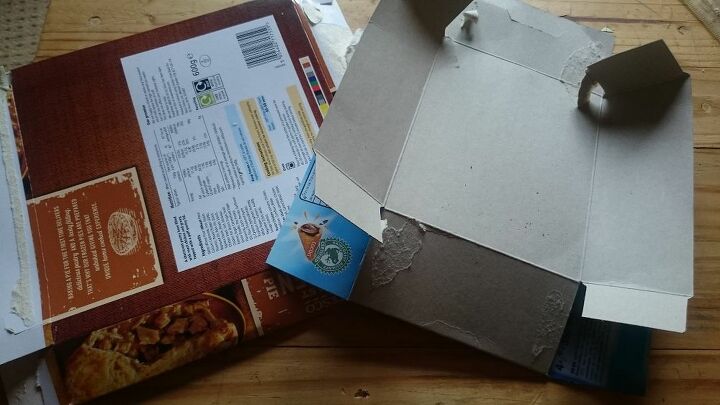
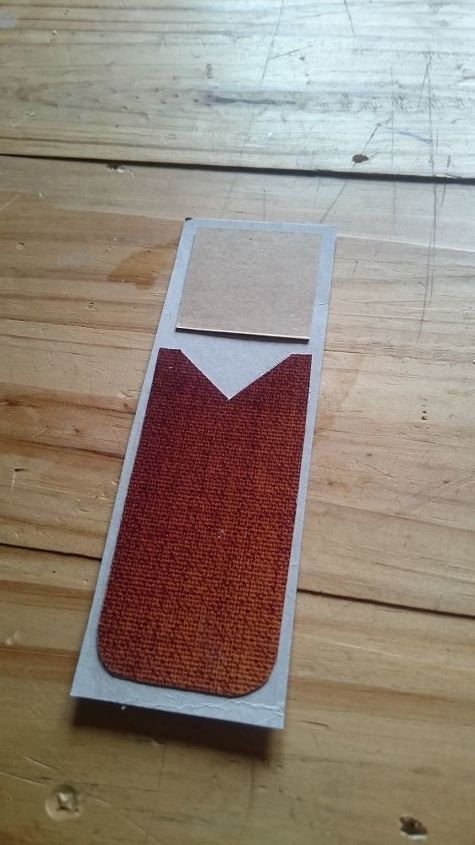
Luckily food boxes have lots of straight edges which means a ruler doesn't really need to be used in this case. I started with a base of a long rectangle from the ice cream box and then made a smaller rectangle from the frozen pie box because it had an interesting kinda brown woven pattern on it.
Knowing that I was going to need an arrow shaped cut to slot the bookmark over the page I went about making it in the brown card first. I thought it would look better that way. I then glued the brown card onto the base and tidied up all the edges with the scissors.
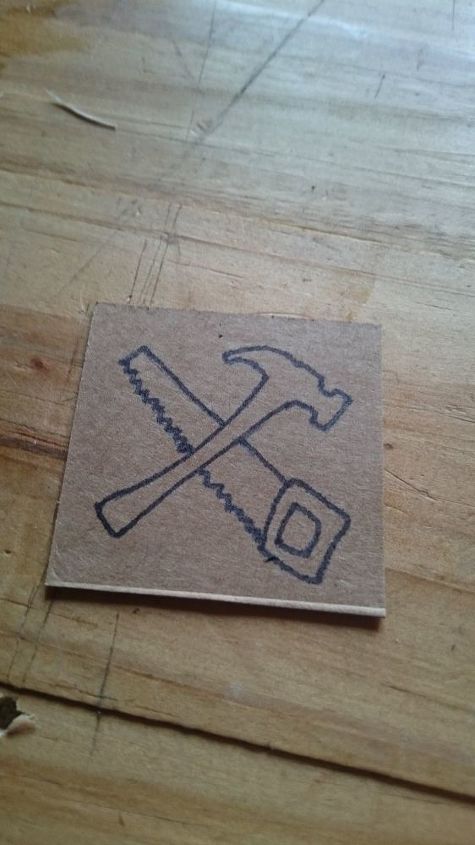
Now this design could be absolutely anything you like, I just felt with the brown card it was a kind of outdoorsy, hobbyist kind of bookmark and went for some tools. Hopefully your design will look better than mine though, I feel like I let myself down on those drawings!
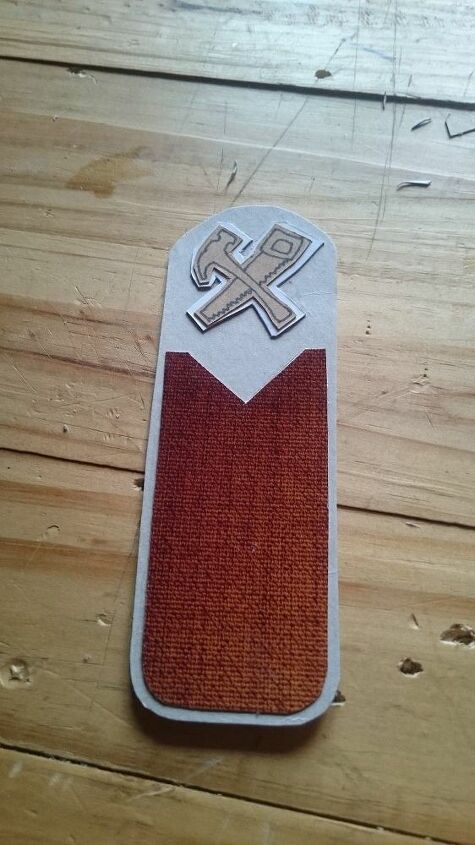
After I got the design finished I cut around it with a scalpel and stuck it onto some white card, I then cut around it again to give it a white border.
The design was stuck onto the bookmark and then I cut around al the edges making them curved.

Feeling like it needed more details I took a fine line marker and drew a black outline around the whole bookmark, along the V and around the hammer and saw. This gave it a more complete look. I then took a scalpel and cut the V through the base of the bookmark and tried it out, it worked a treat!
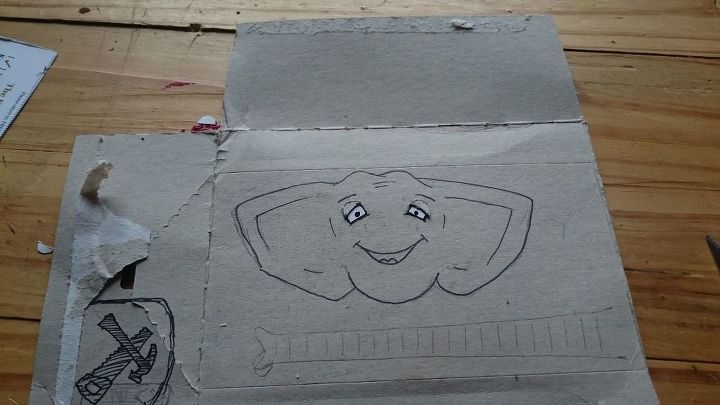
This once again is down to your own personal interpretation but I decided to look up some pictures of African elephants online and just go from there. I started with a pencil outline (which I rubbed out multiple times!) and then finished it off with a pen outline. Taking a red pen I coloured in the tongue and a black pen for the rest of the mouth.
I realise it looks very odd at this point and you kind of have to visualise where the trunk will go whilst you're drawing the face.
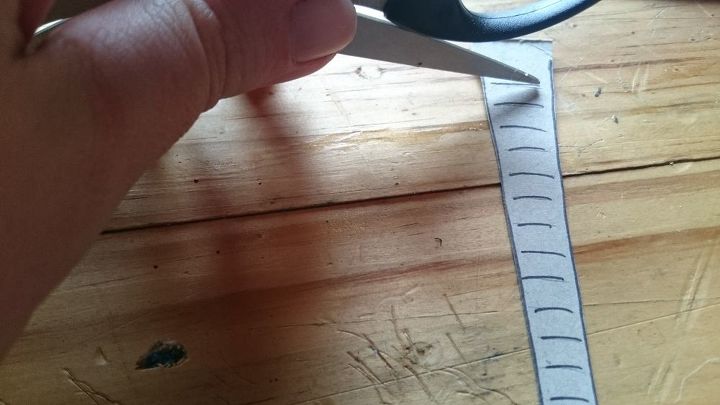
The trunk is fairly straightforward, I just drew it to the length I thought was correct and then drew some lines down the whole length. I cut the trunk out and then scored down each line with the scissors and folded the trunk like a concertina.
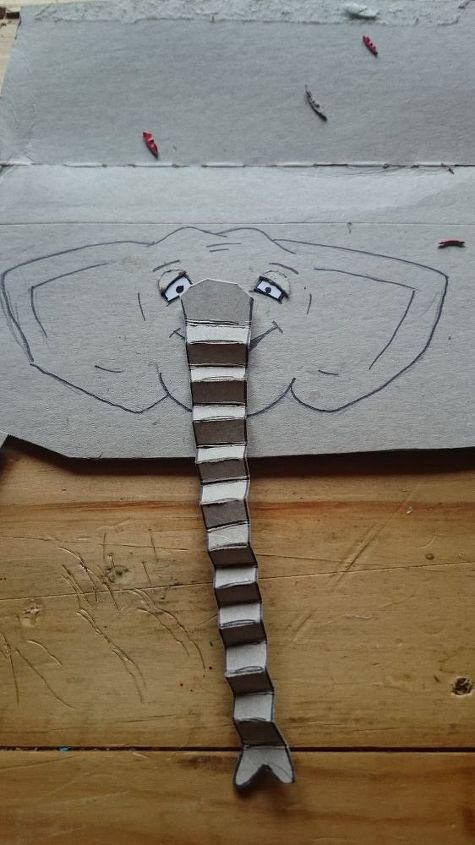
After that I stuck it in place making sure not to glue it on top of the mouth.

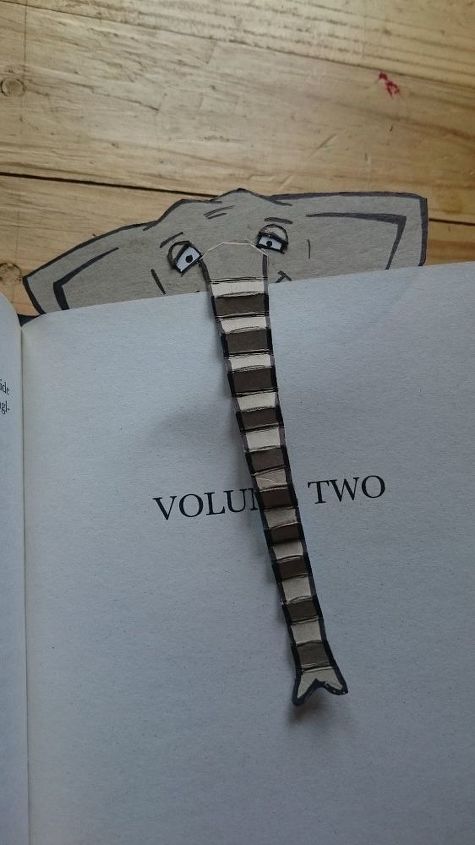
This was a really fun and simple project which produced two unique and very usable bookmarks so I can't complain. I absolutely loved making the elephant one and the other I think could have some improvement, especially with the design of the hammer and saw. Getting two bookmarks from rubbish can never be a bad thing though and so in that sense I'm glad I made them.
I hope you enjoyed my write up and hopefully I'll catch you soon!
Comments
Join the conversation
2 comments
-
Aw! The elephant is too cute


Frequently asked questions
Have a question about this project?