


How to Choose the Perfect Curtains for Your Home

by
Holly Conway
Curtains can really add a finished look to a space, but scouring the internet for the perfect ones can make a girl go crazy! But when you find the perfect ones they can be a major game changer for your space. I’m gonna share with you some of my favorites so far and also a few tips on how to choose the perfect curtains, so be sure to stay with me so you don’t miss my tips on hanging and measuring your curtains!
I got really lucky when I moved in…most of the rooms had beautiful plantation shutters that I knew I didn’t want to change or cover up, which left only a few rooms that needed window treatments.
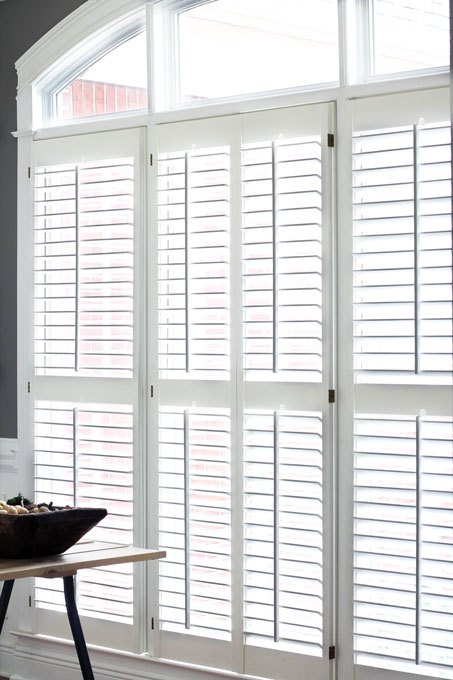
The plantation shutters in the dining room and master bedroom are probably my favorite features in the whole house! The look is gorgeous and I love how they can open to bring in even more light.
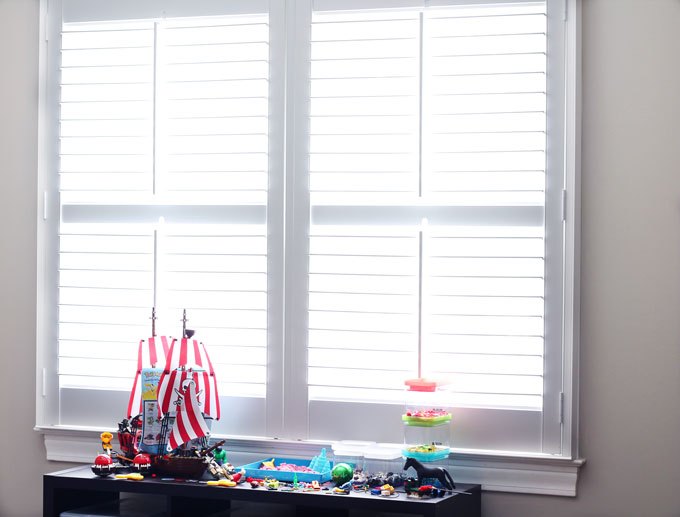
Heading up the stairs, I also have plantation shutters in my son’s room, spare bedroom, and media room. Unlike the ones downstairs, the ones upstairs are faux plantation shutters but you honestly could never tell the difference unless you touch them (they still open up which is a plus). I was worried that they would let in too much light in my son’s room (a sleeping kid is important!), but they work great since they are very thick.
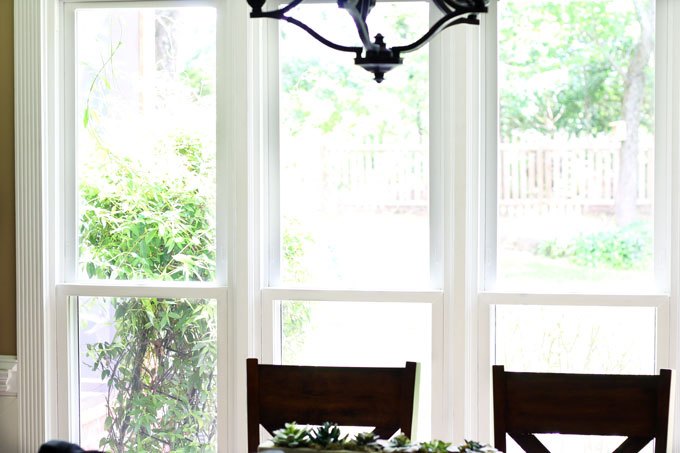
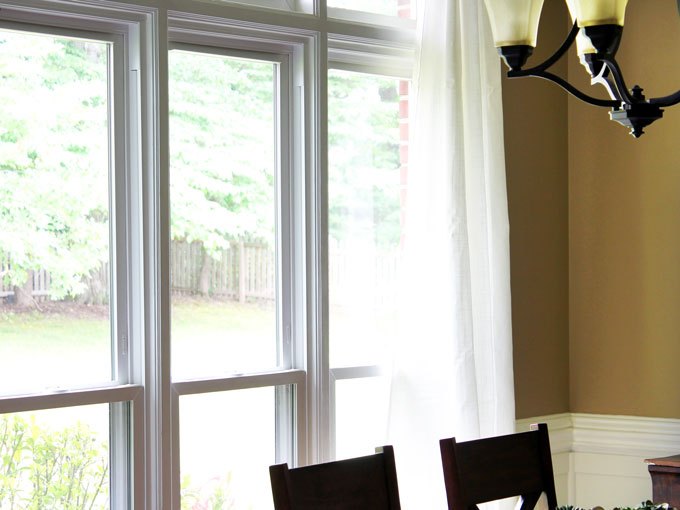
Moving back down the stairs into the kitchen is where I was on the search for the perfect curtains. Just look at the beautiful view from these open windows...I knew I didn’t want to cover up the windows and even considered not adding curtains at all, but I liked the finished look it gave the space, but just not the ones that were left behind when I moved in.
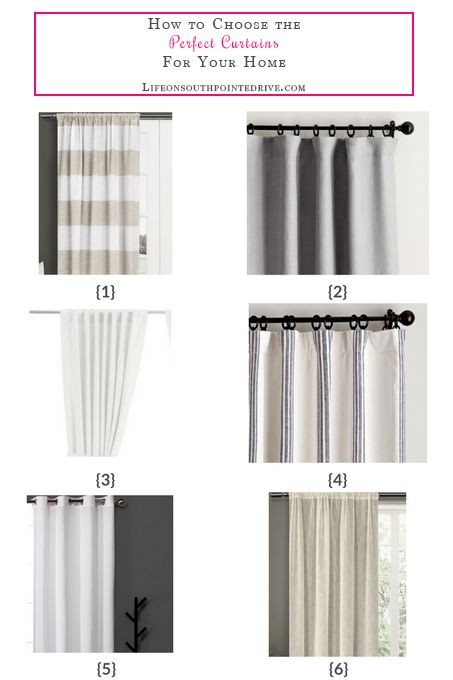
I knew I wanted a light & airy curtain for this space, and the next decision was color/style. There are millions of different curtain choices out there folks and I feel like I searched through thousands! Since I wanted them light I decided either a white, cream, or light gray would match my room (once I decided the wall color) and a solid color is what I was leaning more towards over a pattern. Thinking of fabrics I landed on either linen or a shear to give me that “airy” feel I was wanting.
The decision was very hard, but I decided to go with #3 the Ikea Ritva curtains in 118″. These were actually the cheapest option, but that is not the reason I choose them. If you search around the web for these curtains you will find that people rave about them.
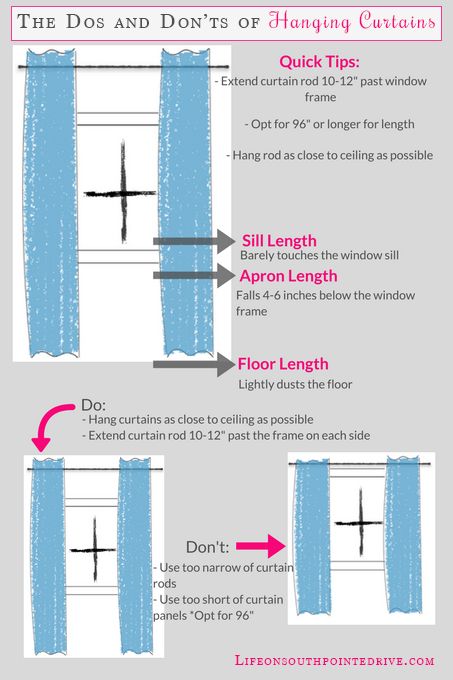
I know some of you may be starting fresh & not really sure what’s the best way to hang and install curtains. There are a few rules to “curtain hanging etiquette”. Here are a few of the basics to always remember, along with a graphic I made to help you out:
- Hang your curtains high & wide to make the room feel bigger
- Always measure 1-3″ above the top edge of the window frame down to where you want the curtain to hang
- Decide where you want the curtains to end: sill length, apron length or floor length
- Extend curtain rod 10-12″ past the window frame
- Hang curtain rod 4-6″ above the window to make the room feel taller
- Opt for 96" or longer on curtain length
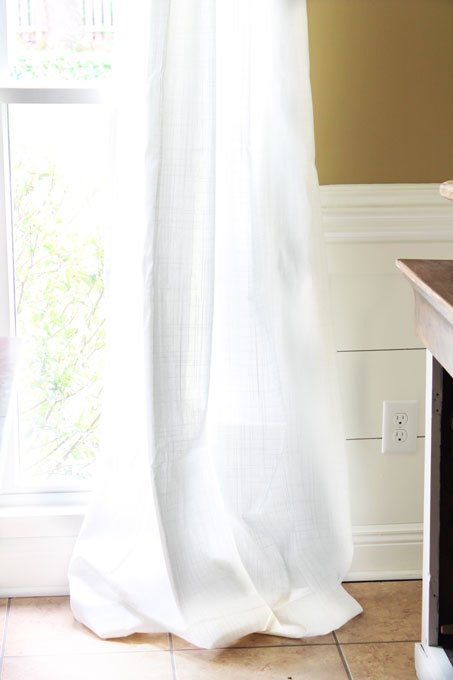
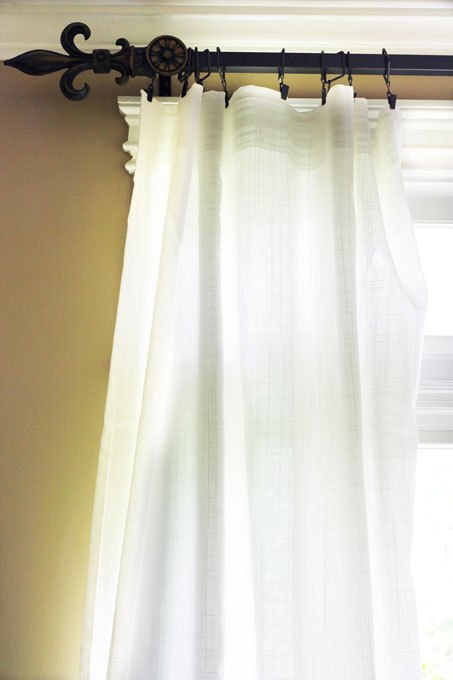
I am a huge fan of long curtains that gather at the floor so I went with the longest size 118″, and I love how they gather!
I was a bit skeptical since these were by far the cheapest pair of curtains I have bought, $36 for the pair! They look expensive and the best part is that they are washable! Another reason why I heart these, is their versatility. There are 3 different ways to hang them depending on what type of curtain rod you have, so I will not have to worry about changing out my curtains when I get a new rod.
I absolutely love how these curtains fit into the look and feel of this space! Hopefully you have found some of these tips useful and be sure to save the “Dos and Don’ts” graphic for reference!
Want more details about this and other DIY projects? Check out my blog post!


Frequently asked questions
Have a question about this project?