


DIY Rustic Wood and Window Bench

by
Zest it Up
$10
2 Hours
Medium
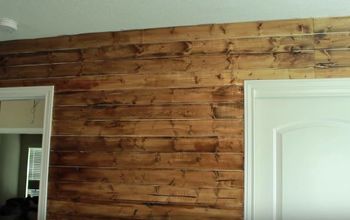
Today’s post shares a special place in our hearts, because we got back to our roots with a little dumpster diving. If you have visited us over at zestitup.com, you probably know that we started our company with earnings we made from zesting up an old, warped desk that we found on the side of the road. What better way to build up a little capital for starting a company than digging through the trash to find furniture upcycle projects! Well, yesterday, Sam and I were driving home through Santa Margarita, and we found THIS!!!
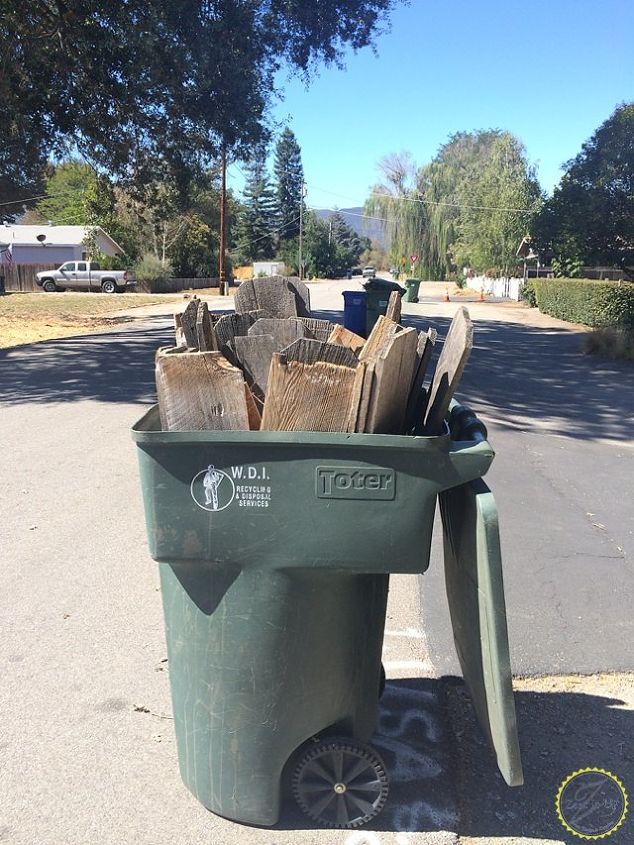
I will not even begin on a rant about throwing away such beautifully textured wood. I get it. They built a new fence, and they needed to clear. No problem, just a huge blessing for us. So, Sam and I loaded up the truck and raced home for a little creativity time!
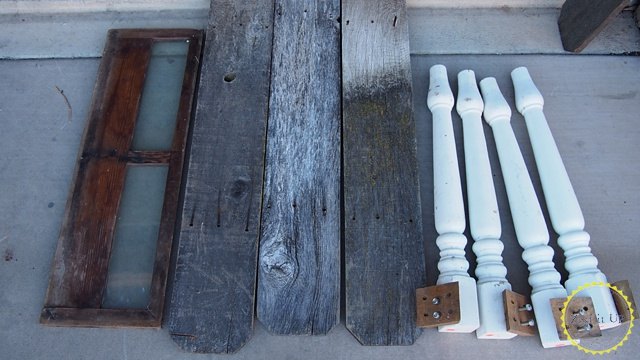
Fortunately, we already had acquired this uber cool window from a friend, and these detailed table legs from Restore (the Habitat for Humanity thrift store). Woot-woot for a practically free project, right? Well, maybe you will agree once you see the finished project. So, here we go!
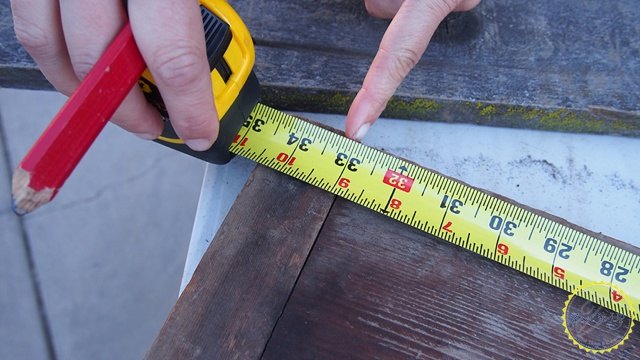
First we measured the width of the window, because we knew that we would want it for the back of our bench.
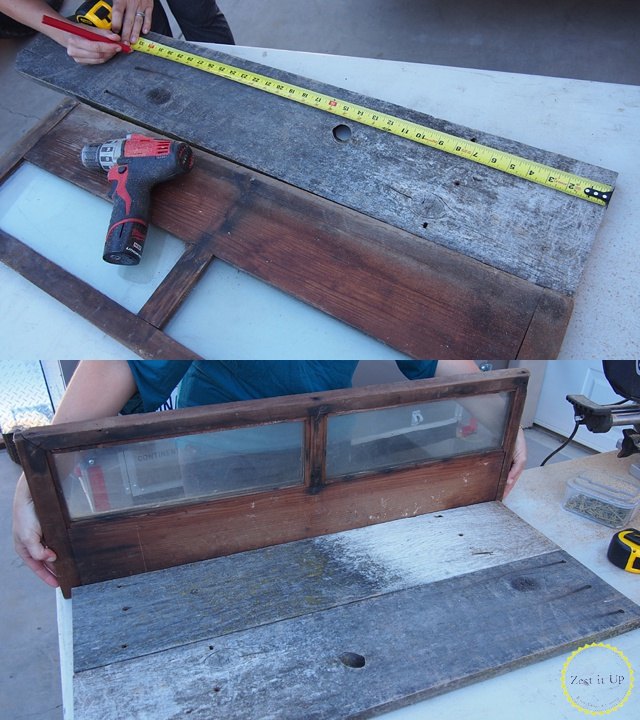
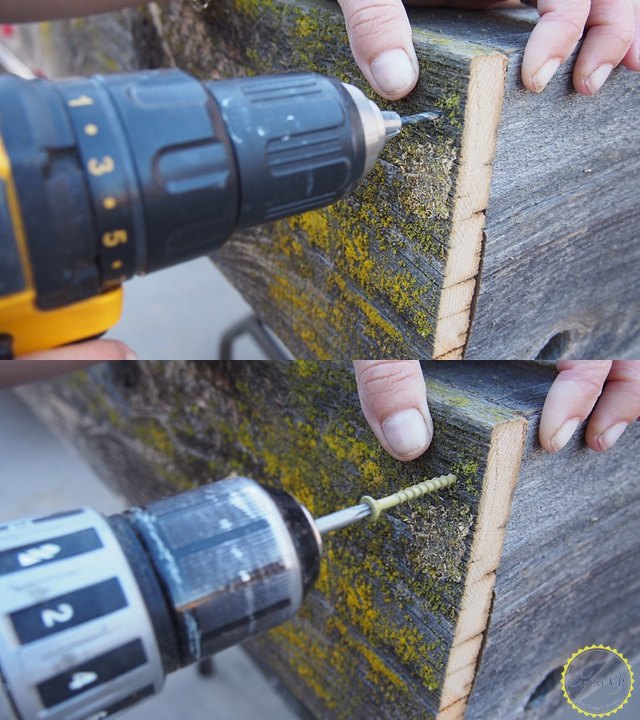
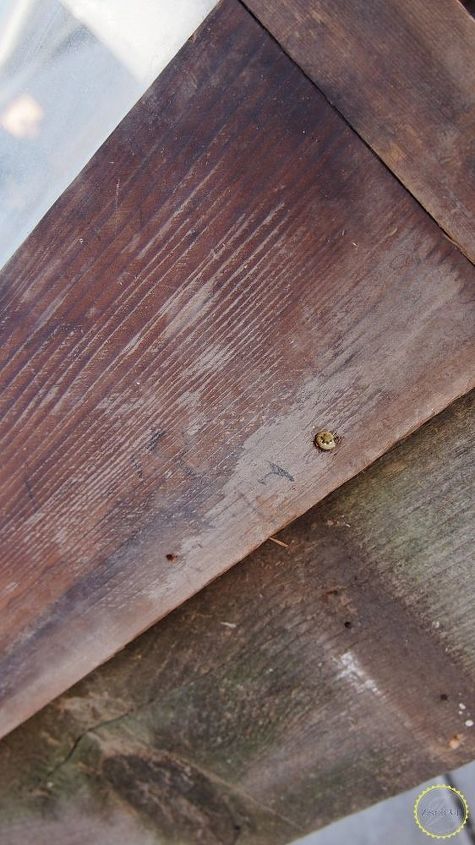
We made sure to to measure the thickness of the boards, because we knew that we would want to make an apron. You can see in the above picture that the “seat” of the bench is actually 3/4″ shorter on each side. That is because we knew the apron would take up that space. As you can see in the picture below, the boards were exactly 3/4″ thick.
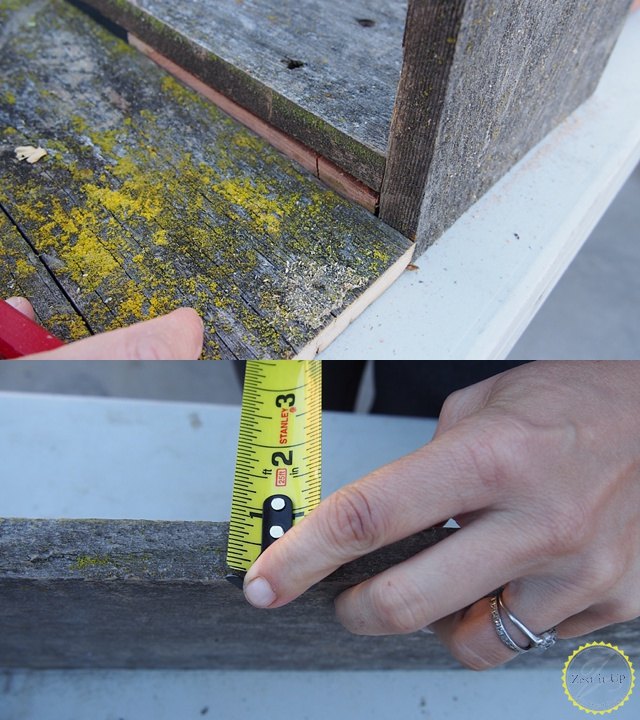
If that seems confusing, just keep reading and it should become clear :).
Time to flip the boards over and give them some support. We decided to use new wood here, because we wanted the sturdiness. After all, who knows how many people will be chilling on this one-of-a-kind bench!
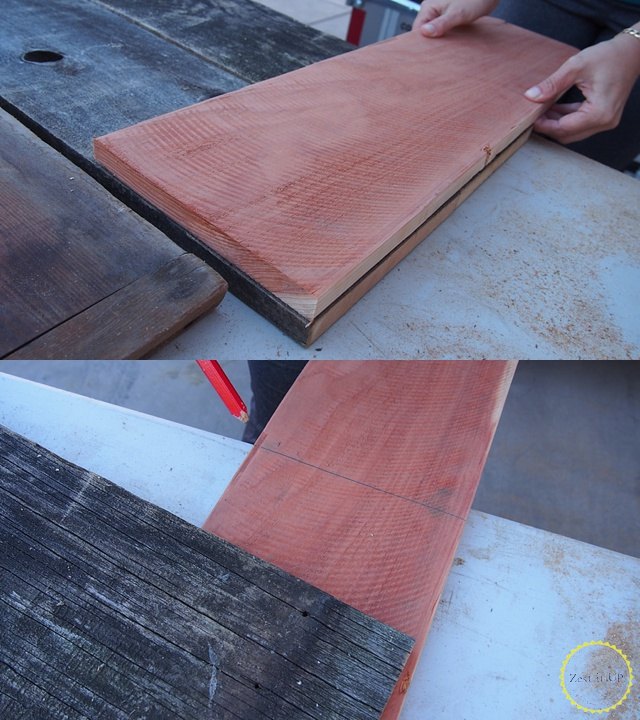
With measurements made, we headed to the chop saw once again.
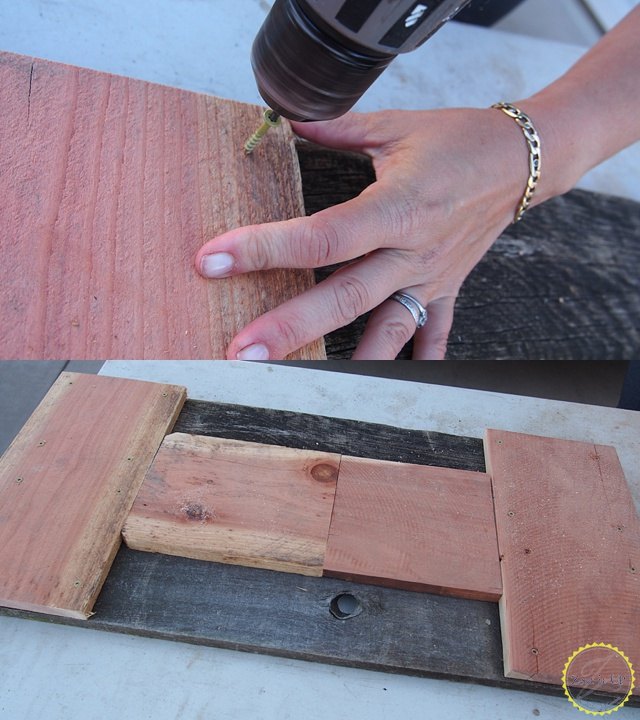
The install was a cinch. Just make sure to pre drill wherever you want to use a wood screw, because old wood has a nasty habit of splitting and cracking. You do not want to get this far, only to have to chuck it due to severe cracking.
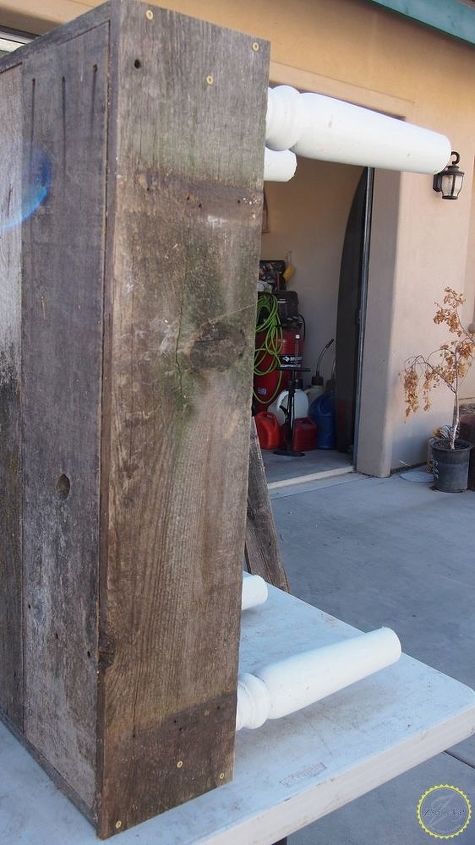
Time to flip over and add an apron.
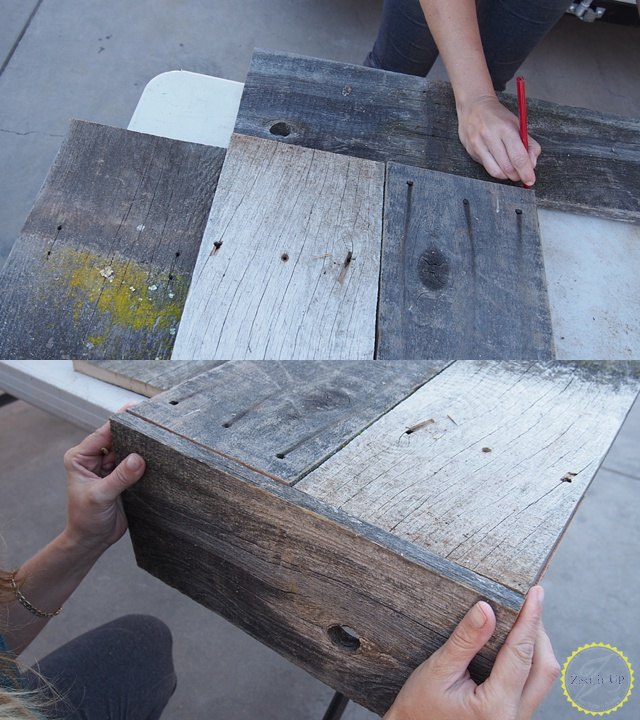
Now, does the weird measurement from the beginning starting to make sense? I hope so. We measured the sides to be flush with the depth of the bench, so that we could have the front look seamless. That way we wouldn’t have any seams showing from the front.
Time to pre drill and screw this baby together.
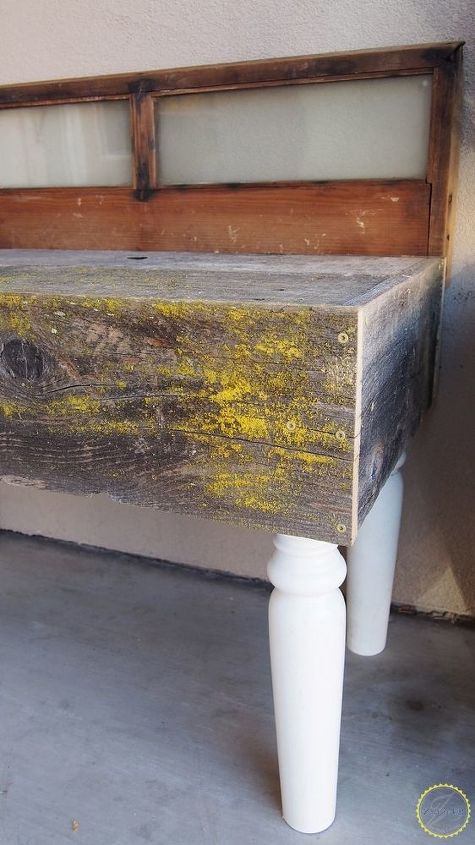
Things are looking great! Can you believe that gorgeous lichen.
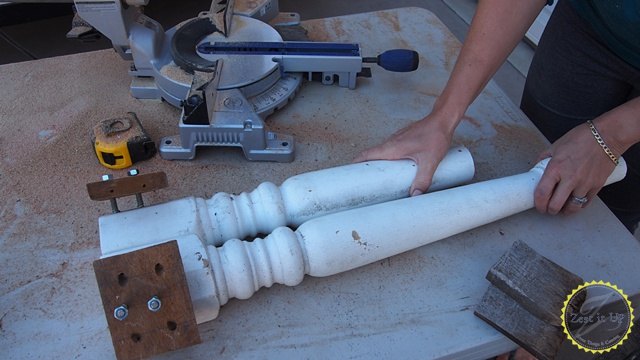
Time for legs!! Obviously, our legs were meant for a table so they would be way too long. With a little trim, they were the perfect bench height.
Again, pre drill and screw in!
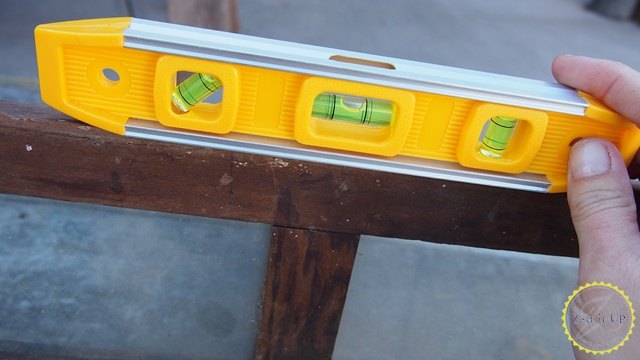
Oh happy day! All that is left is our old window for the “back rest.” Use a level to make sure that you attach your window correctly. You do not want a chair back that angles at a slant.
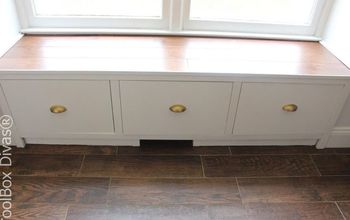
A few screw across the bottom and we are done! Super gorgeous!
Whatcha’ think??
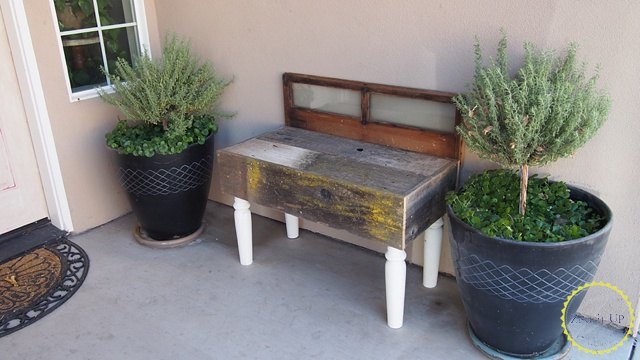
This the perfect patio furniture and outdoor bench!
Want more details about this and other DIY projects? Check out my blog post!
Comments
Join the conversation
2 of 37 comments
-
Okay, people, CHILL! Different strokes for different folks! If you try this project, you're going to put your own spin on it. So, I don't understand all of the negativity. I think I would paint a checker board on it, and use found black and white rocks for the "checkers". Just the fact that this great wood didn't wind up in the landfill is good enough for me!
-
I think it's a good idea, but legs look too new and should be weathered looking.


Frequently asked questions
Have a question about this project?
A lot of fencing has been treated to make it last longer...even that falls apart after some years...is the "used" treated lumber safe to use in projects....i have some fencing that we will be removing because we are going to use the property for something else and there are quite a few panels...it really is pretty weatherex and wiukd make great picture framez...just wondered if it woukd be safe in someone's home
Have you done anything to lessen chance of splinters that could cause injury or damage clothing? What about staining of clothing from old wood and lichen?
I really like it trying to get my husband into rustic but no luck so far. But the things I do are smaller and I put modge podge to seal,what do you use on a large item like this.