


DIY Paper Tube Toy Box

by
Troom Troom
8 Materials
How to make DIY toy box. In this tutorial we'll show you an amazing idea of making a convenient box from paper tubes. This festive box will help you to keep all toys in one place!
{
"id": "3861560",
"alt": "",
"title": "",
"video_link": "https://www.youtube.com/embed/Xx5_-Vlq0fo",
"youtube_video_id": "Xx5_-Vlq0fo"
}
{
"width": 634,
"height": 357,
"showRelated": true
}
Check out the video above to learn how to make your own!
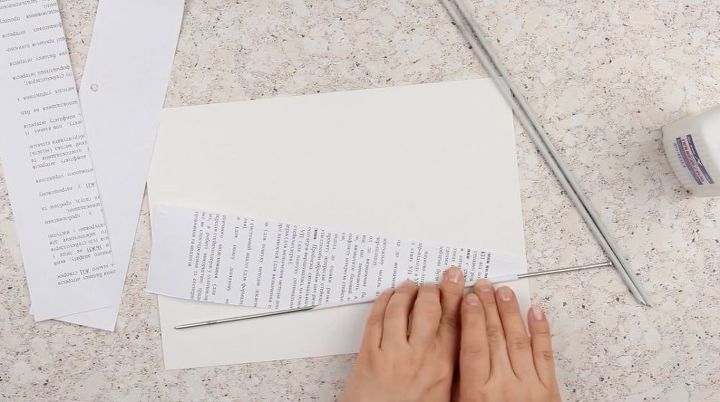
Let’s make tubes for weaving from the newspaper. Cut out a newspaper folded spread into eight parts.
Add glue across the edge. Roll the paper on the needle starting with the corner.
Make a couple of dozens these tubes.
Use the thick office paper for the frame tubes or stands as we’ll call them further.
Cut out the paper piece into three strips and make the tubes in the same way you did from the newspaper.
Fold the sharp end of a white tube in half, add some glue, put it inside the other tube.
Make seven more long office paper frame stands in this way.
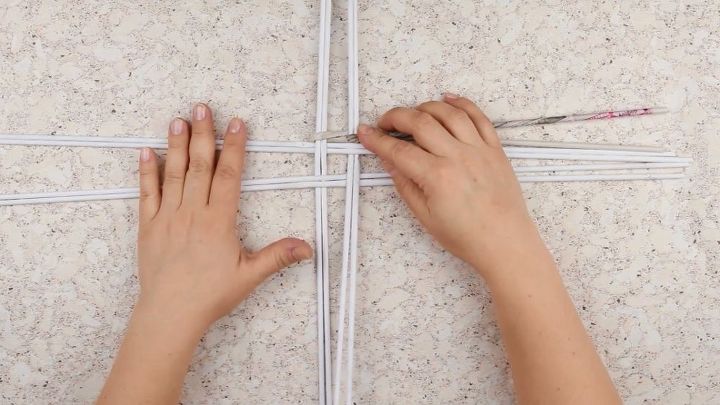
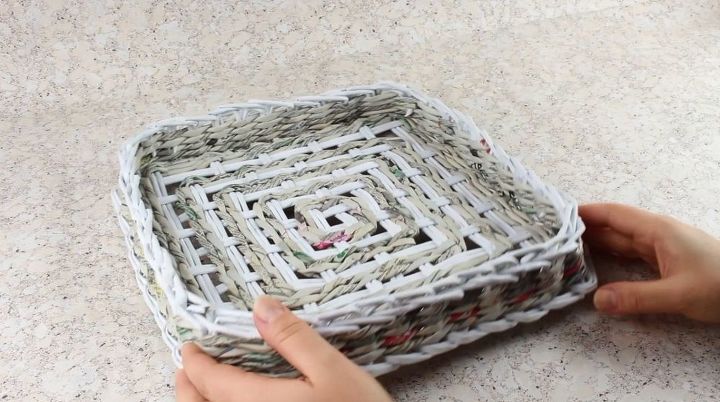
Take four pairs of the stands. Weave them around to shape a -side square in the center.
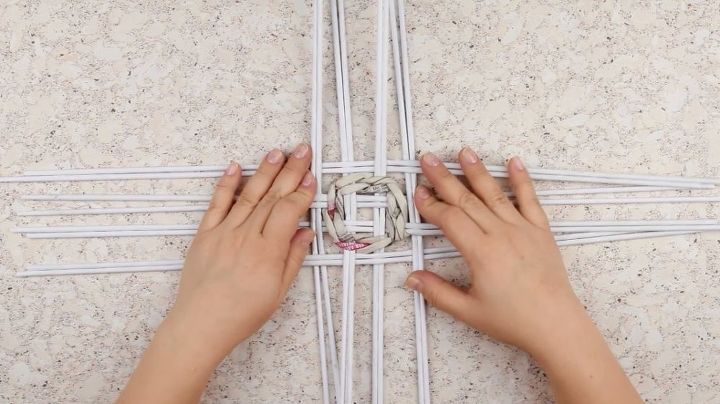
Glue two newspaper tubes to make a long one, fold it in half and start weaving.
Wrap a pair of stands, weave them around and wrap another pair.
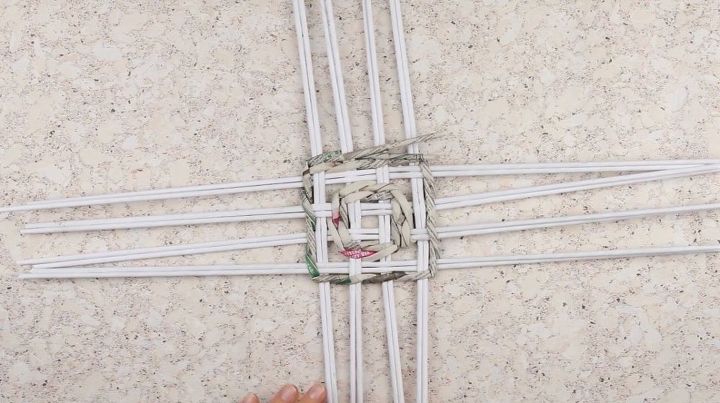
Continue weaving. Make the tubes longer as far as needed.
Finish weaving at the end of the second row.
Cut out the excess ends and fasten them using white glue.
Add the frame stands. Prepare four pairs.
Add a pair to each square side winding around the stands.
Weave the stands with newspaper tubes for two rows.
Add the stands at four sides again.
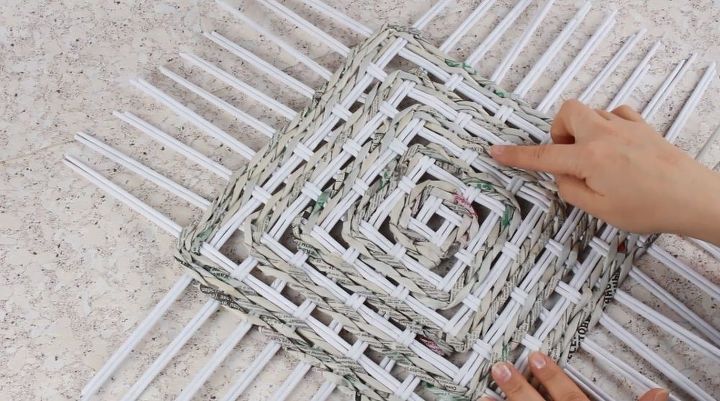
Weave the box bottom alternating a pair of stands and two rows of newspaper weaving.
There are ten pairs of white frame stands in each direction.
Complete the weaving. Fix the tube ends.
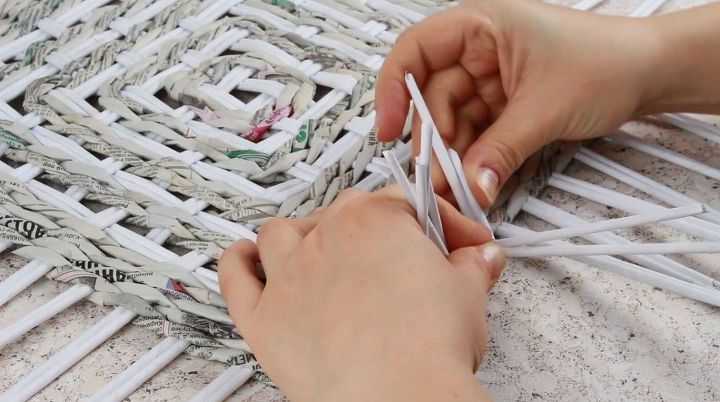
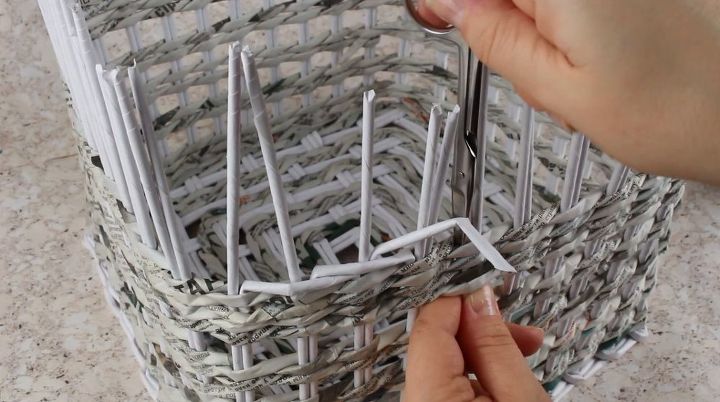
Take a corner pair of the stands and bend it to the right.
Wind around the next pair. Turn upright.
Continue around the row until all the stands are upright. Extend the stands.
Weave the box walls with the newspaper tubes.
Fasten the weaving at the end of the second row.
Begin the next row at beyond the last one.
Keep the equal interval between the rows.
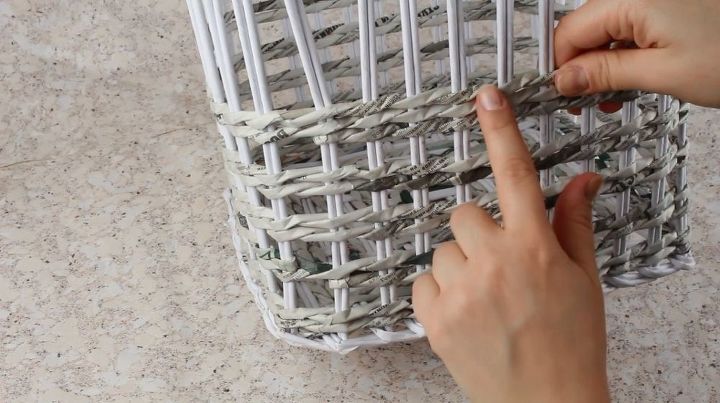
Make the walls of the needed height in the same way. Weave four rows successively at the end to make the walls firm.
Let’s make the upper edge neat. Bend the right stand of any pair to the right and down.
Cut out the excess. Glue the end.
Pass one pair of stands and tuck the end between the rows. Continue in the same way.
The rest stands bend in the same way to the left.
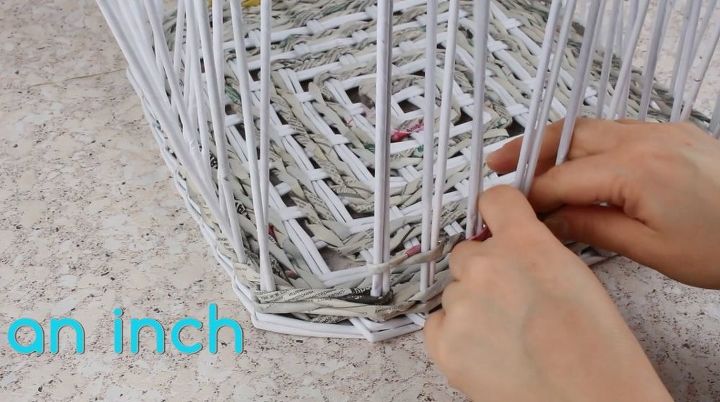
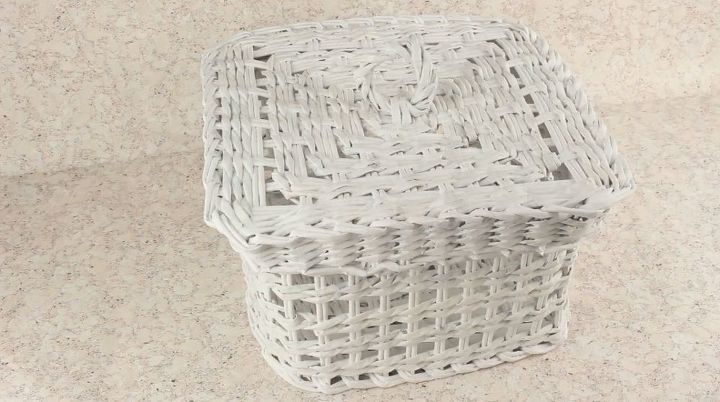
The box is ready. Let’s make the lid.
Weave it in the same way you did the box, but an inch bigger.
When all the stands are upright, weave four rows with newspaper tubes.
Complete the upper edge in the same way you did the box. The lid is ready.
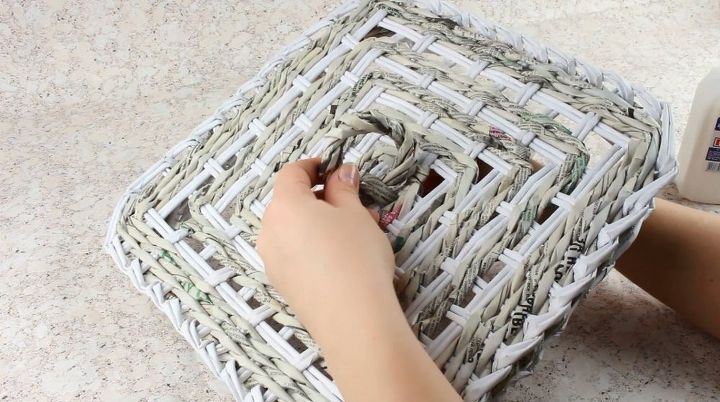
Let’s make the handle. Extend a newspaper tube. Shape a ring.
Wind around to make it firm. Extend the tube as far as needed.
Fasten the handle on the lid. Put the tube end into the center of the lid.
Return upwards. Pass through the ring.
Extend the tube when needed to make several more windings.
Secure the end on the back side of the lid.
We have completed the weaving. Let’s ground the box.
Apply the ground cover with a brush to the box and lid all over the surface. Let dry.
Spray with white acrylic paint.
Let’s make a fabric cover. Use a pillowcase of the appropriate size and color.
Turn the case the inside out. Sew down the far corners.
Place the case to put the corners in the center.
Seam across the fold lines on both sides. Put the cover inside the box.
Mark the needed height. Cut out the excess.
Stitch the edge. Put the cover inside.
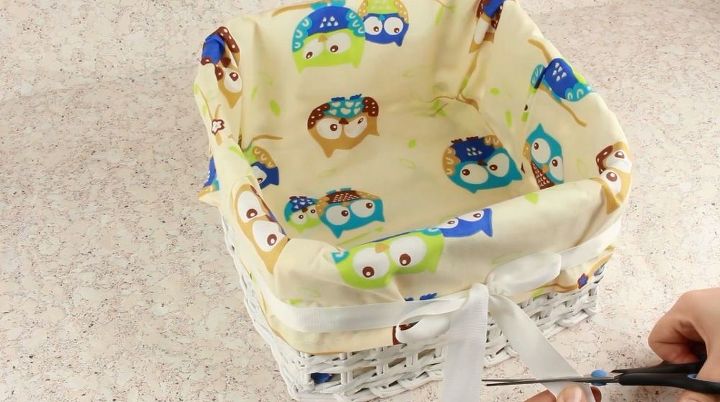
Wrap with a white satin ribbon. Tie a bow.
Snip off the ends, fray check.
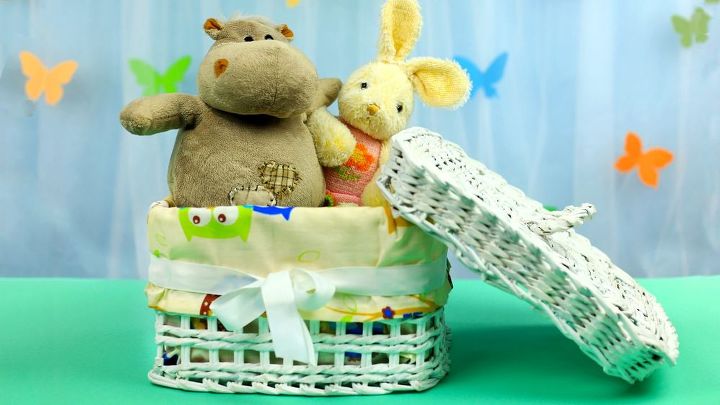
The toy box is ready. Now the toys will always be in one place in this festive convenient box.
If you're like this project, check out our youtube channel OR our super cool website
Thanks so much for reading/watching!


Frequently asked questions
Have a question about this project?