


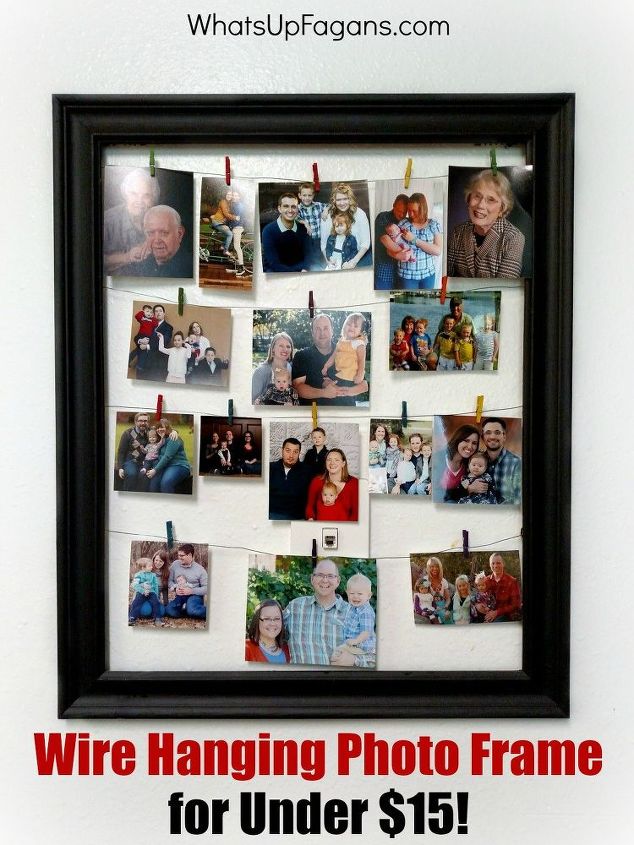
Create a Wire Photo Hanging Picture Frame for Under $15!
$15
25 Minutes
Easy
I have loved these open framed picture frames with wires for hanging pictures for a long time. I have since used mine to hang up Christmas cards we received on it. It's fun to see family and friend's pictures even after the holidays are over! Their smiling faces remind me to pray for them and think about them.
If you want to make your own, it's easy, and affordable! Here's how.
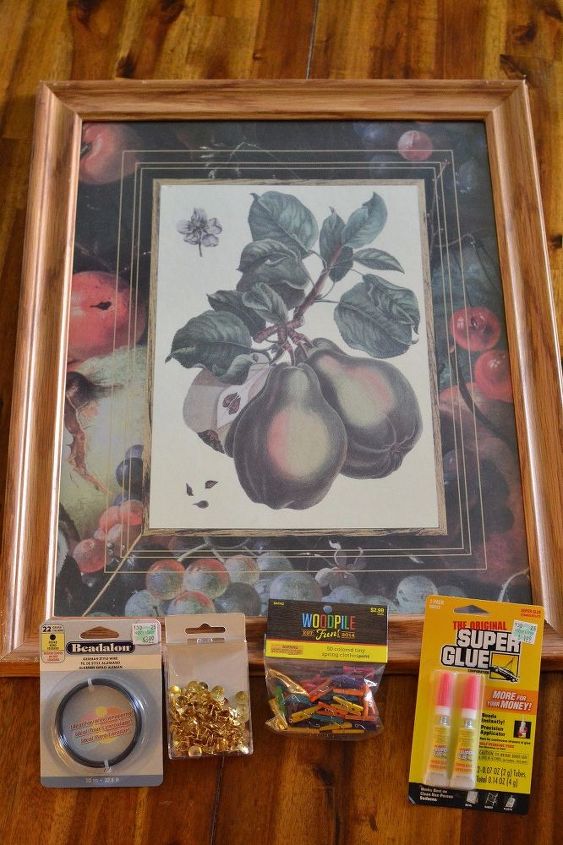
I bought the picture frame from Goodwill, choosing the frame in the (large) size I wanted. It doesn't matter what the image is either.
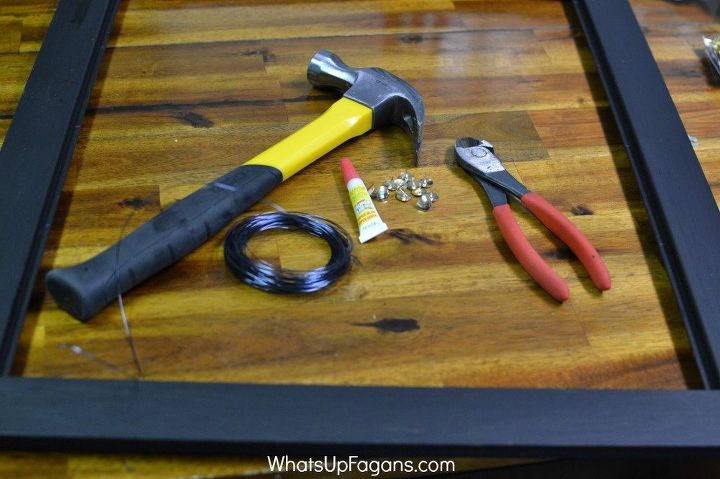
The other supplies I acquired from Hobby Lobby and some I had on hand. For a full list, their prices, and what I bought, see my post.
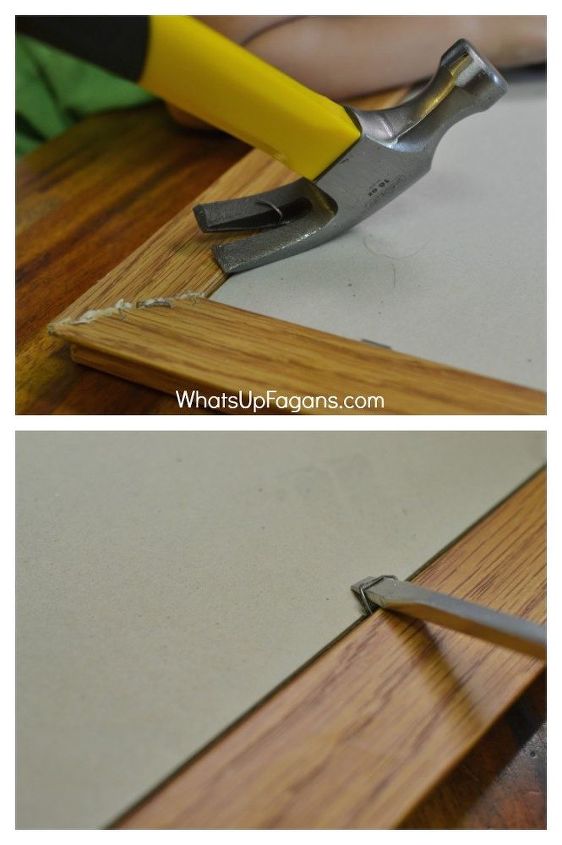
Step 1: Remove the glass and backing from the frame. I had to use a flat head screwdriver to remove mine, and then the backside of a hammer to remove the metal staples. I removed a few extra staples from the corners as well.
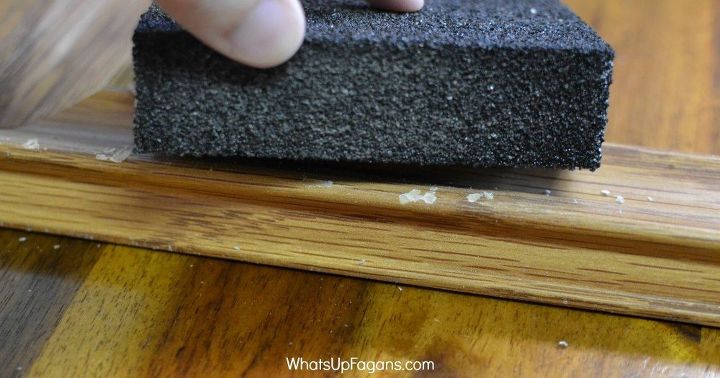
Step 2: Sand any rough spots on the (used) frame lightly with sand paper. I just had a sanding block on hand so I used that instead.
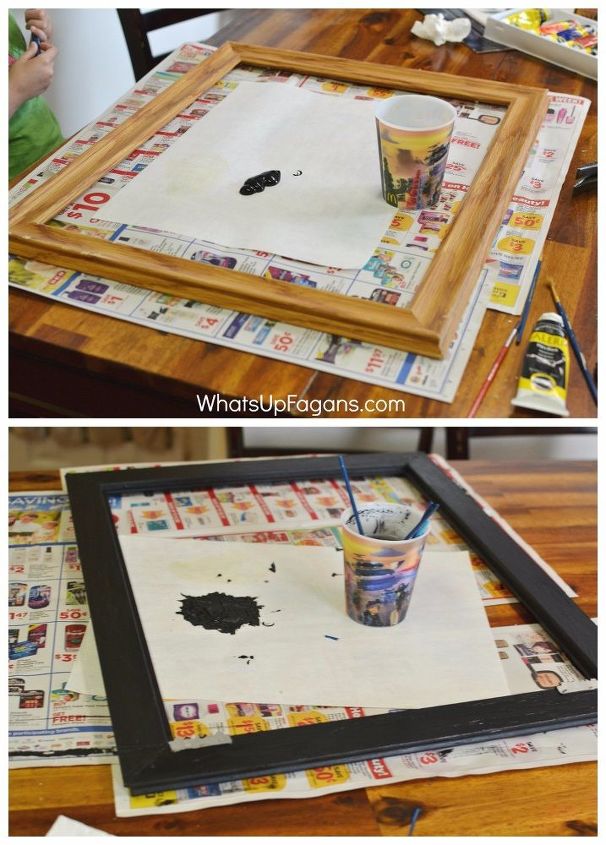
Step 3: Lay down newspaper or other material to protect your work surface under your frame. Paint the frame in the color of your choice, both the front and the back.
Step 4: Let dry.
Step 5: Measure how far apart you want your rows of wire to be and mark them with pencil on the backside, with level marks on the left and right side.
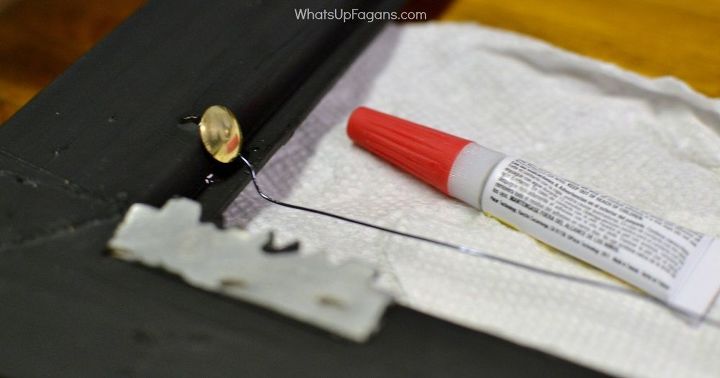
Step 6:Wrap the wire around a tack and hammer the tack into the backside of the frame gently, at a slight angle, applying a dab of super glue to the tack hole as you do as they have a tendency to want to pop off if you don’t on your pencil mark. You may want to keep newspaper underneath the frame to catch any excess super glue drips from ruining your work surface.
Step 7: Pull the wire taut across the width of the frame, and wrap around another tack and gently tap and glue it into place directly across from that one,
Step 8: If your frame doesn’t have them, attach sawtooth metal picture hanging hooks to the top edge of your frame on the backside.
Step 9: Hang on the wall, using a level, hammer, and nails.
Step 10: Attach pictures, postcards, notes, and anything else you like with the mini clothes pins.

Want more details about this and other DIY projects? Check out my blog post!
Comments
Join the conversation
2 comments
-
This project looks fun to try! I've seen them selling for much more than the cost you've listed. Thanks!
-
Adorable!!! Thanks so much for sharing!!!


Frequently asked questions
Have a question about this project?