


Concrete Counters/feather Finish Over Formica! "My Version!"
7 Materials
$50.00
8 Hours
Medium
Edit/update!!! So my mother in law contacted me the other day, to tell me how well her counters are holding up! Since I’m sure many of you are curious (I was also curious... and frankly scared to hear!! LOL) I asked her to take some photos of them, six months after we finished! Scroll down to the end for the updated photos!! They look amazing!!! I’m so happy to report this wonderful news!!!!
Since using the feather finish on my dining table, I have wanted to try counter tops. Ours are granite, so I had to find someone with Formica or something that would look better, covered up! My in-laws purchased a new home and guess what? Formica counter-tops! Perfect! So....here we go! This transformation was done in less than 24 hours and it's AMAZING! I admit, after reading tutorials and watching instructional video after video, I was nervous... but this was probably the easiest project I have done to date, with the most gratifying, drastic result!
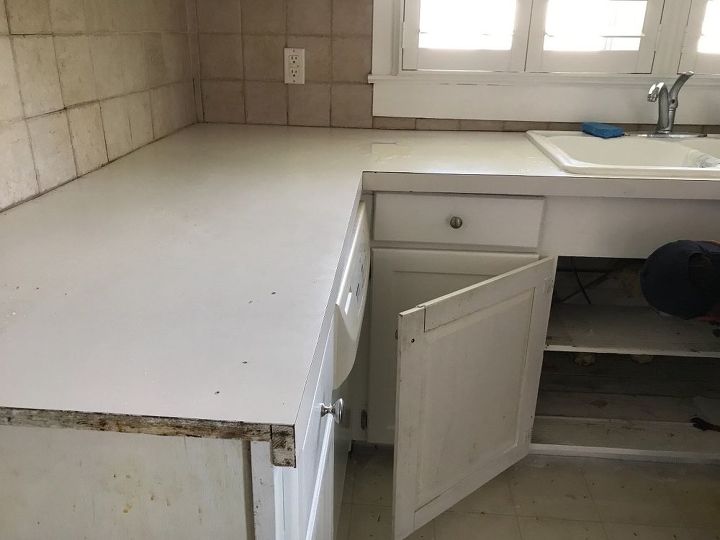
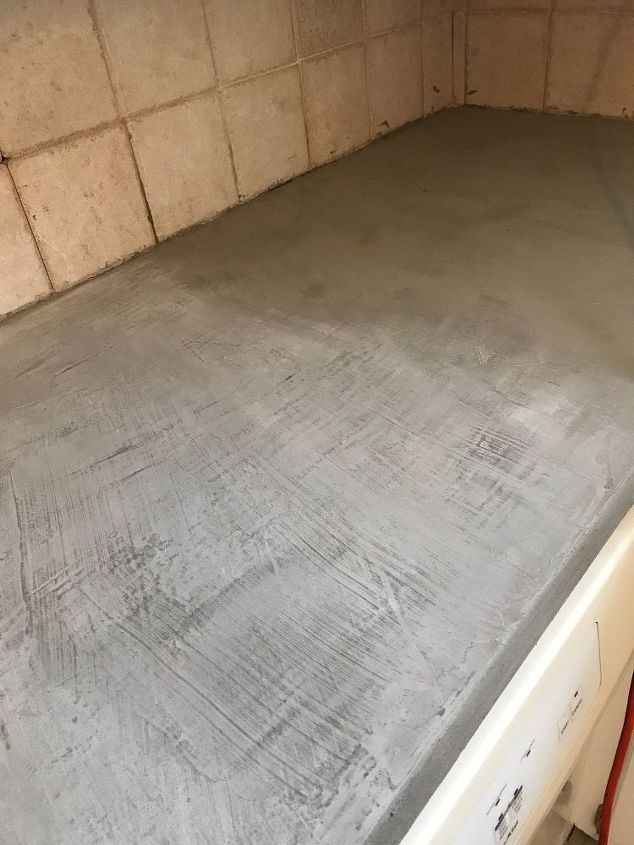
Before. Formica, old sink
We started by moving the appliances out, found an amazing farmers sink...at Ikea! While my husband and father in law moved the old one out and made some cuts for the new one, I sanded down the Formica with 80 grit sand paper and a palm sander.
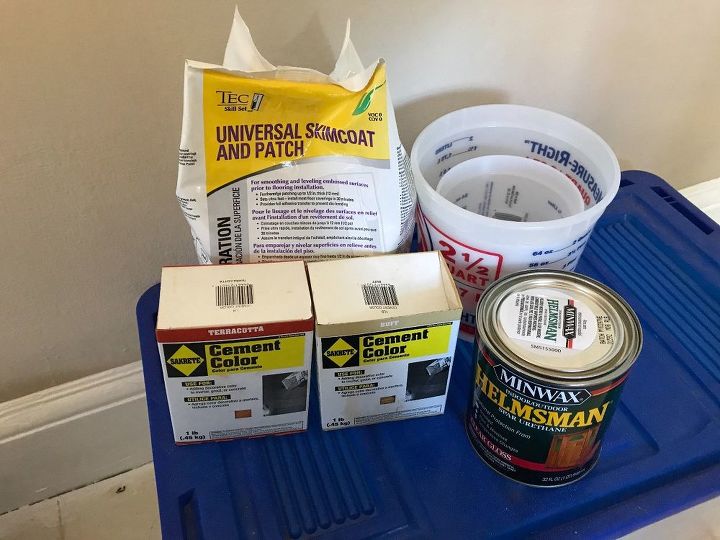
Supplies from Lowe's
They didn't have Henry brand feather finish, so I took a chance and bought the equivalent. It was exactly the same and less expensive. Perfect! We bought the concrete pigment in buff, charcoal and Terra-Cotta. The plan was do to layers, starting with the darkest first, with each layer a different, lighter color, then sanding through at the end to reveal multiple colors, adding texture and depth.
Charcoal layer
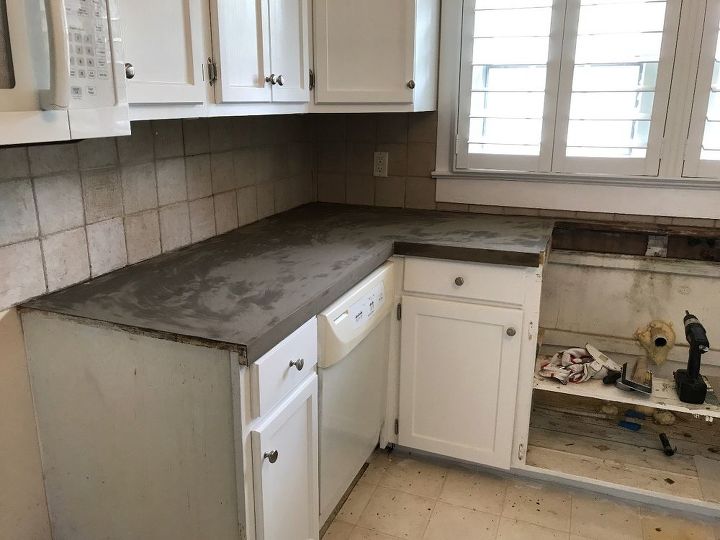
The first coat is the most time consuming, you have to make sure not to miss any spots- it doesn't need to be thick, in fact, I make the "batter" much more thin than recommended. It just goes on easier and gives you more time to move it around.
Not sure if this was buff or terra-cotta
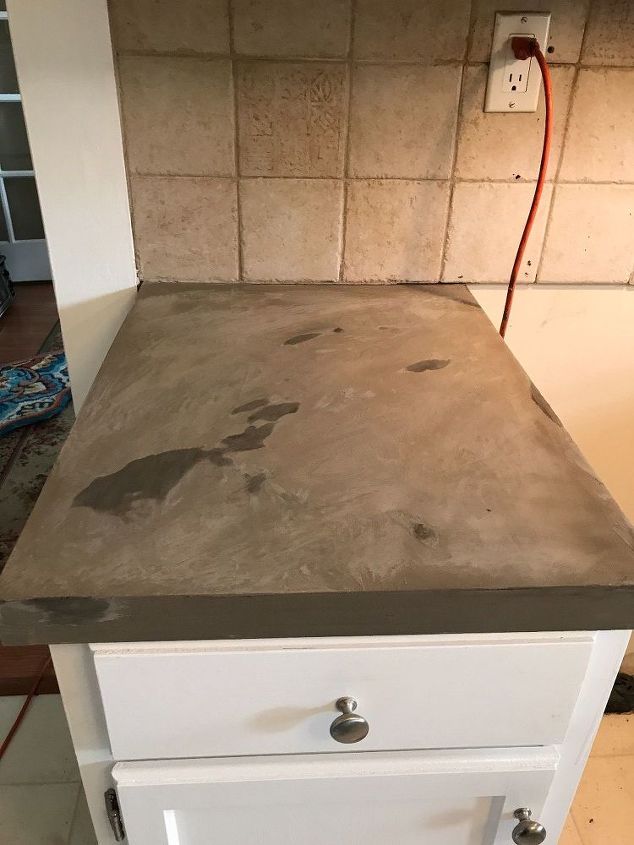
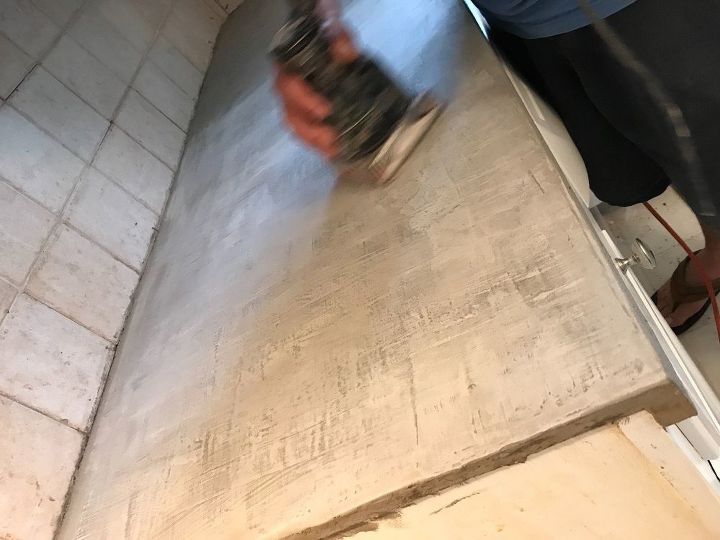
You can see the darker layer underneath. Every tutorial says to sand each layer. I did not. After doing my dining table, I realized as long as you don't leave it "clumpy", the only layer that really matters is the last. The last layer gets sanded all over, with different pressure in different spots, to bring out the colors.
Final layer had no pigment added
Ready to sand!
You can see color peeking through!
This is the fun part! It's so amazing to see your work coming together!
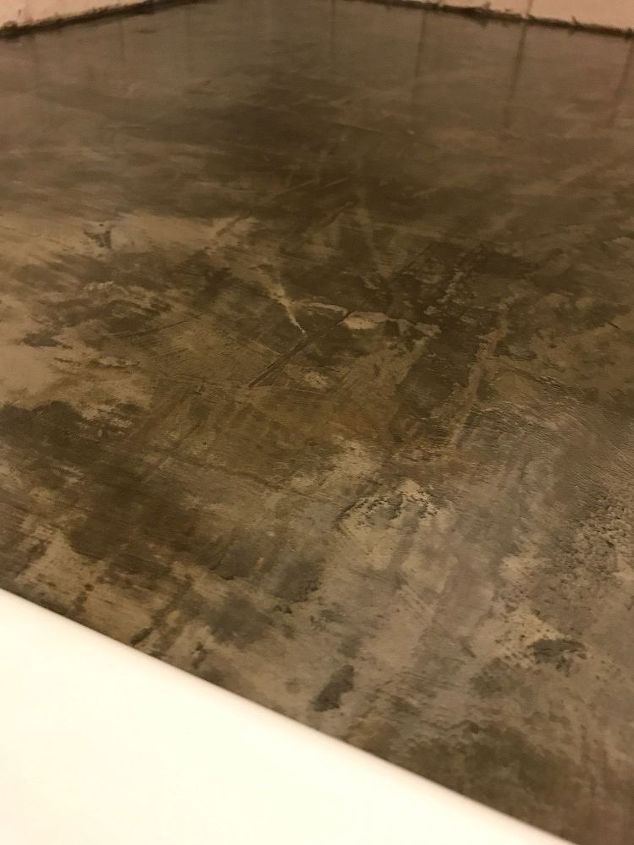
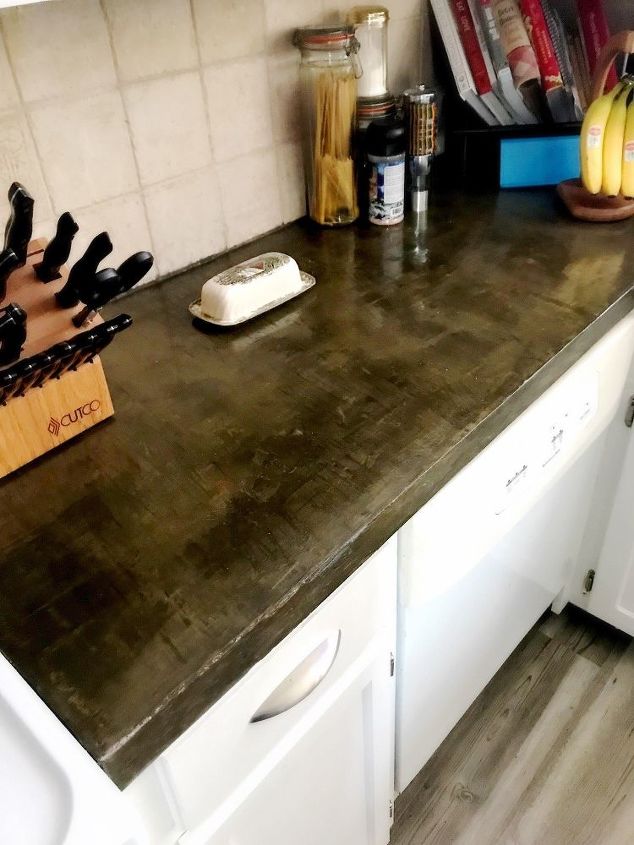
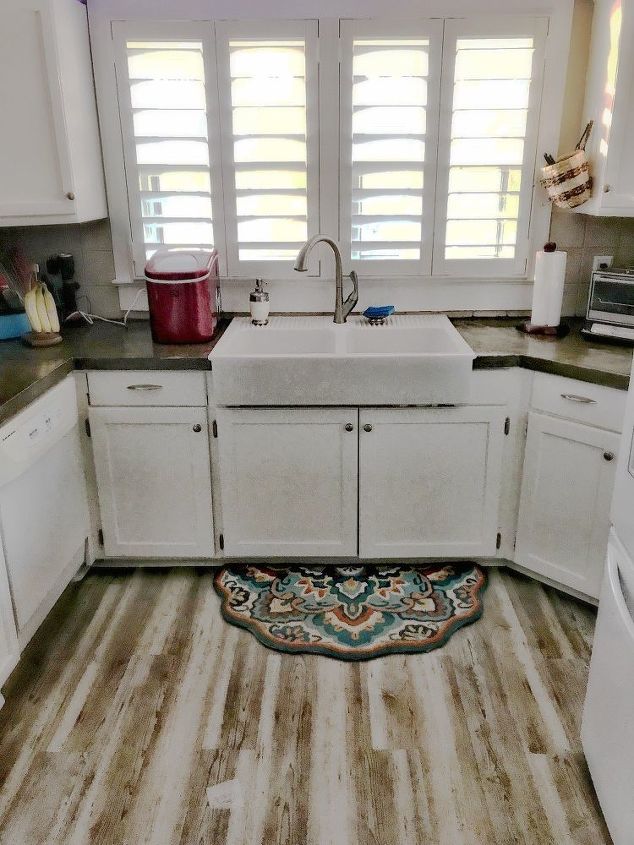
Here it is! This is exactly what I wanted. Both warm and cool tones, bringing all of the different shades throughout the house together.
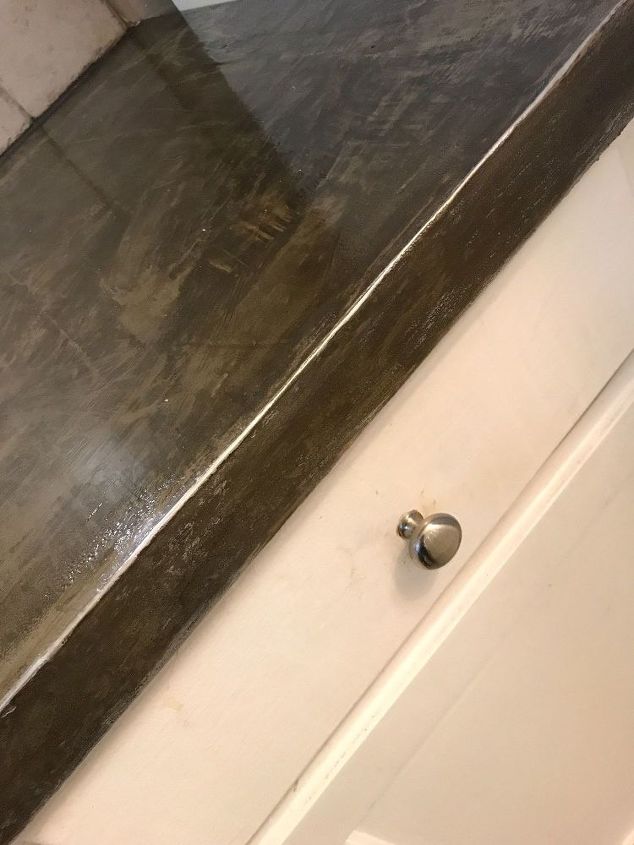
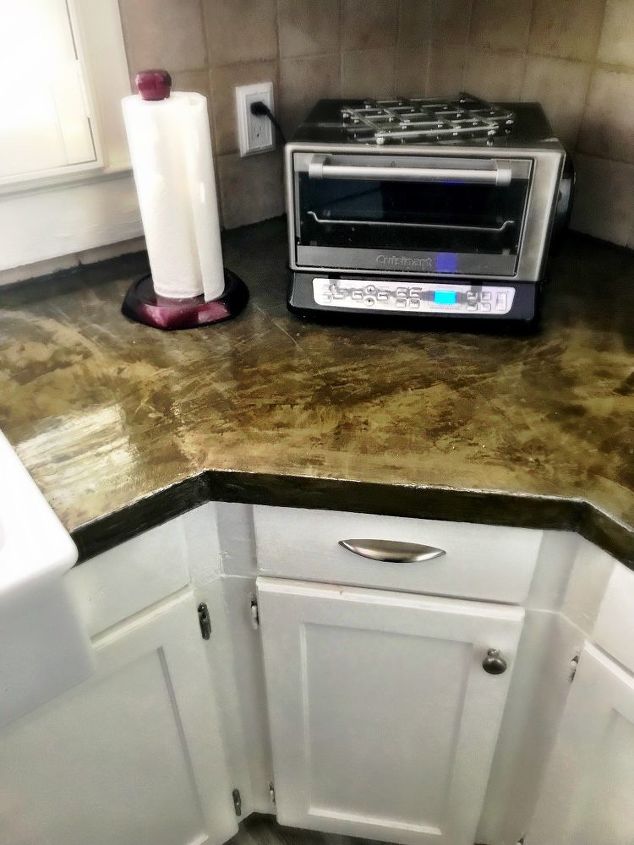
After sanding, I used helmsmans spar eurathan. Everyone talks about "food safe", etc. After doing my table, which is used frequently, I realized the best top coat is the easiest and least expensive. The thing about these counter tops that makes it truly unique, is that no matter what happens, chips, burns, etc. It's so easy to repair! Literally mix up a little powder and smooth on with your finger! Let dry (BTW, I used my blow dryer to speed layers along) and because I used so many colors, it will always blend/match! Show me ANY other counter tops easier to fix!
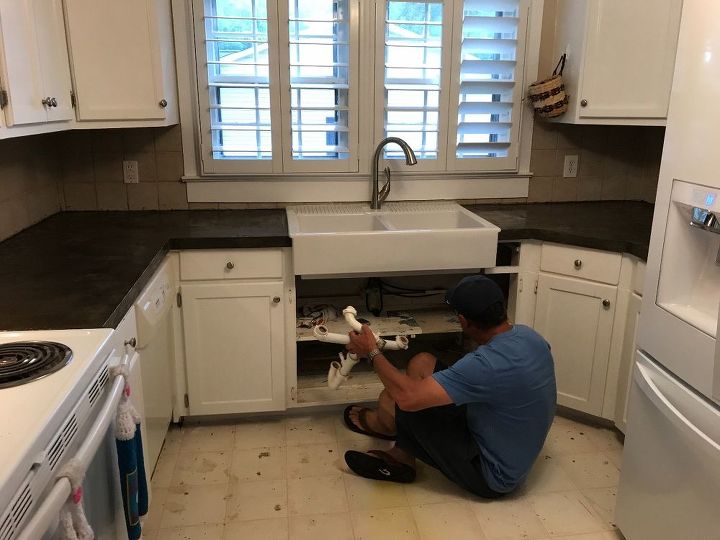
My husband putting in new sink
If anyone is searching around for this type of sink, you know, they are very expensive., some places charge nearly 1000.00! They have them at IKEA... ready for this? $200.00!

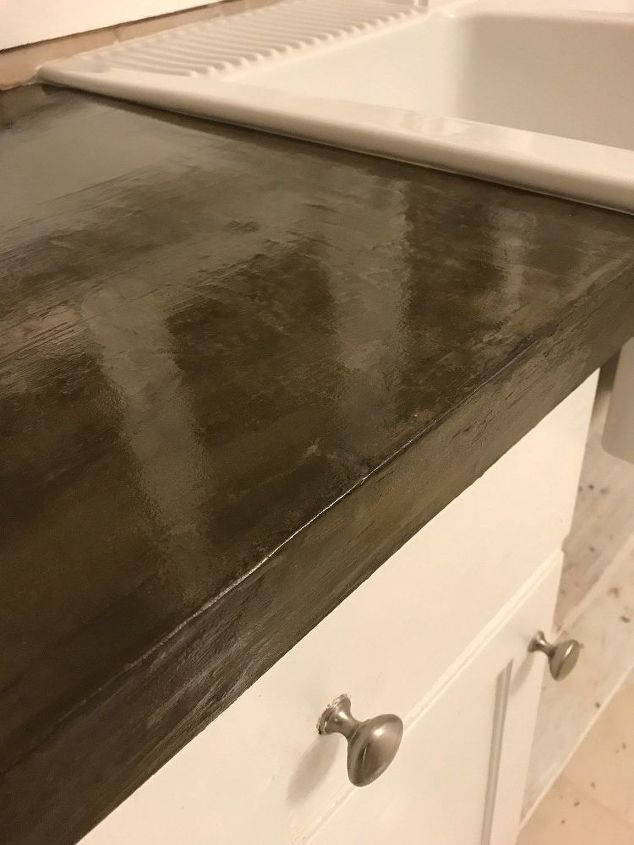
After sanding I added metallic edges
I purchased some silver and gold "leaf" rub and buff from hobby lobby. I blended and blended. The counters almost look like they are zinc or some kind of natural stone. They are gorgeous. We used a dark gray calk around the top.
Love them!
My new favorite project!
Need a new dishwasher!! Lol
The entire project cost less than 50.00 and took less than 24 hours!
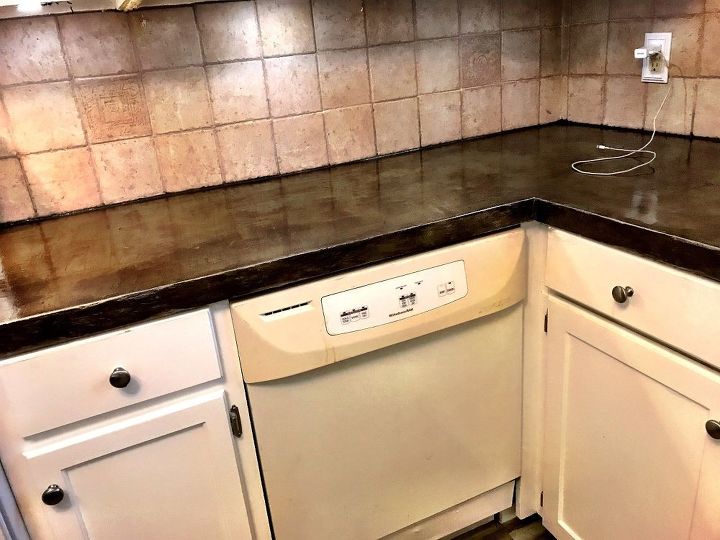
Six months later!!
Still looks like new!
She’s still so happy!
Resources for this project:
See all materials


Any price and availability information displayed on [relevant Amazon Site(s), as applicable] at the time of purchase will apply to the purchase of this product.
Hometalk may collect a small share of sales from the links on this page.More info

Want more details about this and other DIY projects? Check out my blog post!
Comments
Join the conversation
2 of 96 comments
-
Outstanding job!!
-
Well done. I have a type of Formica counter and this would take care of my impetuous need to remodel.


Frequently asked questions
Have a question about this project?
Getting ready to do this and need some serious info about how and when you added your colors. Can you please give more info on that?
Do you think this stuff would work on a tile counter. My basement suite has a tile counter similar to your backsplash but it has some chips and cracks due to my husband using the kitchen as a workroom. Also Ikea doesn't carry that sink anymore, not in Canada anyways. I have the exact same one and it cracked a few years ago and we were told they no longer carried it. No other sink on the market is the same so I am stuck with acracked sink
How did you get the concrete on the front lip of the counter to stay in place? I think they call it bull-nose?