


A Sorry Little Side Table Gets a Workover

by
DP
I forgot to take a before picture but the one leg was broken and had to be repaired, I had to use wood putty to cover a couple small holes around the legs so I couldn't just stain it. I sanded the legs and the top. The top had horrible dark rings all over it and wouldn't come out with stripper or sanding so I decided to camouflage it by putting a rose in the middle of it.
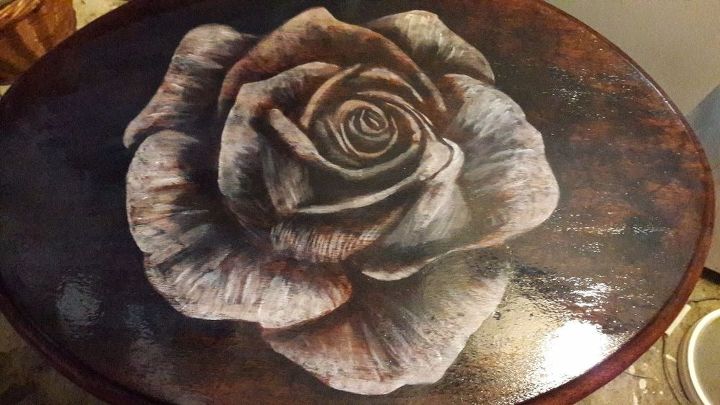
I traced the rose onto the table then used a walnut stain to do the outline and shading. The table wasn't real light but you could see the rose but I didn't like the way it was looking. It seemed the stain was so thin that I was getting too much on my rag. I let that dry overnight then used black unicorn spit to create deeper shading then used white unicorn spit to do the highlights to make it pop
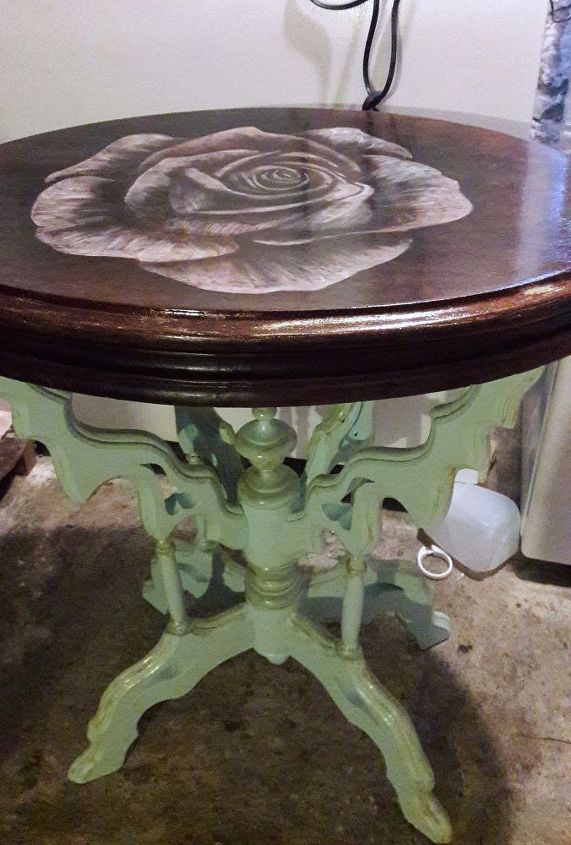
The base legs I painted. The picture doesn't show the real color it is more of a mint color, then I used some gold acrylics I had to kind of antique it.
So a junky little table that was ready for the trash got a new life. I am pleased with how it turned out
The base legs I painted. The picture doesn't show the real color it is more of a mint color, then I used some gold acrylics I had to kind of antique it.
I used polycrylic over the entire table to protect it
So a junky little table that was ready for the trash got a new life. I am pleased with how it turned out
Want more details about this and other DIY projects? Check out my blog post!
Comments
Join the conversation
2 comments
-
Awesome job. Love the stained rose. You have an eye for beauty. Keep up the great work. Thanks for sharing.
-
this was practice, I want to do a rose on my kitchen table eventually


Frequently asked questions
Have a question about this project?