


How to Create Your DIY Love Shelf + Free Plan

by
Mr ATC
2 Materials
$22
1 Hour
Easy
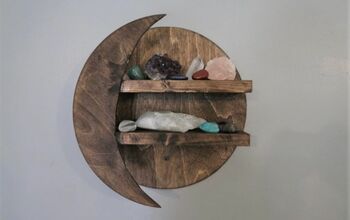
A few weeks ago, I saw a nice Love shelf project and thought it could really feet in my house. I drew up various designs based on pictures of various LOVE shelves that I had seen.
Then, I decided how tall I wished the shelf to be and came up with the other dimensions. Then I went to the wood store to purchase my wood and the hardware store to purchase the rest. For the shelf lover, I have also included a free plan that I made to do it yourself if you want via our blog article below this description.
Check out our video for more
Add Me Here
Facebook https://www.facebook.com/MyATCtv/
Instagram https://www.instagram.com/myatctv/
{
"id": "3893456",
"alt": "",
"title": "",
"video_link": "https://www.youtube.com/embed/rcCcUU1Ua7I",
"youtube_video_id": "rcCcUU1Ua7I"
}
{
"width": 634,
"height": 357,
"showRelated": true
}
Materials used here:
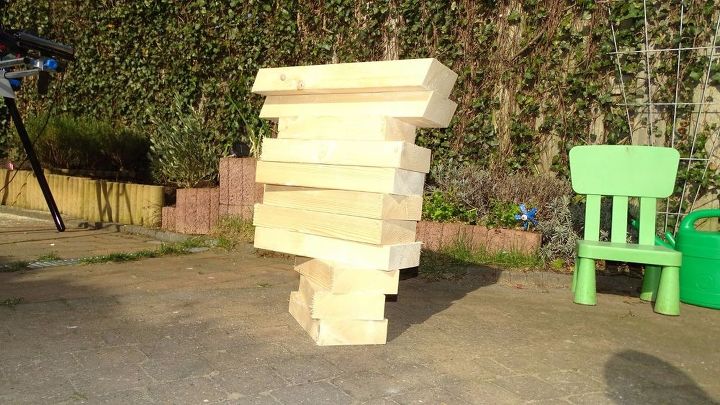
Wood: lumber 2*2.10 long, 15 large and 6 thick
Screws: 10 cm at least
What do you need to do:
1- You need to know how tall you want to have your shelf. Important to buy the appropriate number of wood
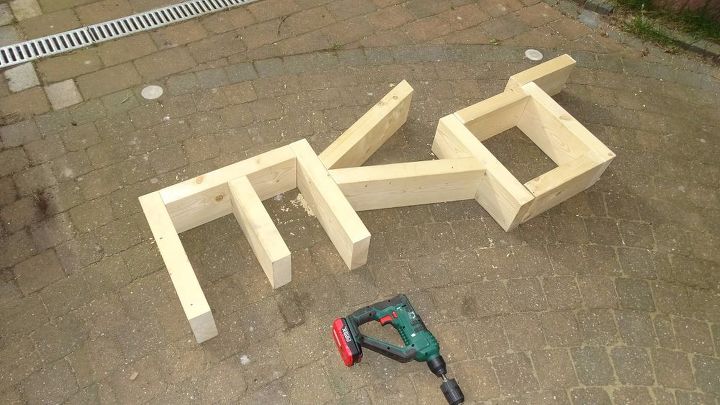
2- Purchase your materials. When purchasing the materials, please remember that the V angle can be tricky to cut so also take into consideration having an angle measuring tool.
3- Start measuring then go to the cutting… please look at the plan attached to have the dimensions.

4- To start screwing you need to lay out all pieces on the floor in order to have a clear overview of where you need to screw first. I will advise to look at the video below, I am showing a nice and easy way so you don’t end up with unscrewed part.
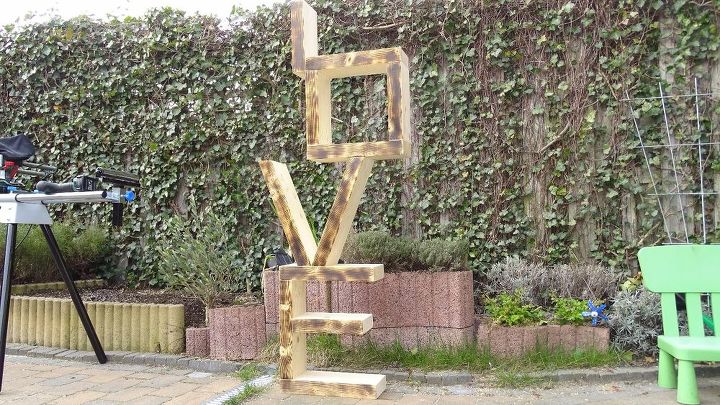
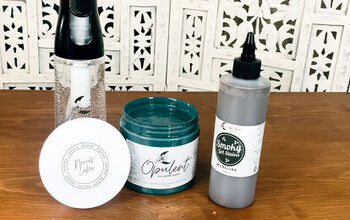
5- Painting or else: here I have decided to burn the wood in order to give it a rustic and old fashion effect which I love by the way, specially if you are dealing with a wooden wall. The design can be complementary…
After burning, I have added some finish lacquer to highlight the wood burning effect.
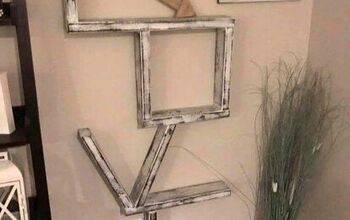
Then decorate as you want and enjoy your LOVE shelf…
Want more details about this and other DIY projects? Check out my blog post!
Comments
Join the conversation
4 of 36 comments
-
I really thought it was super cute
-
Maybe you seen mine here on hometalk from last year 😊
- See 1 previous


Frequently asked questions
Have a question about this project?