


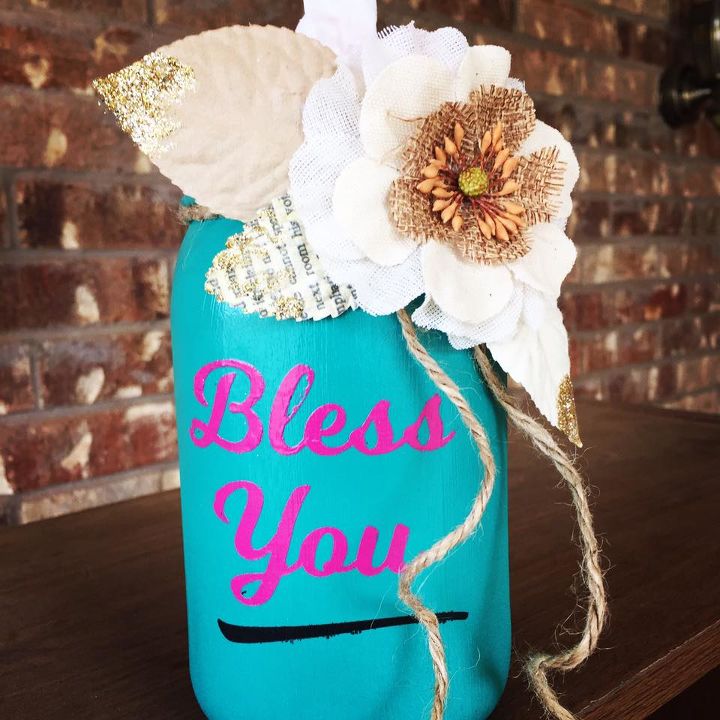
DIY- Mason Jar Tissue Holders

You have probably seen the cool patterns that Kleenex is making for their tissue boxes and containers. Even with all of the cool patterns available, it is sometimes difficult to match your home or office decor. Even if you are new to the craft world, you could use this tutorial to make your own rustic and cute jar! I am planning on making two more jars for my bathroom: one as a soap dispenser and another for holding tooth brushes!
Here is my tutorial video from youtube, but you can also use the written step by step below!
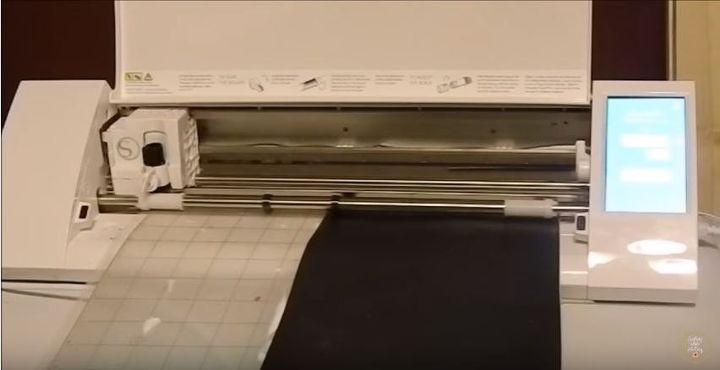
One of the tools I use for painting from time to time, is a vinyl cutting machine called “Silhouette Cameo“. It is an awesome tool for any crafter and can cut many things, such as vinyl, fabric, paper, etc. I make my stencils out of Oracal 631 which is a type of adhesive vinyl. If you don't have a craft cutting machine such as Silhouette Cameo or a Cricut, you could always hand paint messages or just leave the messages out and paint the jar with whatever colors you want and add embellishments!
Instructions:
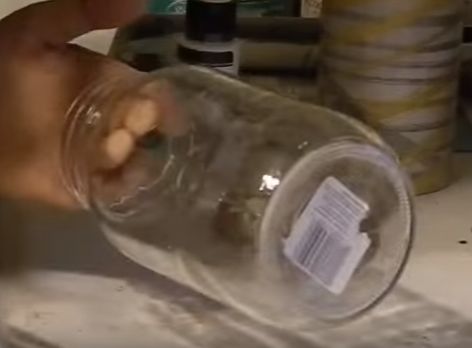
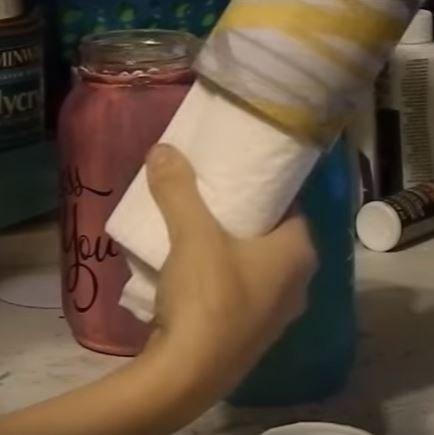
Step 1: Clean jar with isopropyl alcohol.
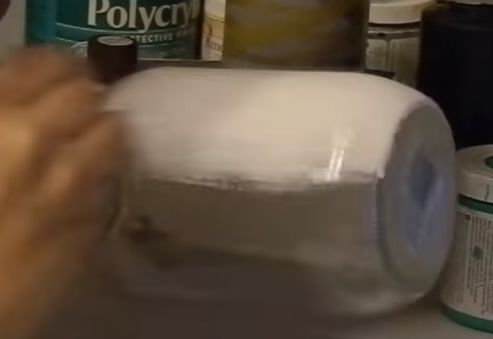
Step 2: Paint jar with the Folk Art Enamels in the color "Wicker White" using thin coats and your size 8 flat brush.Allowing paint to dry completely between coats.
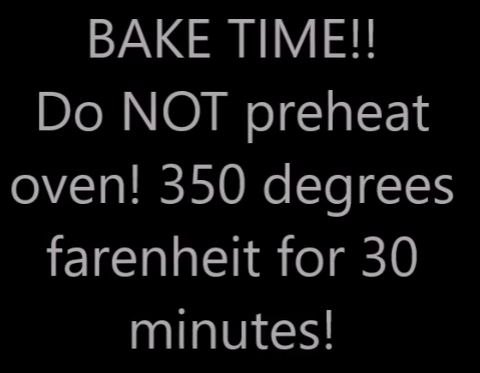
Step 3: Place painted jar in oven. Turn oven on and set to 350 degrees. Bake at 350 degrees Farenheit for 30 minutes. After time is up, turn off oven and let jar cool inside oven completely. (This step is very important to follow EXACTLY. If you preheat the oven, it could cause your jar to crack or shatter and if you remove the jar before completely cooled it could also have the same effect!)
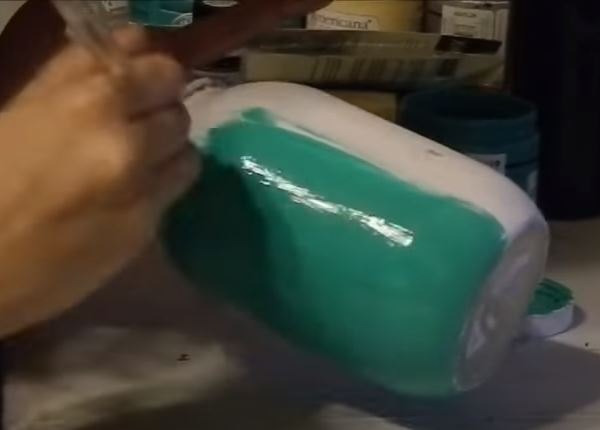
Step 4: Paint jar with your favorite chalk paint using your flat brush and light pressure.Do multiple thin coats until all white is covered. Allowing paint to dry completely between coats. My new favorite chalk paint is made by Heirloom Traditions! Luckily for you guys, I have a coupon code that gives you a discount when you add it at checkout! That code is: HEIRLOOM RULES
Step 5: Let chalk paint dry completely. While paint is drying, you can prepare your stencils (especially if using a craft cutter). Here is an awesome design pack that includes the designs I used for this tutorial! https://thehungryjpeg.com/product/74922-bless-you-design-pack-7-designs/DeniseN/
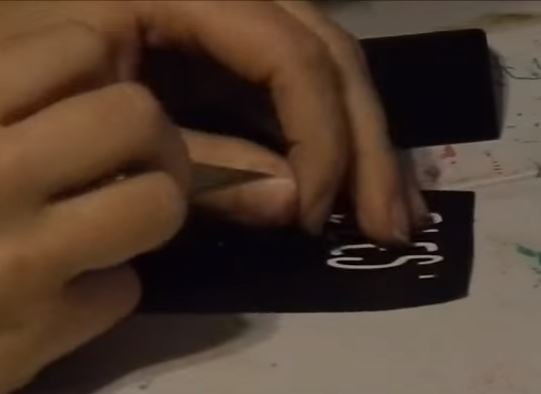
Step 6: Cut stencils and weed them with your weeding tool or X-Acto Blade. (Weeding is the removal of the vinyl that you DO NOT want to go on your project.)
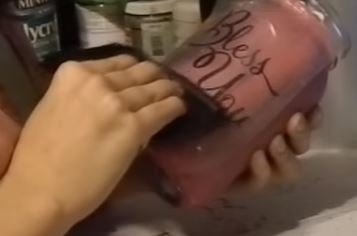
Step 7: Apply stencils using your transfer tape and burnishing tool.
Step 8: Using your stencil brush, and white chalk paint, (I used the waverly brand from Wal-Mart, and brand will work as long as it is white) pounce your paint onto your jar over stencil. Let white paint dry. Using a smaller flat brush, and the colors of your choice, paint over the white with your other chalk paint.
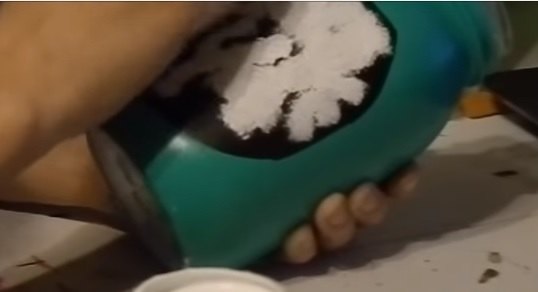
Step 9: Remove stencil after applying your last coat of chalk paint to stencil. *Note* If you let the last coat dry on the stencil, you risk peeling the paint up when removing it. Scrape lightly with Xacto blade if you happen to have any paint bleeding under the stencil. Clear coat with Polycrylic to give a safe and shiny sheen!
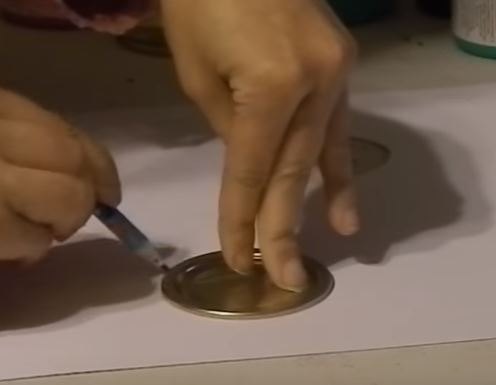
Step 10: Use cardstock for your lid! Choose your color of heavy cardstock. Remove the lid's gold center. Use center to trace onto cardstock. Cut your circle out with scissors.
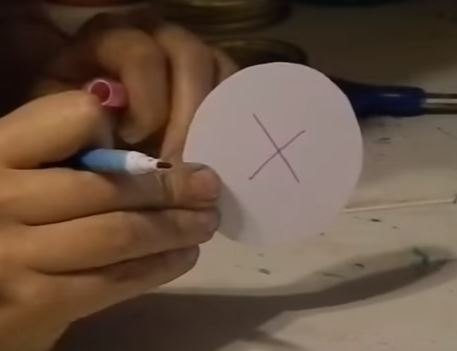
Step 11: Draw an "X" in center of cardstock circle. Use Xacto knife to cut the X in center. Place your cardstock circle back into lid.
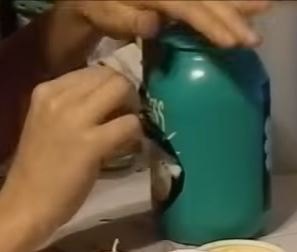
Step 13: Remove the lid of your Perfect Fit Kleenex container. Carefully gather your kleenex and insert into the jar, make sure the "tuft" of kleenex is sticking up. Pull tuft of Kleenex through the X you just cut in your lid. Screw lid back on over the cardstock circle!
Voila! All done!

I have also seen some people that are extra crafty and they add embellishments to the lids of their jars. This makes them extra adorable! Unfortunately when recording my tutorial, my hot glue gun was no where to be found! Fortunately, however, I have an awesome group of crafters that follow my tutorials on youtube and they shared their creations with me and gave me permission to share them with you!
If you want to see more, click here: https://craftingwhileadulting.com/2017/03/22/kleenex-mason-jars/
Want to follow our youtube channel? Check that out here: https://www.youtube.com/channel/UCkg62dNi9BL-Z61utnDUURg
Link to Heirloom Traditions: https://www.heirloomtraditionspaint.com/
Don't forget about the coupon code: HEIRLOOMRULES


Frequently asked questions
Have a question about this project?
We are thinking of doing a project using about 60 jars. How much chalk paint do you think we will need? Does it go a ways?