


This Will Be My New Vanity to Be Installed in Bathroom

by
Corinna Agee
5 Materials
$50
24 Hours
Medium
I found this 1940's desk at the thrift store, and it was only $14! The drawers were falling apart and needed some re-gluing, but the bones were beautiful. I reinforced the desk and after some thought decided that after our move I'll use it as the bathroom vanity. I may be cutting in a sink, but haven't decided yet.
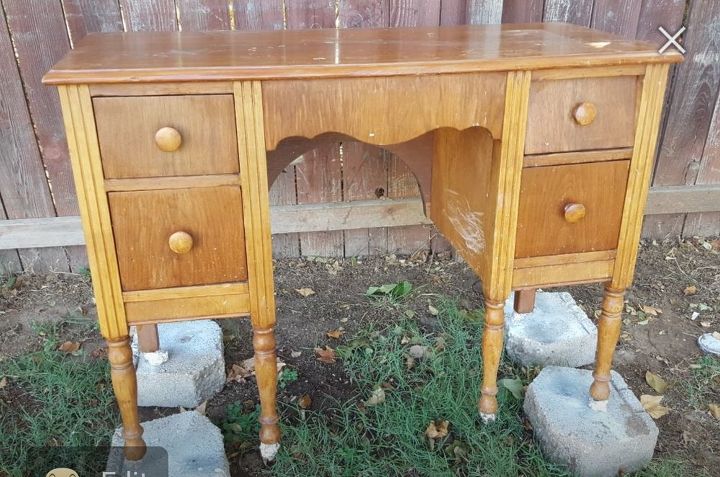
It took a lot of glue, furniture clamps, and patience to restore this beauty which was pretty easy. I wasn't a fan of the natural wood so I decided to paint it. It's become pretty popular to paint and distress furniture, but I have been doing it for the last 30 years! My mother used to think it was odd to be beating up a piece of furniture but I wanted that shabby chic look, and it's only continued from there!
I don't draw or paint a lot and I don't have a lot on hand to paint furniture, so I had to make sure to purchase the correct supplies. I used Rustoleum on the edges and on some areas on the top and sides.
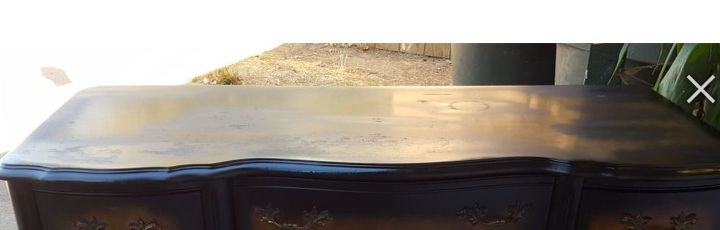
Then I painted and primed the vanity leaving some wood exposed.

Then using the chalk paint, I painted the vanity. I'm not such a big fan of chalk painting or waxing because it needs more maintenance than something more permanent.
Once the paint was dry, I sealed it with polypropylene sealer (which was really my only expense). I did so that if and when I decide to cut in a sink, the wood not be ruined.
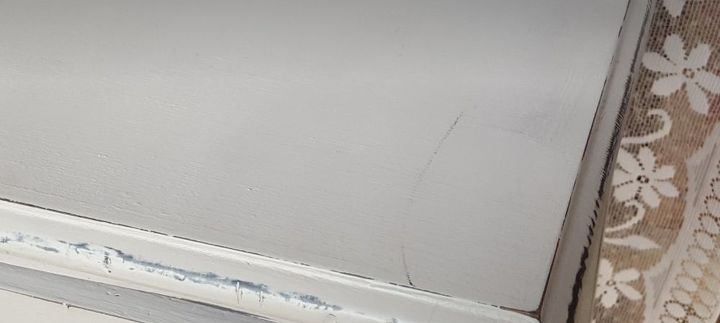
Before I sealed it, I distressed the edges a bit. The wood peaks through for that distressed finish!
I haven't added the hardware or the handles yet because I'm not entirely sure what the bathroom will look like but this is a beautiful piece!
Comments
Join the conversation
2 of 5 comments
-
that wood, the cabinet is made from is not waterproof ! Is source of mildew and doesn't really serve a purpose in the batroom
-
im aware if i install a sink ill tile it. thx


Frequently asked questions
Have a question about this project?