


Spice Rack Upcycle to Shabby Chic Jewelry Organizer

10 Materials
$8
6 Hours
Medium
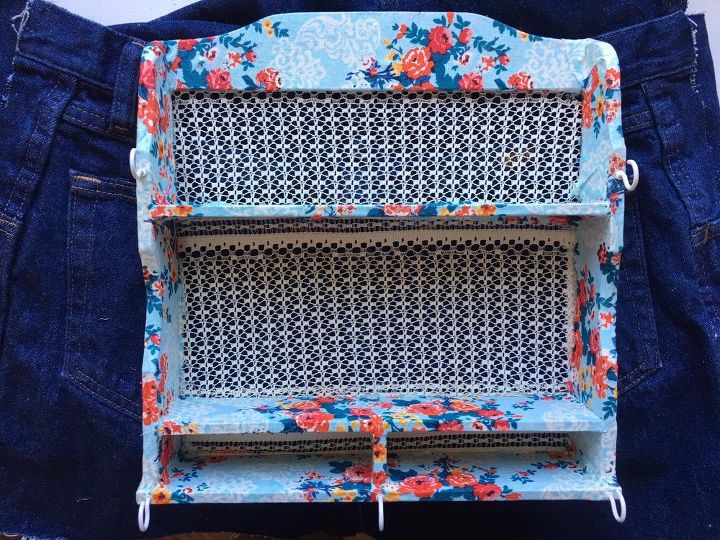
Hey there creative people! Who doesn't love a good yard sale overflowing with old useless treasures? I know I sure do! A couple of weeks ago I went to a local neighborhood yard sale where I found a wooden spice rack for a dollar. I thought to myself that I could definitely give it a new life. Normally I would paint something like this, but I wanted to do something different this time around. My creative wheels in my head started to turn and I remembered that I had a beautiful vintage themed floral fabric. I thought with some perforated lace like fabric and some cup hooks that it could become a jewelry organizer.

First, I took a damp cloth and wiped down the wood because it was dusty and dirty. I wanted the surface to be ready for the glue to be absorbed.
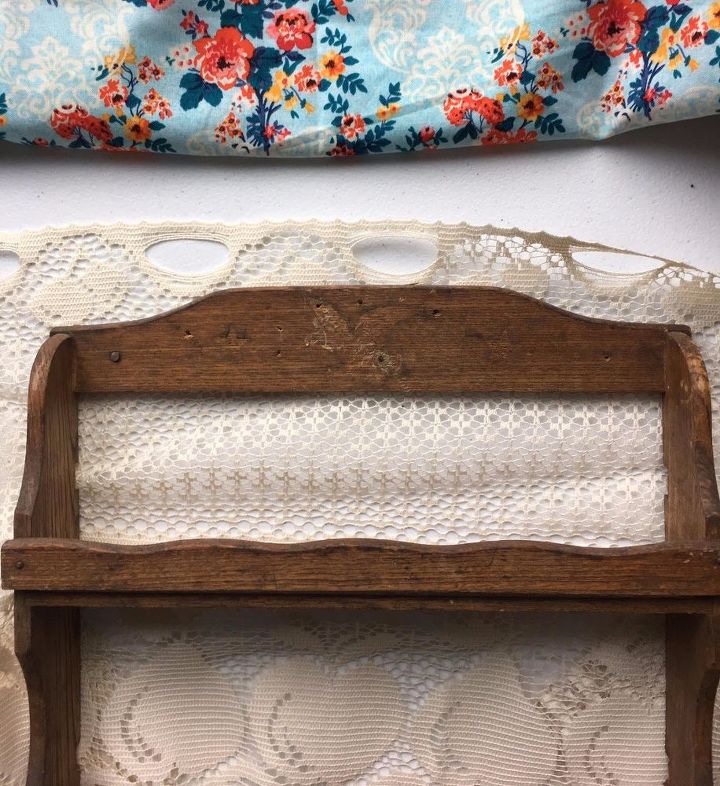
I took my lace fabric, which was actually an old curtain scrap that I found at a thrift store, and measured it to fit the back of the spice rack. I adhered the fabric using a hot glue gun. After that dried, the real fun began.
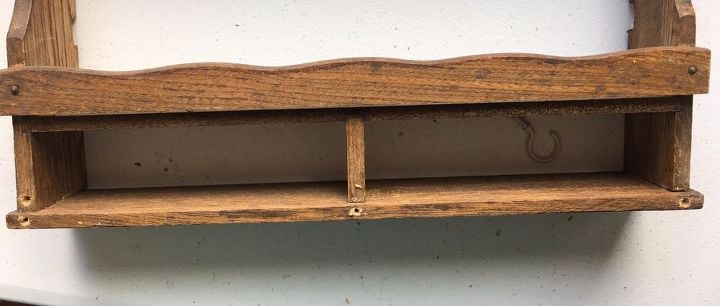
I removed the small pieces that ran along the front of the shelves. I removed the hanging hardware from the back as well. On the bottom of the rack I hand screwed in the cup hooks and then removed them as in pre-drilling my holes. This rack had soft wood so I was able to do this by hand. If your rack is hard wood you will have to use a drill with a small drill bit. The directions for this will be on the package of cup hooks that you purchase.
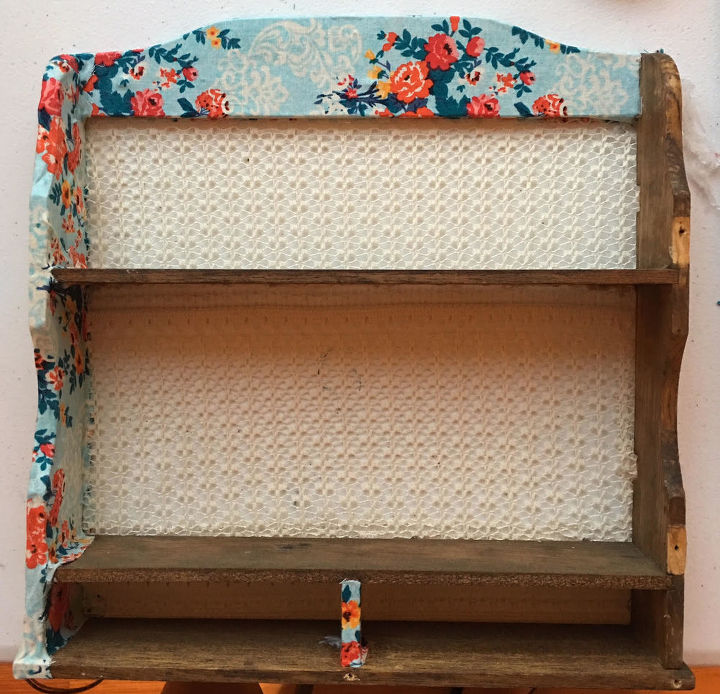
I started at the top of the rack and began to drape my fabric to fit each part of the rack. I found that it's much like wrapping a present in that you will fold corners and arrange the fabric to the shape of the wood. The top part was covered three separate times. Once over the top curve, second to cover the back and the third to drape over the side parts of the rack. I used a sharpie marker in a similar color to the fabric to mark where I would cut the fabric to fit the wood. I then applied Mod Podge to the fabric and placed it onto the wood. This allows you to move the fabric just right to cover the wood. You want the fabric to lay flat and for there to be no bubbles or wrinkles if you can help it. I used my hands to pull the fabric tight and to smooth out the bubbles and wrinkles where it was needed. You will repeat these steps for the rest of the pieces of the rack. It's okay to cut little pieces of fabric to lay down first if you can't get the fabric cut right to fit. When working with curves there is no right or wrong because it's simply not cut and dry like a straight edge would be. Along the way I marked where my pre-drilled holes were with my marker on the fabric with a small dot.
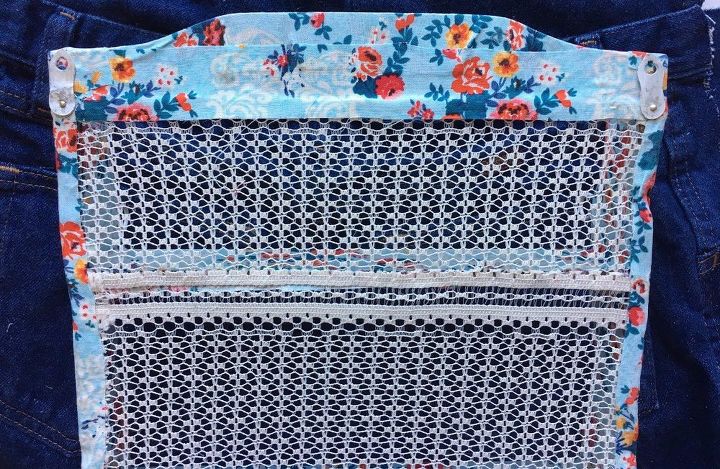
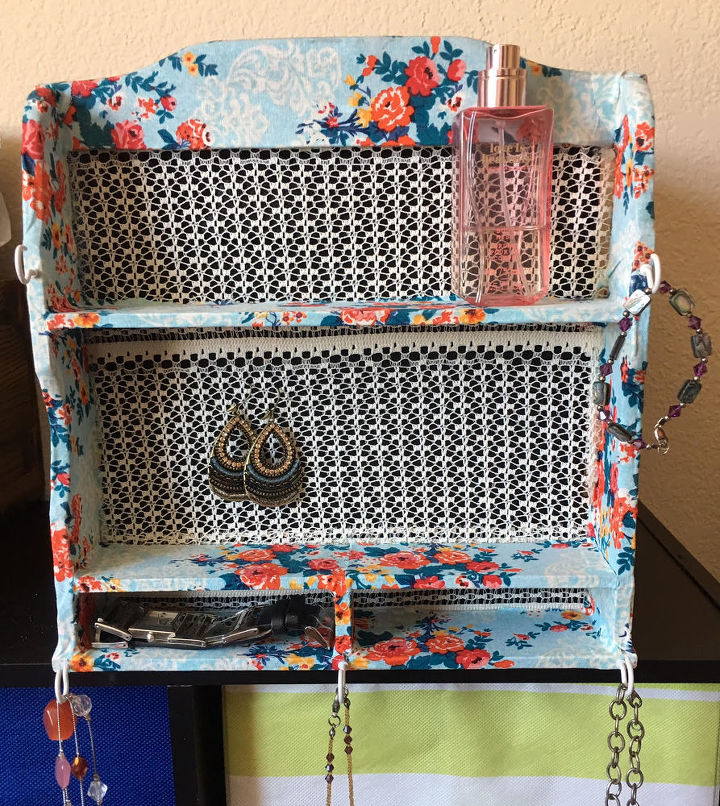
After the fabric was completely dry, I painted the original hanging hardware with a coat of white acrylic paint and silver acrylic paint to freshen them up. I nailed them in to the backside of the side panels of the rack.
I turned over the rack and screwed in the cup hooks. Two were placed up top where the original nails once were for the wood guard I removed previously. The remaining three were screwed in to my pre-drilled holes at the bottom of the rack.


Any price and availability information displayed on [relevant Amazon Site(s), as applicable] at the time of purchase will apply to the purchase of this product.
Hometalk may collect a small share of sales from the links on this page.More info
Comments
Join the conversation
2 of 18 comments
-
Great idea
-
very clever! I will try!


Frequently asked questions
Have a question about this project?
could I use a vinyl shower curtain instead of fabric?