


DIY Photo Coasters

by
Nicole
5 Materials
$15
2 Hours
Easy
Great coaster craft! Easily transfer photos to wood slices to make personalized coasters.
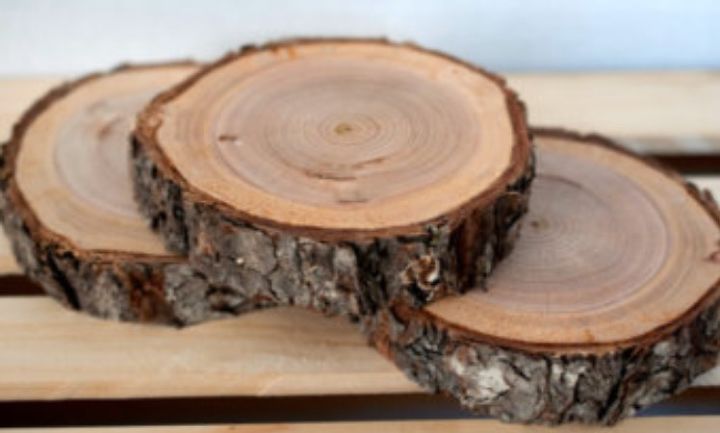
Get from nearby tree or craft store
First, sand the slices if needed (I didn't)
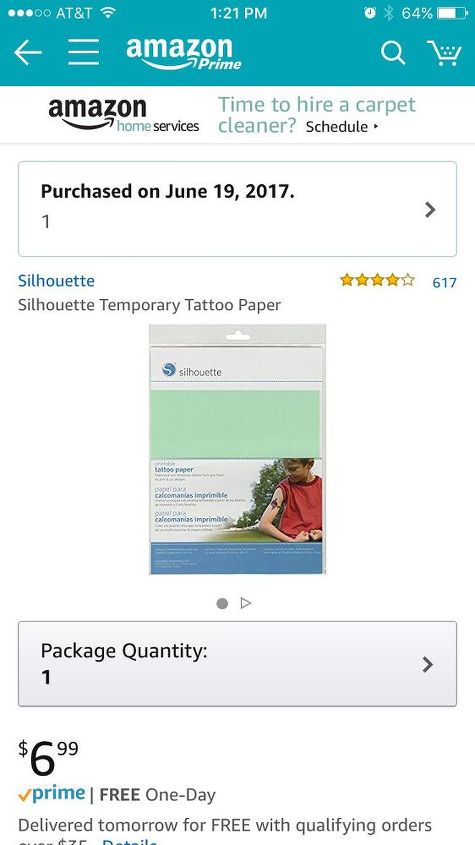
Get on Amazon!
Then print your photo on the white glossy side of the printer paper included with the tattoo paper kit. NOTE: is important to "flip" or mirror your photo in Word, Pages or photo editor prior to printing!
Apply the adhesive transfer from the green paper included in the tattoo paper kit to the printout of your photo (this step is not pictured, sorry but the tattoo paper kit includes instructions!).
Smooth out any air bubbles using credit card or your fingers.
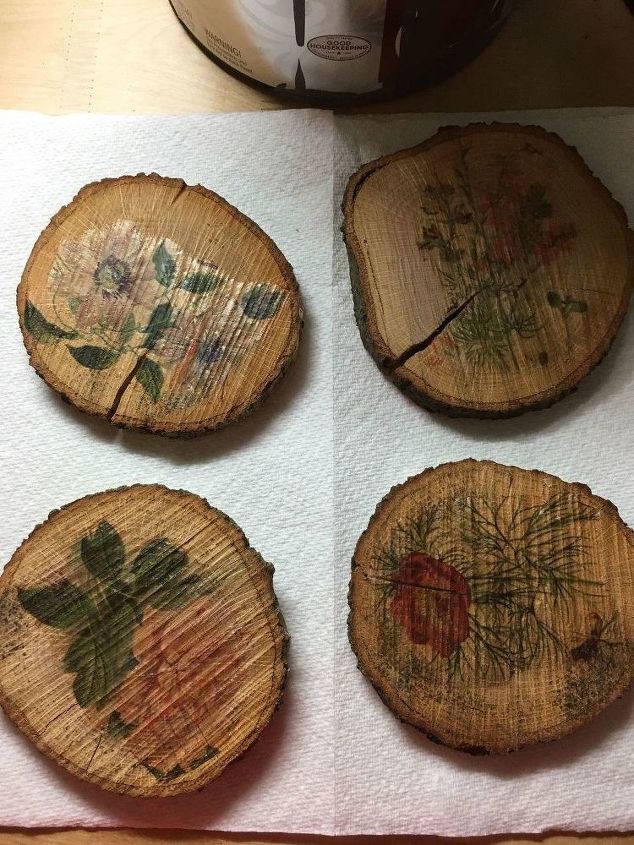
Flip the photo over and position on the wood slice. Using a very wet rag or towel, press hard and hold for about 1 min. Lift up the paper carefully and the photo should be transferred to the slice.
Use wet rag to clean up any edges that might not have adhered.
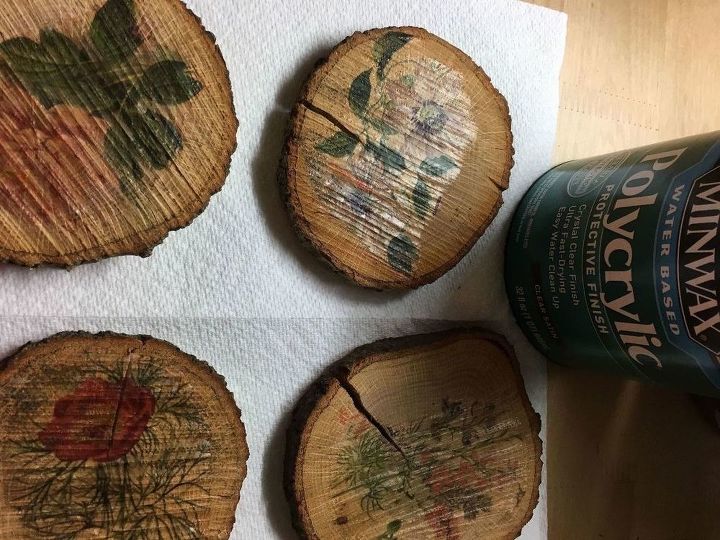
After they are finished drying, apply a clear protective finish.
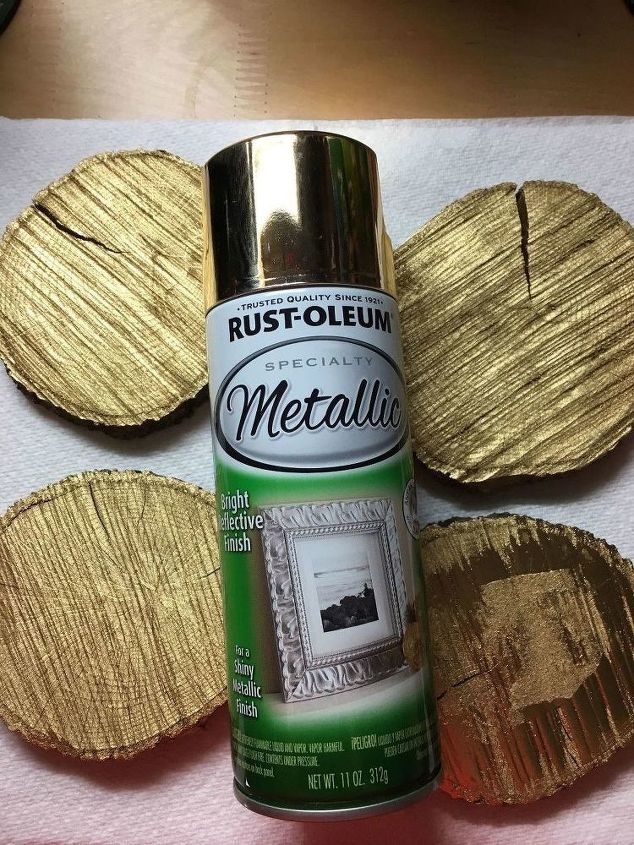
Optional step: flip over and spray paint the bottom for a bit of flair!
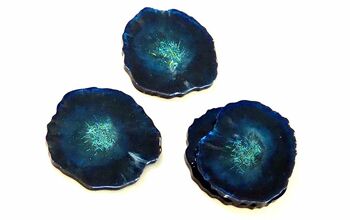
And there you have it! Beautiful, floral, rustic coasters!
Comments
Join the conversation
3 comments
-
These are beautiful!
-
Very pretty! Great gift idea too. 😍


Frequently asked questions
Have a question about this project?