


DIY Chocolate Bar Organizer

by
Troom Troom
6 Materials
$4
60 Minutes
Easy
Let's make a chocolate bar organizer for cotton pads and Q-tips is just what you need in your bathroom.
{
"id": "3930183",
"alt": "",
"title": "",
"video_link": "https://www.youtube.com/embed/6RLQ4iy9V8Q",
"youtube_video_id": "6RLQ4iy9V8Q"
}
{
"width": 634,
"height": 357,
"showRelated": true
}
Check out the video above to learn how to make your own!
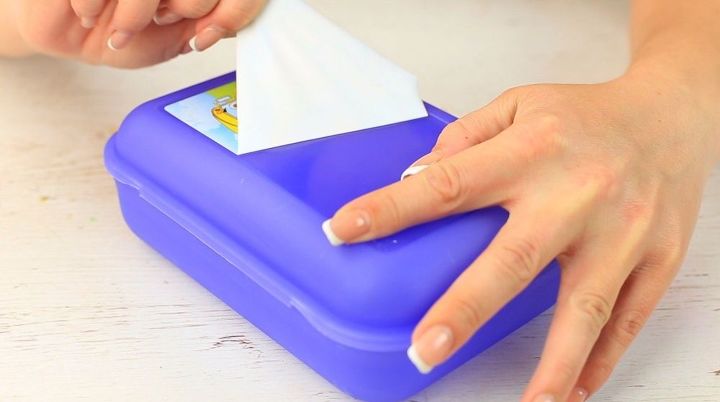
Take a plastic lunch box.
If there’s a picture on, remove it. We know the way to make it easy.
Use a hairdryer. Heat the top.
Wow! We’re peeling it away quickly and easily.
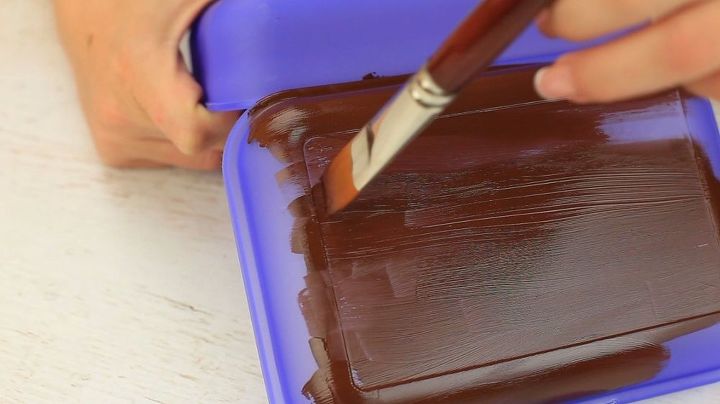
Paint the box in a dark chocolate color.
Let it dry wide open.
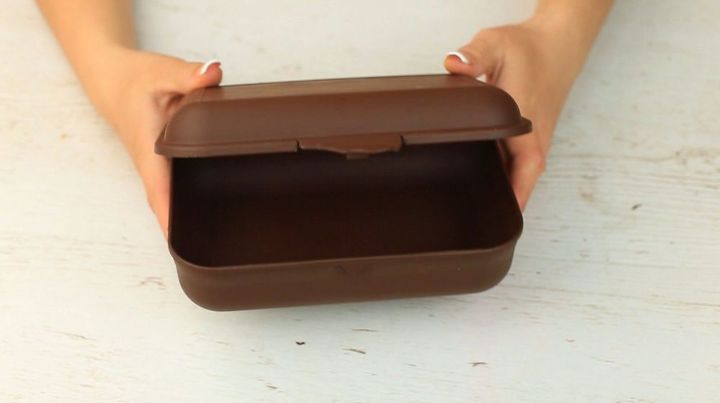
Paint the inside.
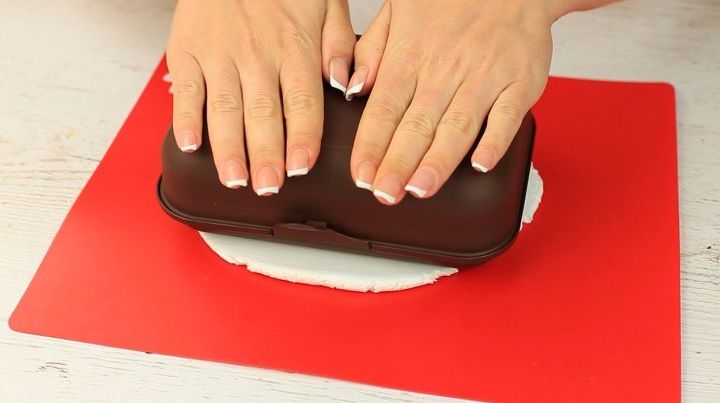
We’ll make the chocolate bar from air drying clay. We’ve made it in the candy style school supplies video. Knead the clay in your hands.
Roll it up flat. Place the box top down and press over. We’ve got the top imprinted.
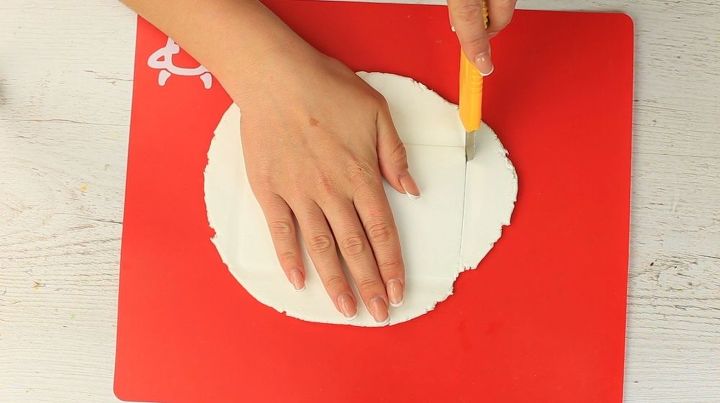
Cut it out with the craft knife.

Place the clay bar on the box top.
Make it checked. Split it into three parts across the short side.
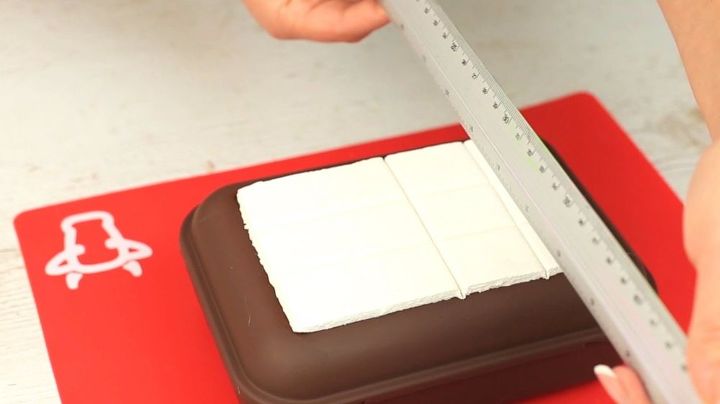
Press with the ruler edge to make a notch.
Separate the long side into four parts.
Press it over with the ruler.
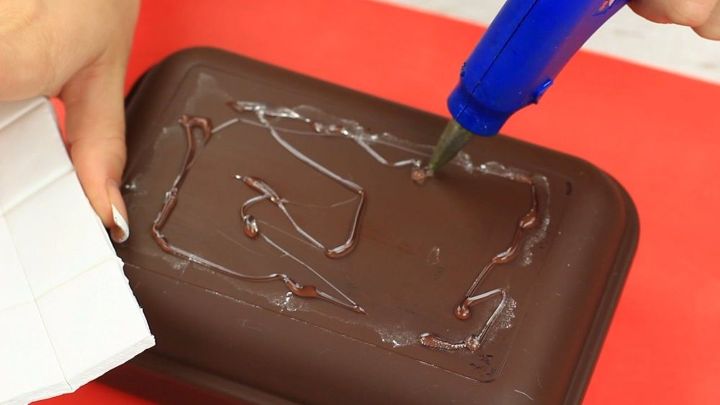
Hot glue the bar.

Make it chocolate like. Paint it dark brown.
Put any small stuff you need in this tempting chocolate box.
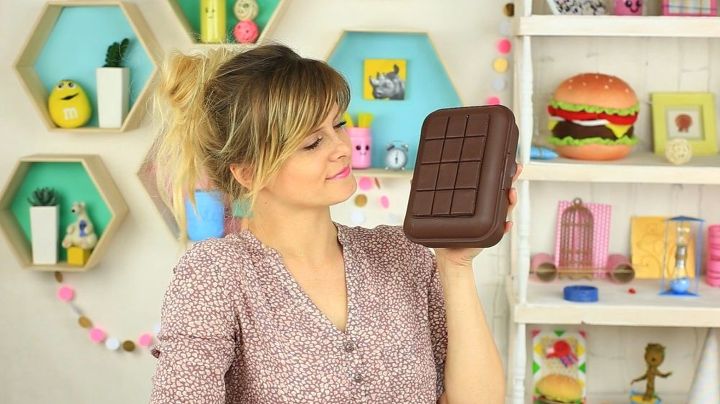
It’s an easy non-standard way to change your old boring accessories into new stuff. Make your bathroom fabulous.
If you're like this project, check out our youtube channel OR our super cool website
Thanks so much for reading/watching!


Frequently asked questions
Have a question about this project?