


DIY Headboard Using Dollar Store Materials

by
Marlene
6 Materials
$20
30 Minutes
Easy
I have long pondered how I could fashion a headboard using materials from the dollar store. At first blush, it’s not the kind of thing you would expect to be possible.
However, I’m always up for a challenge and finally came up with the following relatively easy idea.
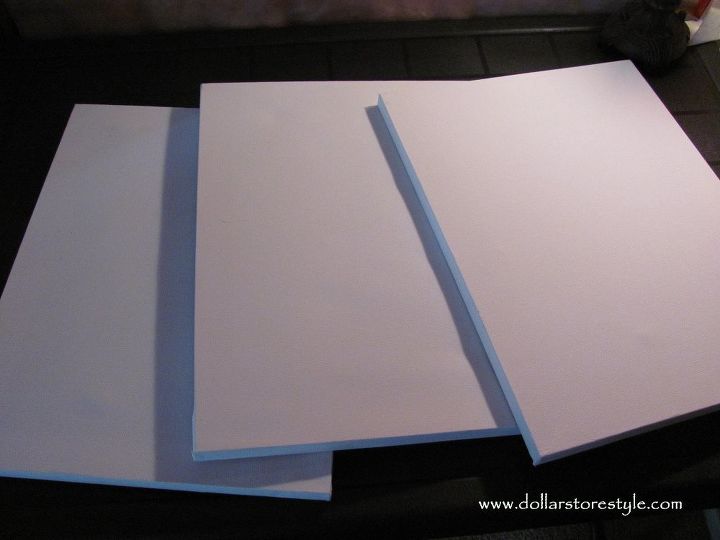
You will need, three wood-framed artist canvases that are at least 12 x 16-inches in size...
some batting, enough fabric to cover all, duct tape, furniture tacks, a tack hammer and a staple gun.
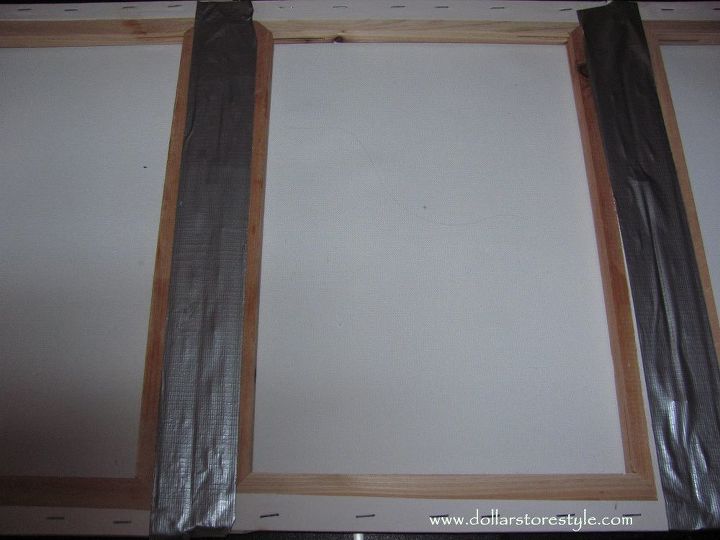
Begin by arranging the canvases face down and side by side horizontally. Use duct tape to bind them together, making sure the edges are even.
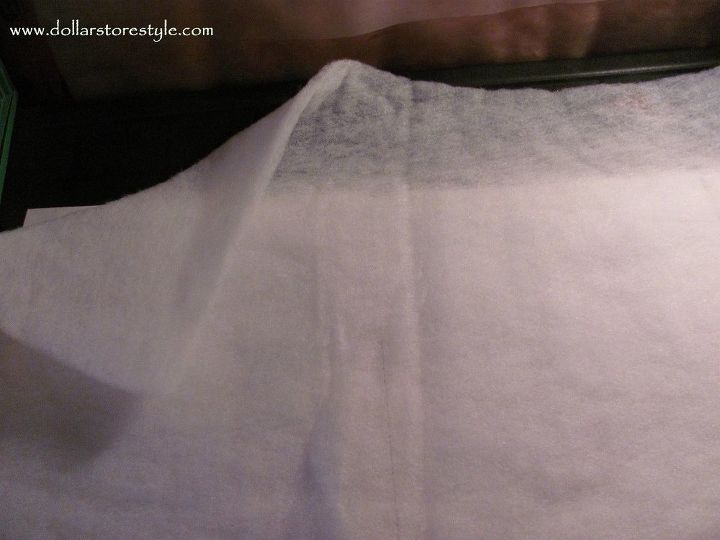
Cut enough batting to cover the front of the three canvases, leaving a couple of inches all around to staple to the back of the wooden frames.
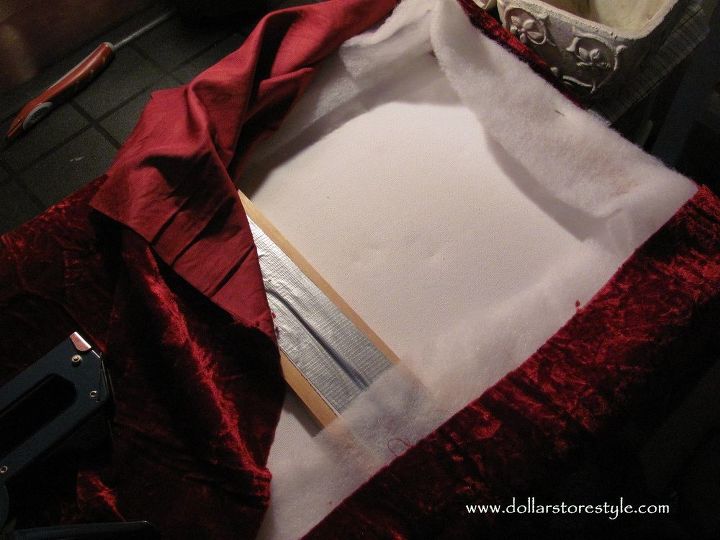
Measure and cut the material to the correct size and wrap it snugly around the joined canvases. Staple the material onto the wood trim on the back of the headboard.
Turn the headboard over and use contrasting furniture tacks to add a nail head trim, spacing the tacks about four inches apart around the outside of the headboard.
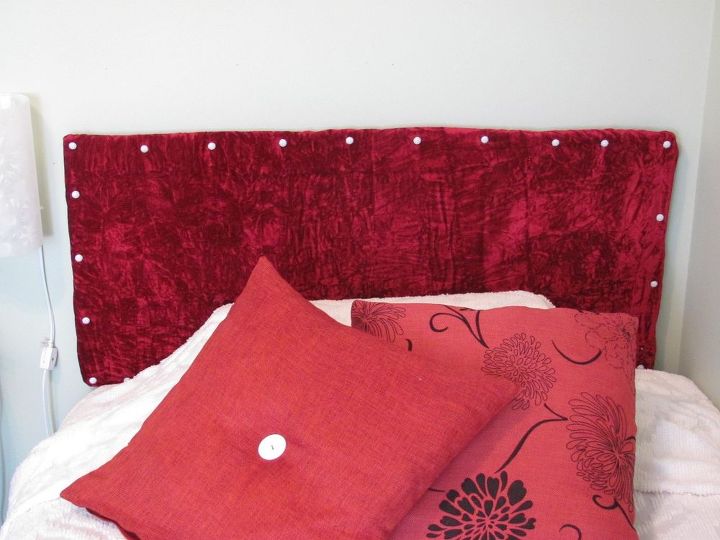
This makes a big enough head board for a twin bed, but you could expand it to accommodate any size of bed. Hang the finished headboard on the wall behind your bed as you would a large picture.
I found the fabric remnant I used at Dollarama some time ago. Now they have fabric rolls in neutral colours that would work great for this purpose.
Alternately, look for a fabric tablecloth in a pattern you like and use that to cover your headboard.
Want more details about this and other DIY projects? Check out my blog post!
Comments
Join the conversation
2 of 24 comments
-
This I'm going to do. I love it!
-
Thanks Valerie!


Frequently asked questions
Have a question about this project?