


Faux Fireplace on Boat

by
Magnoliagirl
1 Material
$65
8 Hours
Medium
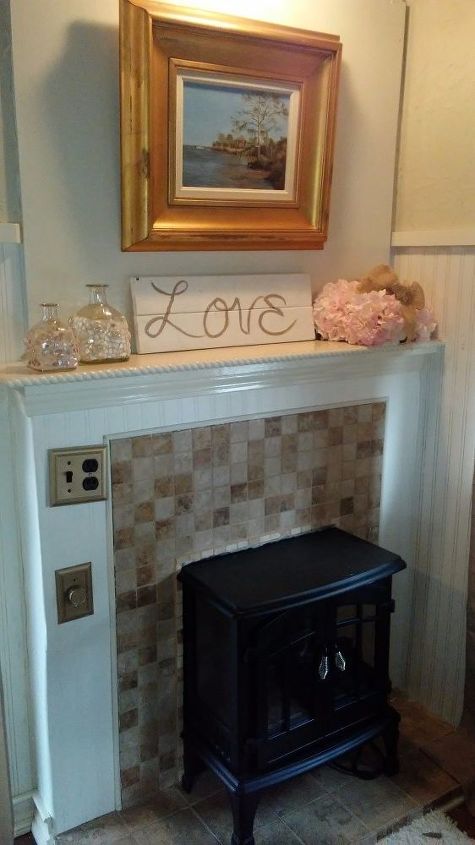
Demo and renovation of my old boat left me less than enthused about the helm in the salon. It took up too much space and the controls did not fit my "cottage" design plans. As a longtime DIY'er and interior designer, I do not see challenges, I see opportunities.

Demo! All helm cables and wires for motor controls are tucked under the salon floor for future flybridge on top of boat. I began by framing the fireplace with 2x4's along with the hearth. I applied Luan panels to the front (with boats its about less weight), and also a piece of Luan to cover the window above the helm. There are two 8 foot windows on either side of salon which give ample natural light to space. I applied leftover 2x2 kitchen backlash tiles (in 12x12 sheets) to the facade. $18 per case for kitchen. I used tile adhesive and painters tape and pennies to hold and space sheets. I left space to paint in the center where the insert would be placed. (I measured the insert (heater) before tiling and painting)
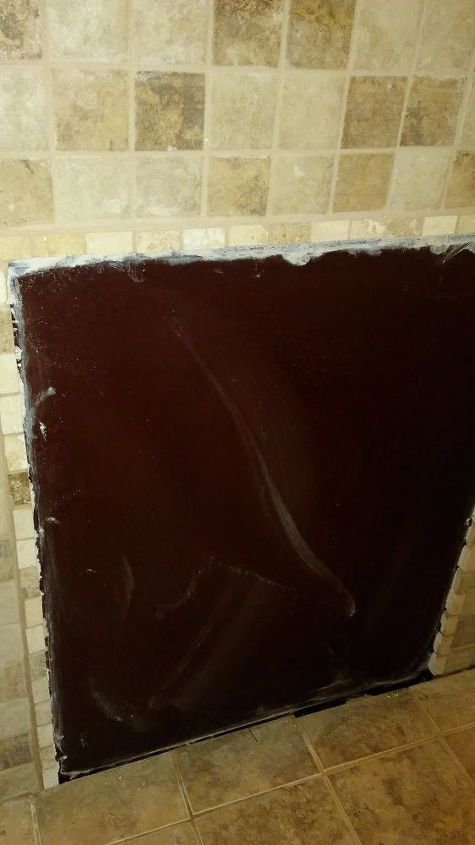
The insert area is painted chocolate brown. This was paint I already had on hand. The edges are trimmed in leftover 1.5 x .5 tumbled tile from kitchen project. These came in 12x12 sheets at $6 per sheet. I purchased 2 for kitchen. Last detail was .5 " leftover trim from bathroom remodel. $2.30 per 8ft piece. It was applied to outer edges of 1.5x.5 tiles around painted area. Perfect finish! (See last pic)
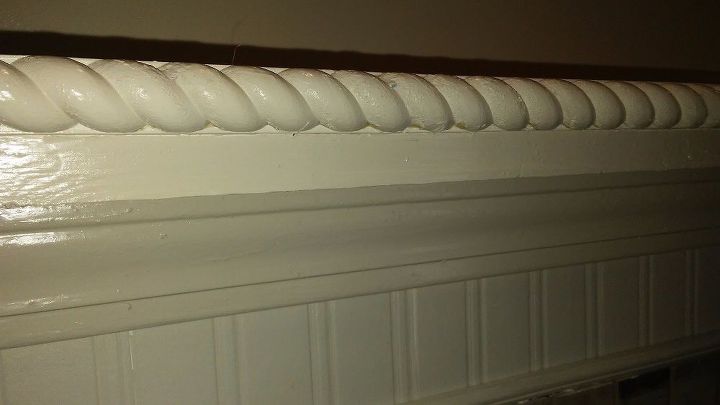
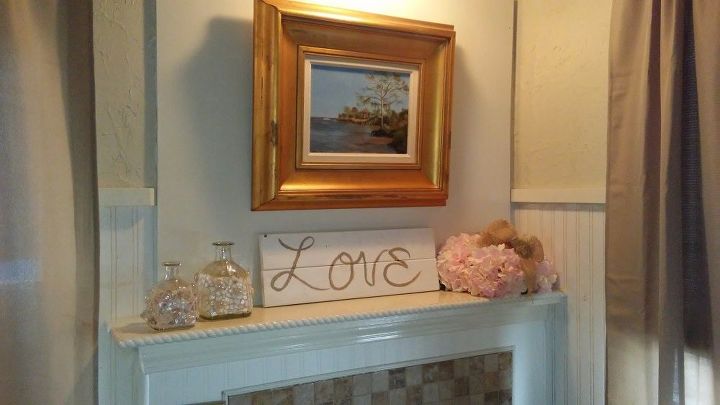
The mantle took me a minute. I admit I was afraid of screwing up the molding as I only had a few pieces of window molding left. For a month the mantle was just a 1x4 laid on top. Then I bought a longer 1x6 for weight and bulk. Once both pieces were in place, I could see it! I used leftover beadboard wallpaper for the outer sections of the facade(see last image). I miter cut leftover window molding, easier than I thought, and tacked into place. Filled tack holes with paintable caulk and painted with antique white, same color as all trim in boat. The rope trim was a bargain from Michaels at 65 cents. Couldn't resist and knew it would work somewhere on the boat. It is also decorative trim on my kitchen cabinets. My touch of "nauti" whimsy, along with cottage cozy.
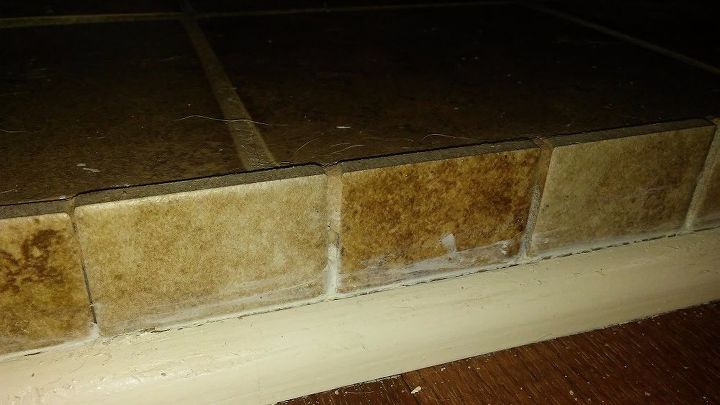
I follow the principal of waste not want not. Before I start any project, I am mindful of material uses for the next project in case of leftovers. The front of the hearth is trimmed with 2x2 tiles from kitchen. These were cut from the 12x12 pieces for backplash. Quarter round is painted first then tacked into place. Tack holes are filled with paintable caulk and touched up.
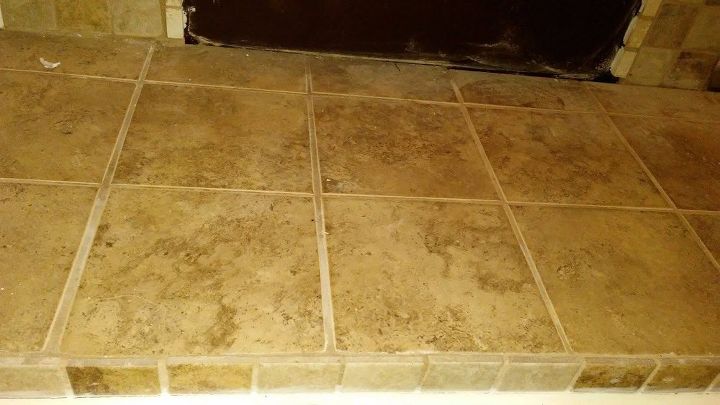
Once the center was painted and facade tiles were in place I laid 6x6 tiles on the hearth. I trimmed as needed with a simple slide tile cutter. $15 at HD. Tiles were 50 cents each on clearance at HD. I used 15.
My fellow boaters were skeptical when they heard my plans for a "fireplace". One boater was sitting in my salon while I was working and said "I can't believe you're building a fireplace while we're talking". My love of working with my hands comes from my dad. I was his shadow as a child. He enjoys seeing photos I send him of each completed project on this old boat of mine.
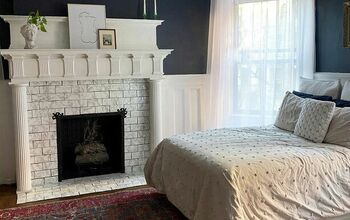
Time to enjoy! So much better than the first picture. My favorite tools/materials for this project? 1. My air compressor and brad nailer. Honestly, the best investment so far for this boat renovation. 2. Paintable caulk! It covers a multitude of oops.
Comments
Join the conversation
2 of 5 comments
-
Gorgeous! I love that you added it, makes all the difference!
-
OMW that's amazing


Frequently asked questions
Have a question about this project?