


Shelf Shaped Like A House

6 Materials
$20
3 Hours
Easy
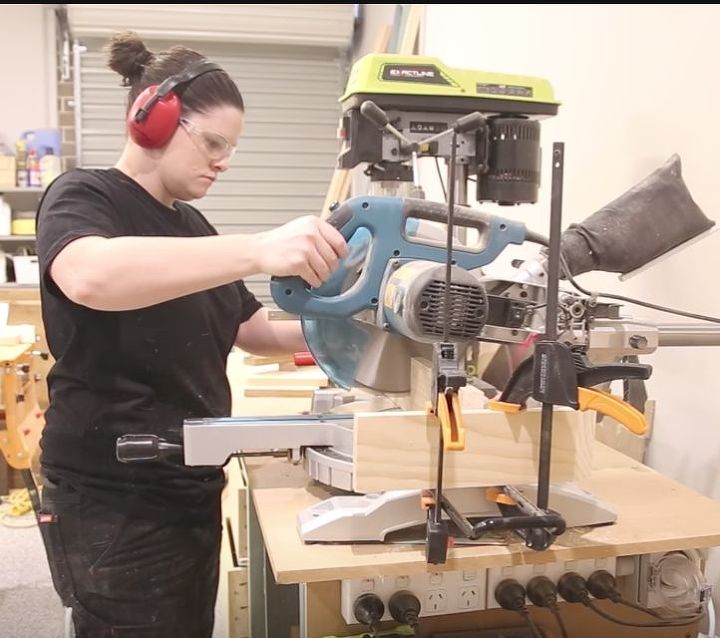
All of my friends have kids so I wanted to make a cool shelf for their rooms so I decided to make a shelf that was shaped like a house. This project is super simple. I made my cuts on a miter saw but they could always be done with a hand saw and miter box. Remember woodworking is always about using what you have.
{
"id": "3956801",
"alt": "",
"title": "",
"video_link": "https://www.youtube.com/embed/sKeRsp1zSH8",
"youtube_video_id": "sKeRsp1zSH8"
}
{
"width": 634,
"height": 357,
"showRelated": true
}
You can follow along with my youtube video linked above or follow the step by step below.
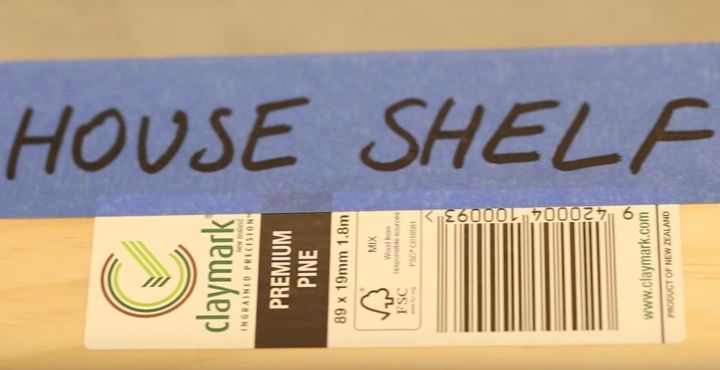
I started the project off with a piece of dress pine that is 89x19mm and 1.8m in length
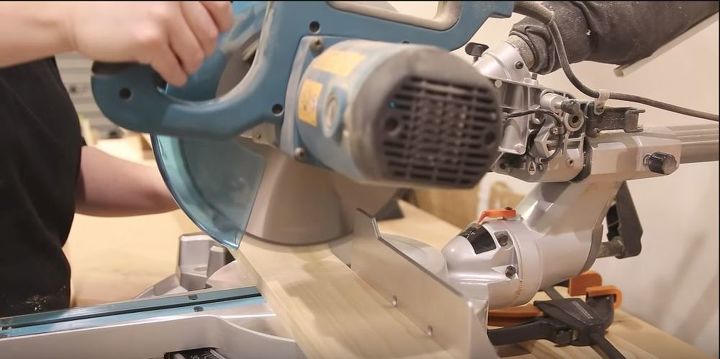
As the base of the house has no angles I cut this first. Measure out 300mm on your pine board and made the first cut.
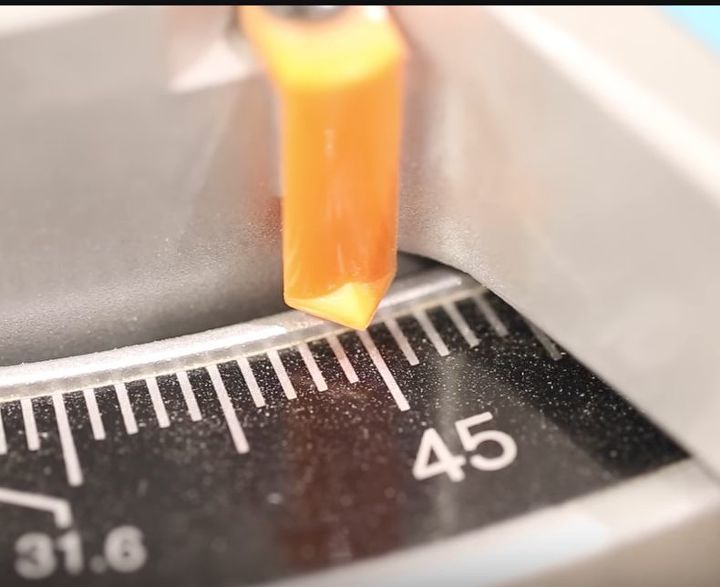
Then move the miter saw to be at 45 degrees.
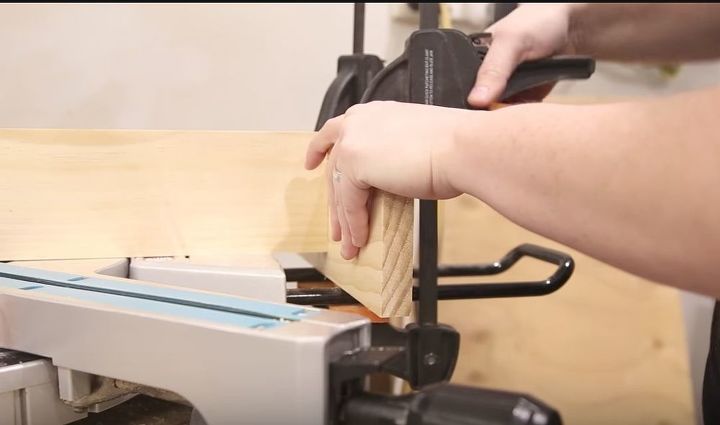
I then set a stop block on the miter saw so each cut is the same length. A stop block is just a scrap piece of timber clamped to the miter saw. I can then butt the timber up to the stop block and when I cut I will know everything is going to be the same length.
The sides of the house are 300mm with a 45 degree angle on one end. So set the stop block to be 300mm. In between the cuts I needed to move the miter saw back to 0 degrees. As annoying as this is it helps cut down on wastage and means saving money. Winning!
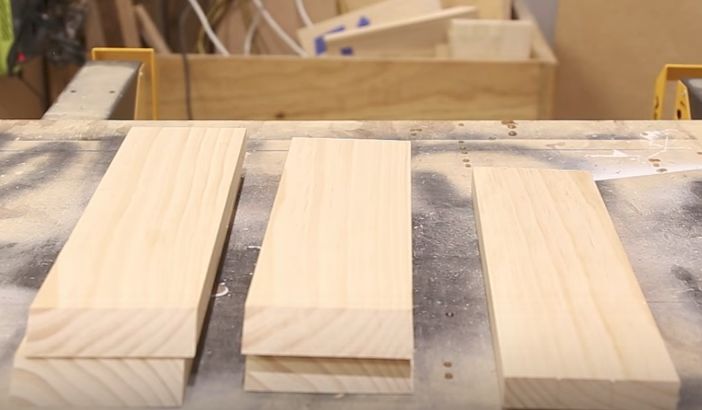
Once I had two lengths at 300mm with 45 degree on one end repeated this process to cut the roof pieces. Just changing the stop block to be 270mm. Remembering only one end of each piece has a 45 degree angle.
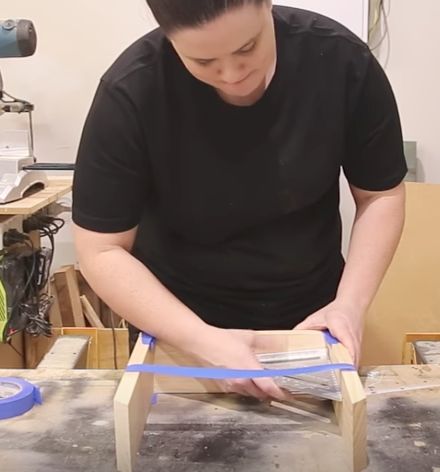
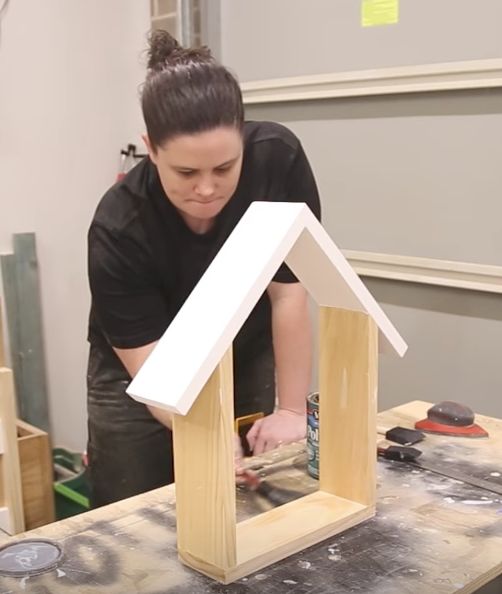
To help keep everything square I glue up in two stages. I glue the roof pieces together and then the base together. Once everything is dry then I glue the base to the roof. I apple glue to both piece when gluing up. If there is a little glue squeeze out then you're doing it right. When gluing up angles I find blue painters tape the be the best clamp. This way I don’t have to worry about any clamping jigs and makes the whole process a lot less stressful.
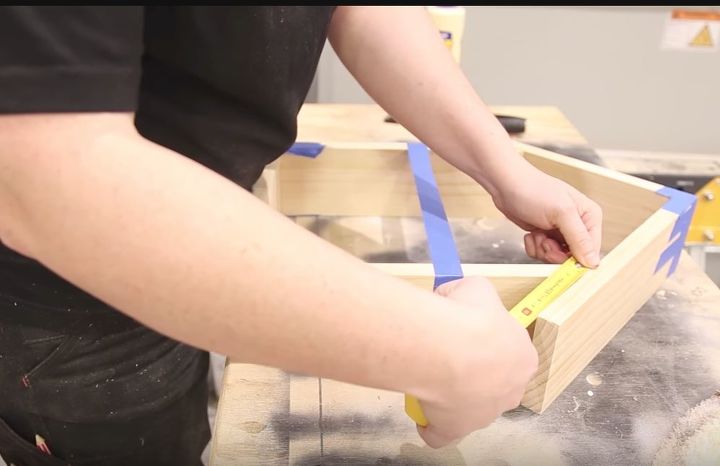
When I'm gluing the base to the roof I measured to make sure you have equal overhang on the roof. Once I have measured I put a line across both pieces so when I put the piece back with glue on it i know it's in the right spot.
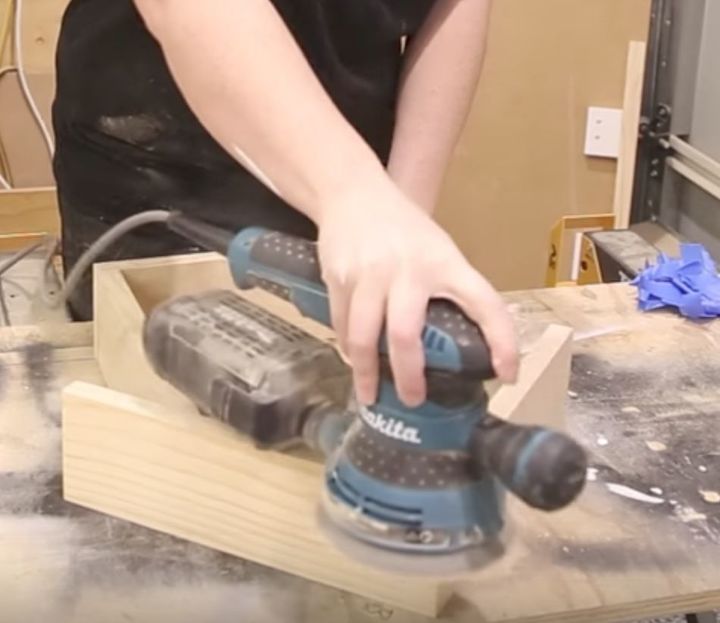
With all the glue dry I can give it a quick sand. As it is dress timber it shouldn’t require to much sanding. Any gaps in the joints now is the time to fill them with wood putty.
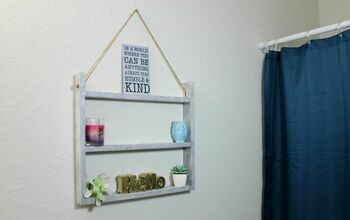
You can finish the house anyway you like. If you have a theme in the room you might want to use those colours. I went with a classic low sheen white roof (the best part about low sheen is you can just get a sample pot from your hardware store so it doesn’t cost you an arm and a leg) and clear coat on the base. I love miniwax polycrylic waterbase finish. Its super easy to apply and dries quickly.
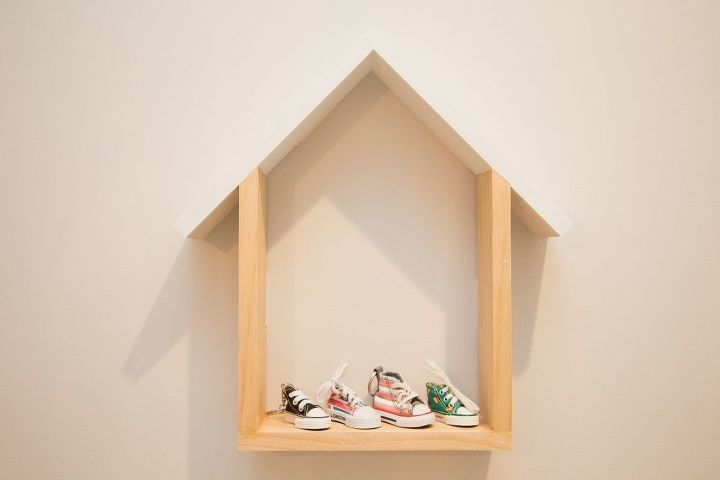
Apply a couple of coats of finish with a light sand in between and then the shelf is ready to hang on the wall. There are a thousand and one ways to secure the shelf to the wall. Walk down the picture hanging aisle at your local hardware store and decide on the best one for your situation.
If you were a fan of this project be sure to follow me on youtube for more fun projects. I release a video every week.
Comments
Join the conversation
2 of 14 comments
-
What a cute Idea ....who wouldn't want to have this on their wall ...its just to cute !!!!
-
So cute!


Frequently asked questions
Have a question about this project?