


Tiny House, Tiny Kitchen, but Just Look...

Comments
Join the conversation
-
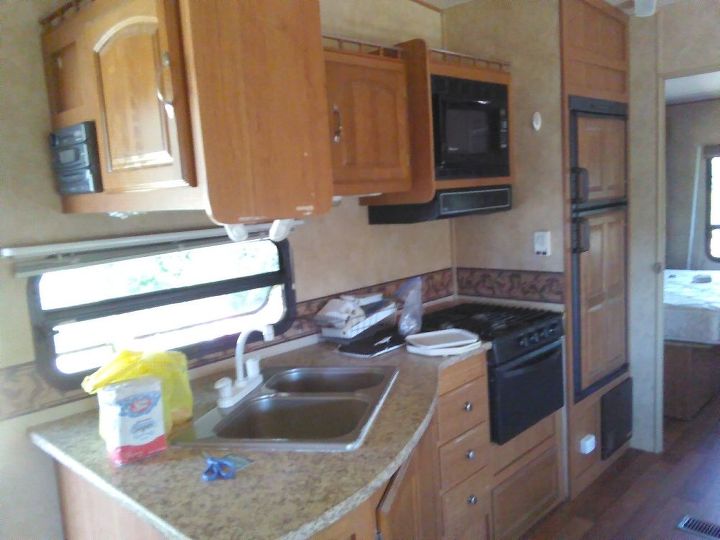
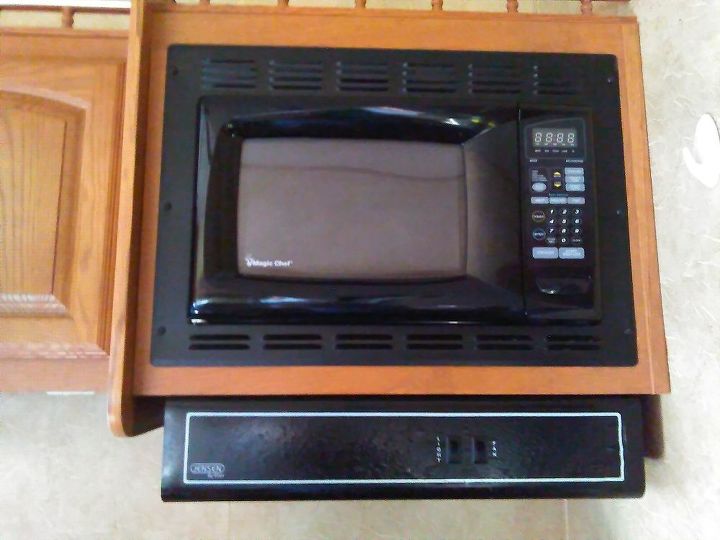
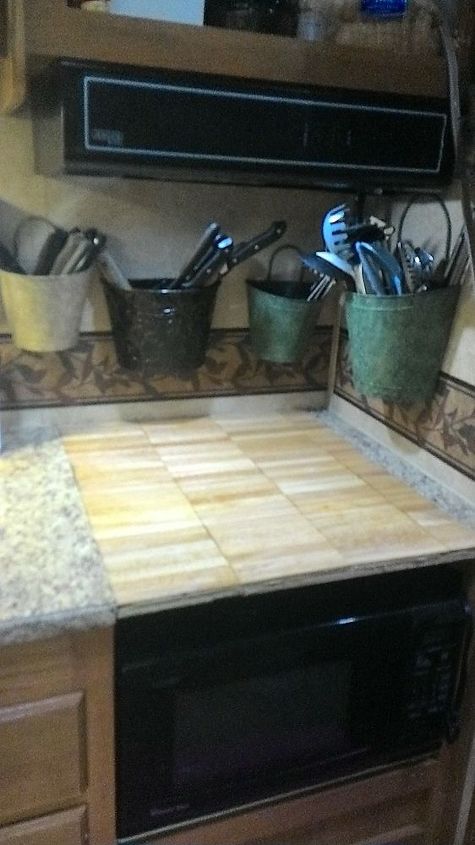
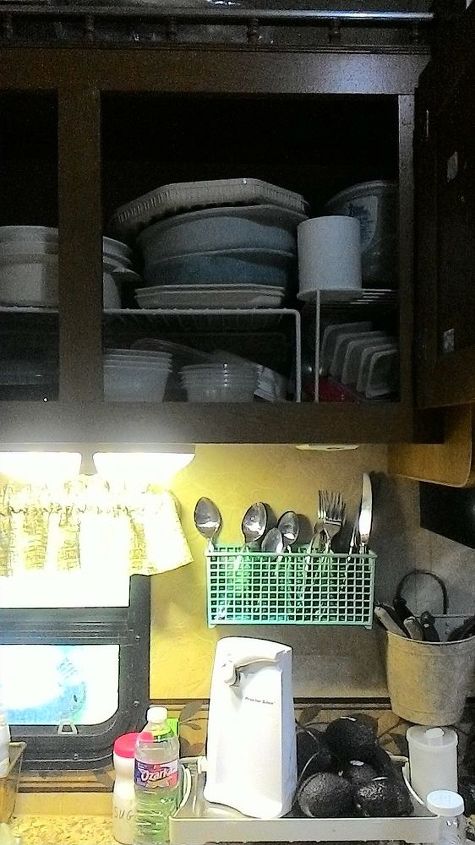
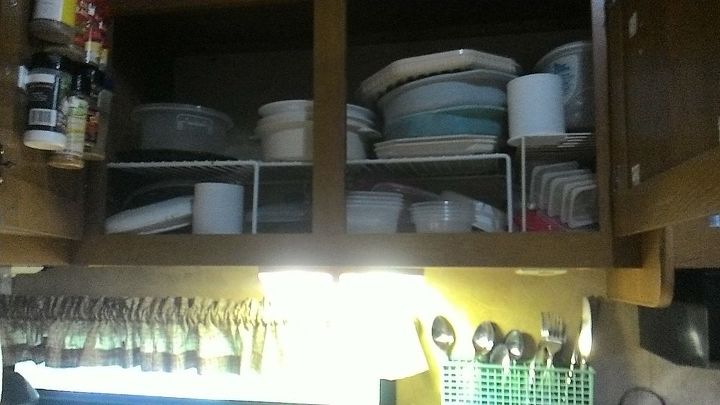
Having lived the "full time" rving for over 2 years (several years ago - although in a 40 ft. motorhome) I learned quite early on - through several previous years of RV'ing experiences, to never leave any object in the cupboards that will scatter around when RV is moving and then fall on your head when you open the cupboard doors. Everything was corralled; plates stacked with either paper plate in between each; glasses carefully braced; baking "pans" all exchanged out for non metal so they could be easily stored; all heavy cans, bottles, etc, stored only in bottom cupboards; (yes we used real plates, glasses, etc - never broke) The dollar store is the RV'ers best friends. We also, in our final RV, did not put a regular oven in it - had a microwave/convection oven over the stove - worked just as well baking anything that we wanted. That left us room to have 3 drawers below our stove stop - where I stored all the pots/pans and baking stuff. Have fun in your adventure.
-
My RV's layout is very similar as this one. It has the same storage headaches. I use the built-in oven for storing things BUT there would be so much more space to store things with oven taken out! 💡GREAT IDEA!!
I've spent many hours staring and wondering how I could rearrange things and never thought of that, lol.
I love your ideas and I can hardly wait to try some out. Thank you so much for giving me the inspiration to explore some new possibilities!
🛠️🙋🌷


Frequently asked questions
Have a question about this project?
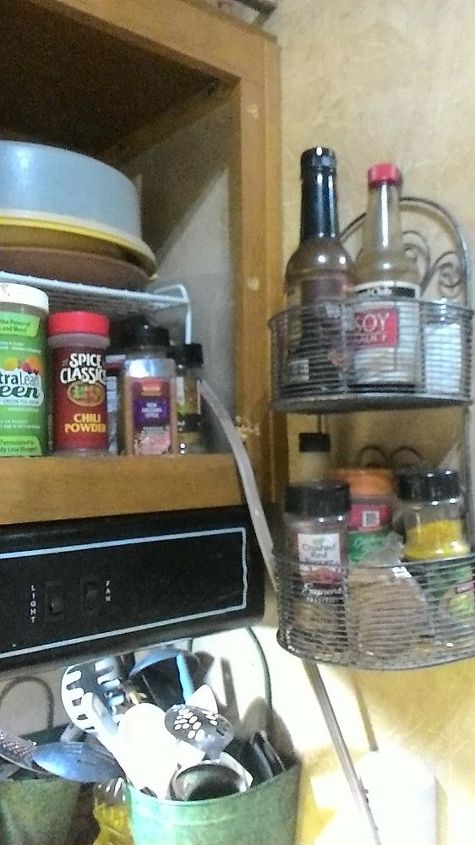
How did you hang that double wire basket?