


DIY Music Themed Shelf

3 Materials
$20
2 Hours
Easy
The music themed shelf was made to hang on the wall beside my video/audio editing area. It hangs on the wall near my guitars, but was actually designed to hold our cameras. It is a very simple design and can be made quite easily on the scroll saw.
If you would like to make something similar you can get the free shelf brackets pattern on our website.
{
"id": "3989939",
"alt": "",
"title": "",
"video_link": "https://www.youtube.com/embed/zpR0viqnuKw",
"youtube_video_id": "zpR0viqnuKw"
}
{
"width": 634,
"height": 357,
"showRelated": true
}
Often times a step is more easily understood when you can see the whole process. Take a couple of minutes and check out the short build video that we have included. It shows a lot more of the entire build.
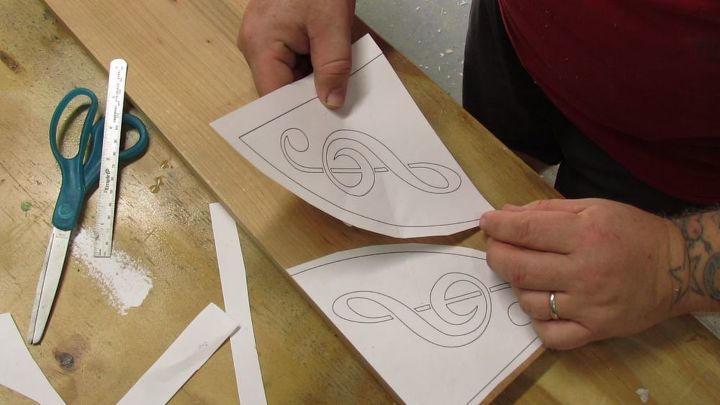
We print our patterns on full page shipping labels. They can sometimes be a pain to get off the wood when you are done cutting, but we have found that they adhere to the surface well enough that they do not com undone when cutting, which is a very good thing. We just applied them in a way that would conserve on wood the best we could.
The wood that is left over, if you have enough, can be used for the top base of the shelf. If not, you will have to use a separate piece.
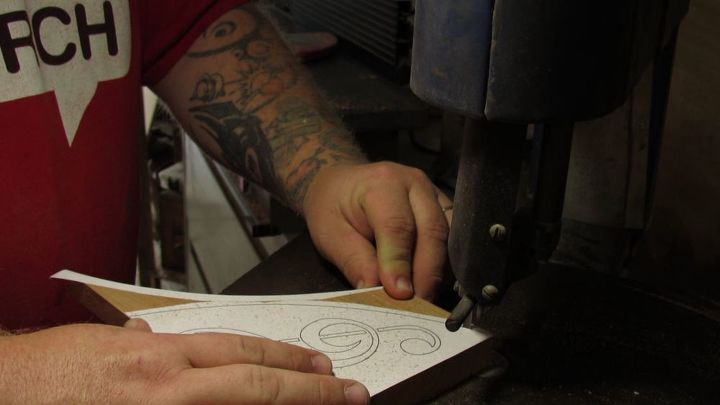
We cutout the the outer perimeter using the band saw. This seemed like the easiest approach and probably the most accurate.
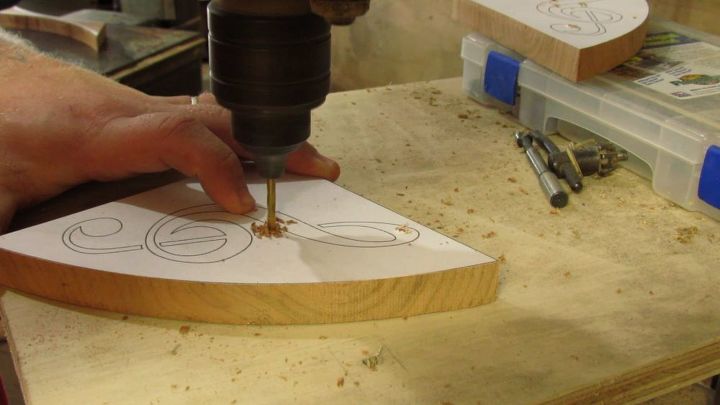
Then we drilled out all of the starter holes for the scroll work. These holes get drilled in all of the negative spaces that will be cut out to allow for blade insertion on the scroll saw.
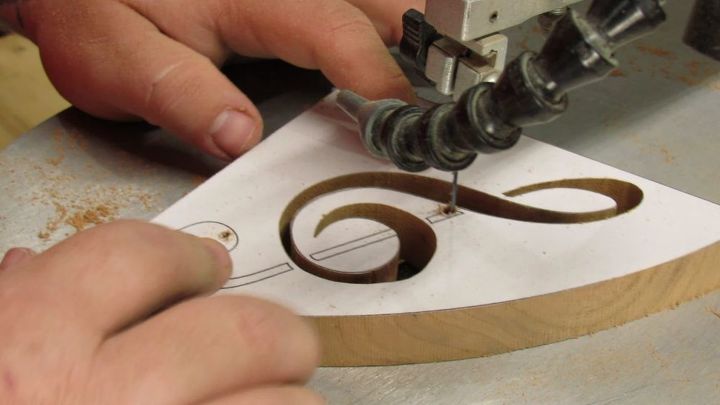
To start the work on the treble clef bracket design, we began by placing the blade through one of the previously drilled holes and reattaching it to the upper arm of the scroll saw. The blade being used is one that is designed for thicker wood. Since this piece of cherry is roughly 3/4" thick, that seemed like the best option. It doesn't leave as nice of a surface after cutting, but it certainly beat trying to run a fine-tooth blade through it.
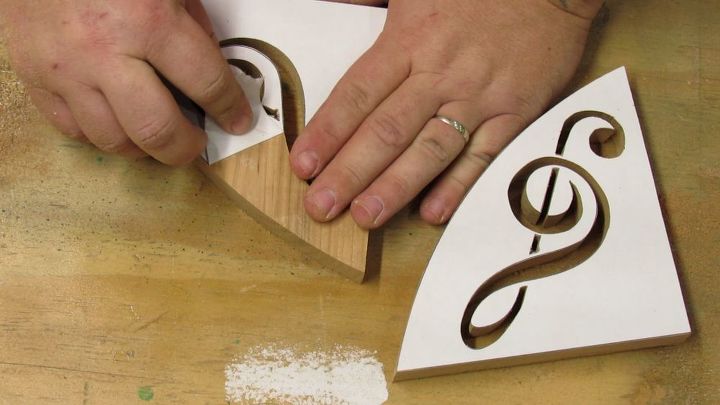
Once all of the scroll work is done, the pattern is removed. If you use the shipping label method like we did, take your time and be patient when pulling it off; it will come off much easier that way.
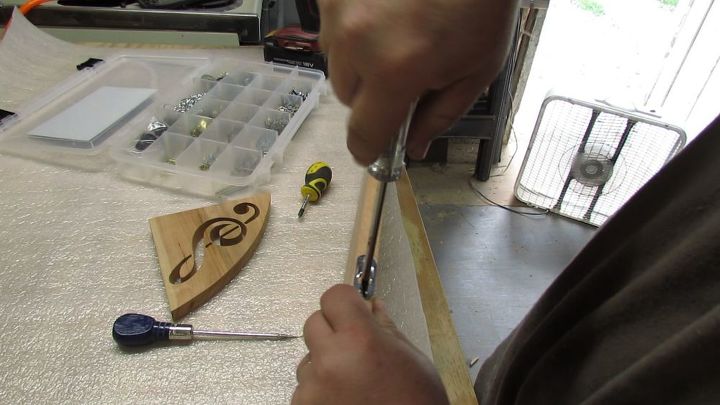
We purchased a pack of keyhole hangers to use for the mounting hardware. You can get 20 of them for right around $6 on Amazon.
Ideally we would have routed out a recess in the back of the shelf to attach them, but I was afraid that it would damage the base of the shelf. Instead, I just screwed them to the surface. They seem to work well that way as well. The top base of the shelf was made from the wood that was left over after the brackets were cut out.

Knowing what this shelf would hold and where it would hang, we opted for a simple way to attach the brackets. They are attached with no more than wood glue and brad nails. Wood glue was placed on the very end of the underside of the shelf base...
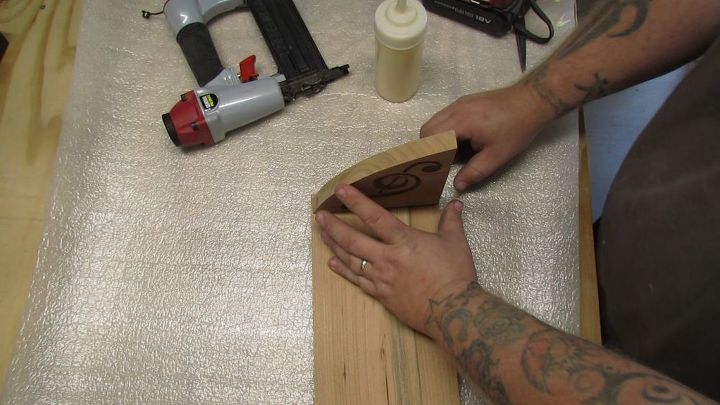
the bracket was put in place...
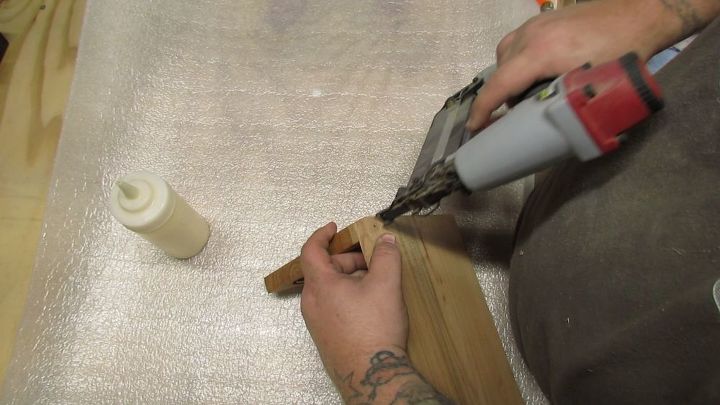
and the brad nails were shot in from the top of the base.
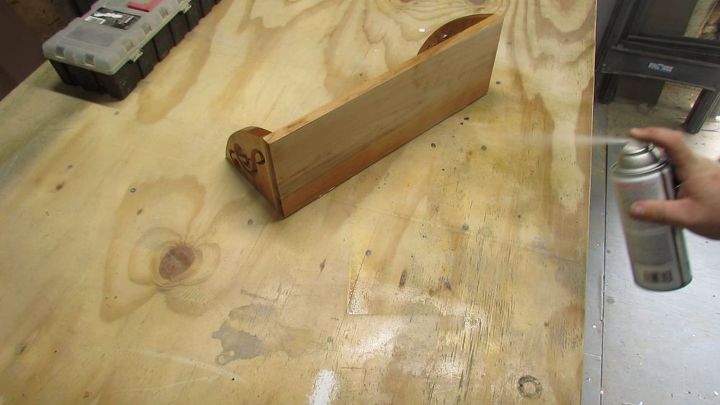
Since this was nice cherry wood, we coated the entire shelf with a spray poly. This required a few coats with light sanding in between, but nobody wants to see that in image or video form.

That's it. It is a very simple design with a nice flair to it with the treble clef brackets. We've had it in its home for a while now and it is doing its job. It holds the weight well and looks great beside my guitars.
We hope you enjoyed this DIY project and the video that goes along with it. If you have any questions or comments please let us know, we'd be more than happy to help you out.
Comments
Join the conversation
2 comments
-
Wow! so much skill and precision!


Frequently asked questions
Have a question about this project?