


Simple Planter Box For Your Vegetables Or Flowers

by
Wes Hamstra
1 Material
$20
2 Hours
Easy
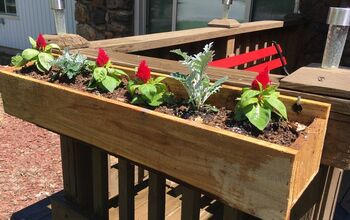
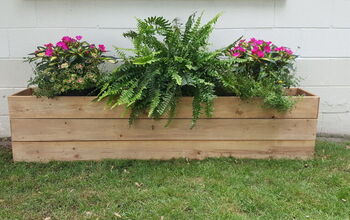
My Wife and I decided that we wanted to try our hands at gardening. Instead of going through the big extent of making a huge garden, we decided to just make a small box and grow a few peppers and see if this something we like doing. This project was easy and only took a few hours to build.
{
"id": "4019964",
"alt": "",
"title": "",
"video_link": "https://www.youtube.com/embed/mpPfEY92JeQ",
"youtube_video_id": "mpPfEY92JeQ"
}
{
"width": 634,
"height": 357,
"showRelated": true
}
You can watch the complete build video here to catch all the details....or you can read through the steps below.

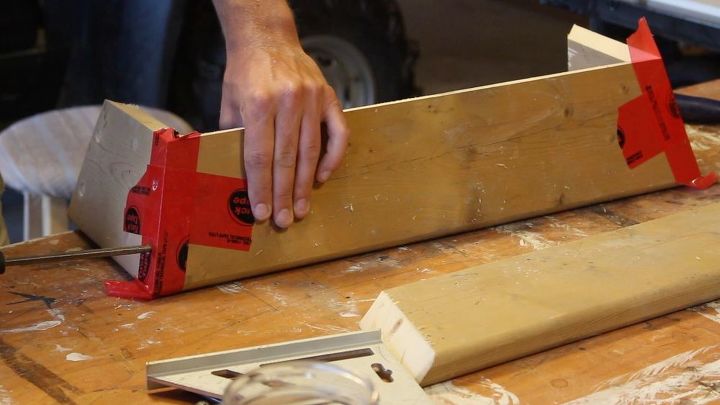
I Started out by building a jig for my mitre saw so that I could cut a compound mitre. It is just built from some scrap plywood I had laying around. You are not going to want to use your best wood, this jig is sacrificial. I cut three pieces of wood at 5 1/2" , 3 1/2", and 1 1/2" wide. All three pieces are 34" long, But length doesn't really mater. You just want to make sure its long enough to support your work piece. I then screwed it together to make a "J" shaped box. Just make sure you keep screws away from where the saw will be.
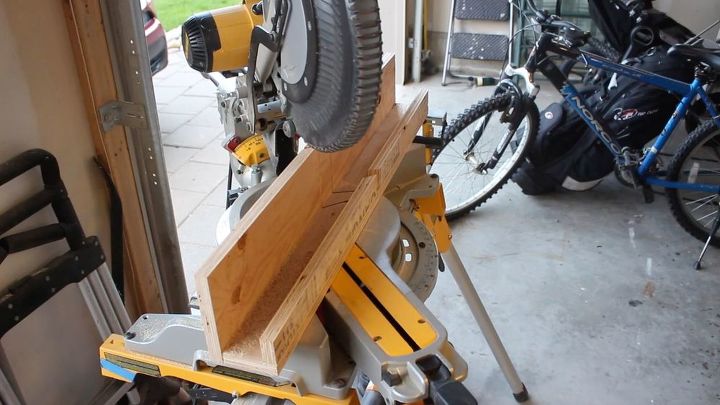
Once assemble, I screwed it to the fence on my mitre saw.
I then cut a a piece of pressure treated deck board down to 5" wide. Place the deck board with the rounded edge down against the front of the jig. When all is done, this will be the top of the box.

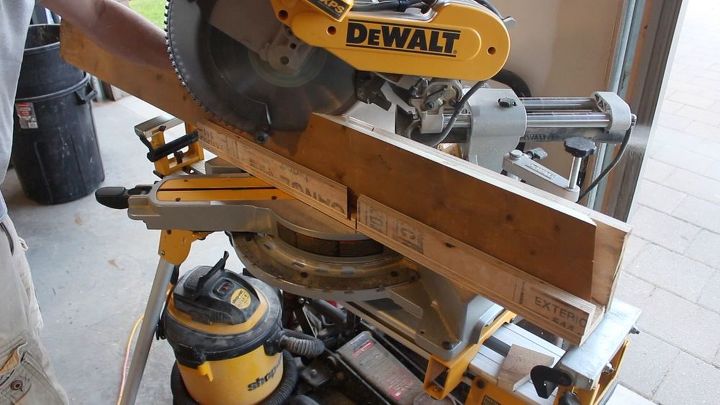
Then angle the blade to 45 degrees. Make sure you keep the board firm against the bottom and top of the jig.
Cut two pieces at 8 1/2" and two 22 1/2". Make sure the opposite sides are exactly the same length or else you won't get nice tight mitres.
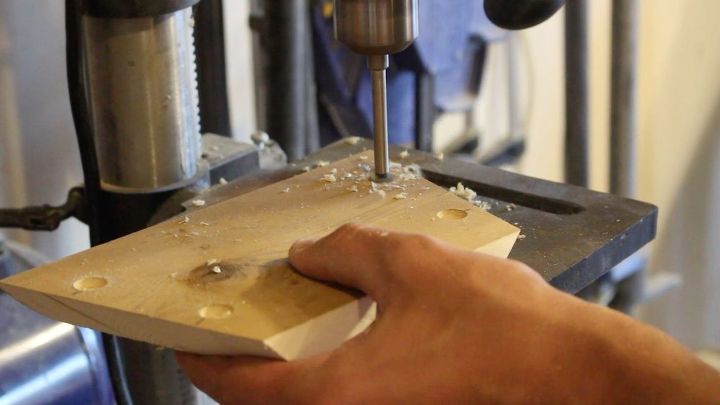
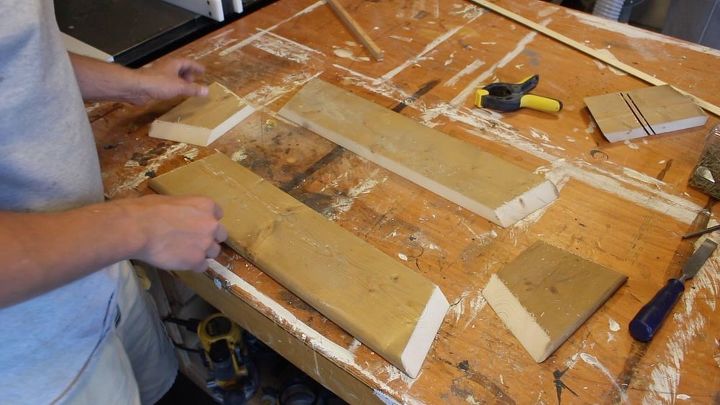
I then Predrilled some 1/2" holes half way through the board to except some dowels the will hide the screws.
Assembly can be a bit tricky. I found the best way to help keep the mitres aligned was to use some tape. Be sure to pre drill the holes for your screws. If not, the would could crack. Make sure to use screws made for pressure treated wood.
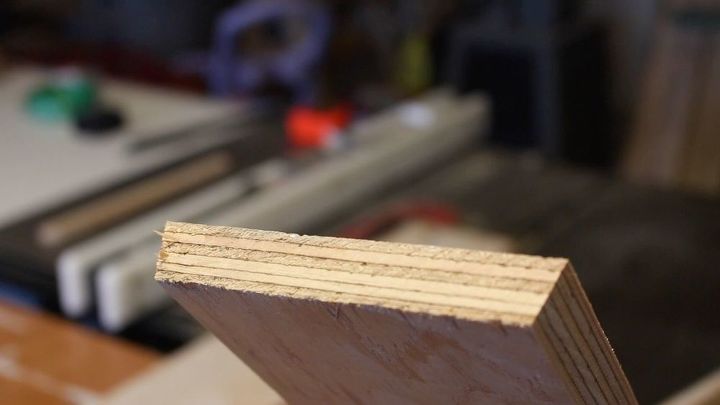
For the bottom, I just used a piece of 3/4" plywood. I cut the edges slightly beveled on my table saw so that it would fit just right on the bottom of the box.
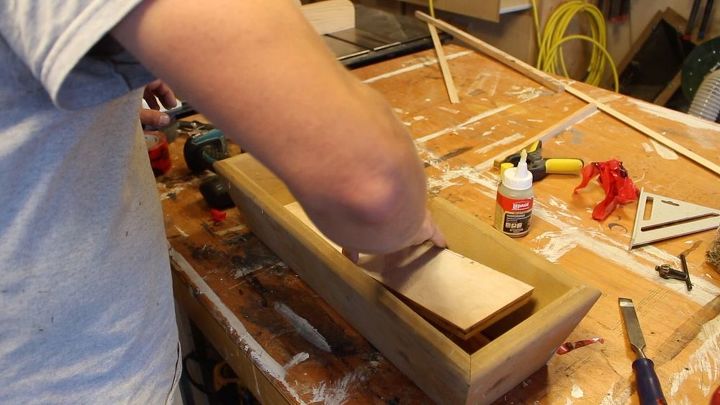
I then glued the bottom in with some polyurethane glue. I gave it over night to dry. Make sure to use a water proof glue for this.
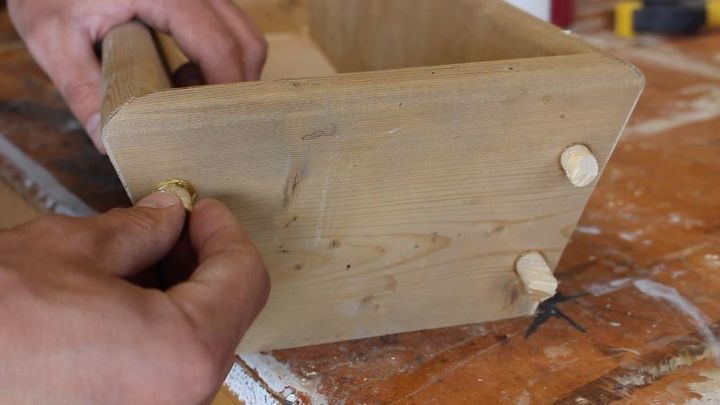
Glue some 1/2" dowels into the holes that you previously drilled. When the glue is dry trim the dowels flush with a handsaw.
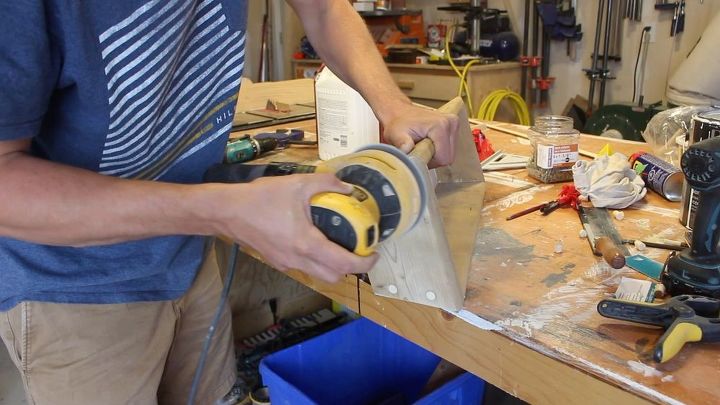
Now, all that is left is to give it a quick sand. Since this is pressure treated wood staining it is not necessary.
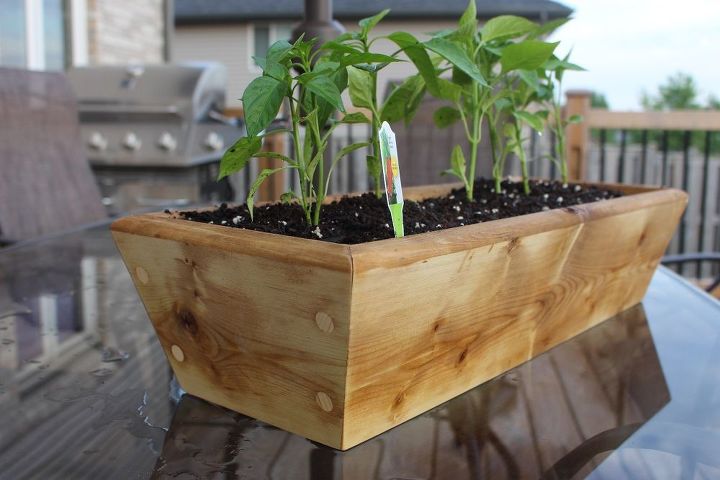
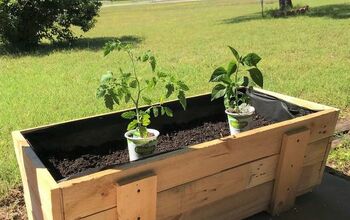
All done! Plant your favourite vegetables or flowers and enjoy watching them grow!


Frequently asked questions
Have a question about this project?