


Pantry Organization

3 Materials
$38
3 Weeks
Easy
Back in 2015, my husband and I purchased the home we are living in now. To me, a new home always means a fresh start with organization. In this home, we had a nice size pantry, which meant a lot of options for organization. So, that summer, I made creating a pantry organization system my main goal. I cleared out the pantry and got it reorganized rather quickly. I thought it was going to be a success, but I didn't have a plan or actual goal in mind.
Fast forward to 2017 when I walked into my pantry at the beginning of my summer break (I'm a teacher) and realized that it looked like a tornado had hit. I knew at that moment that I had to do something. It almost looked like things were falling off the shelves because I had that much stuff crammed on them. Plus, I had paint buckets and supplies hanging out on the floor from last December when my husband and I painted our kitchen cabinets.
So, I decided to approach my pantry totally differently this time around.
{
"id": "4021660",
"alt": "",
"title": "",
"video_link": "https://www.youtube.com/embed/uYTSuj34Zec",
"youtube_video_id": "uYTSuj34Zec"
}
{
"width": 634,
"height": 357,
"showRelated": true
}
I recorded my entire process and explained everything in the video above. I have also included the step-by-step process I used below.

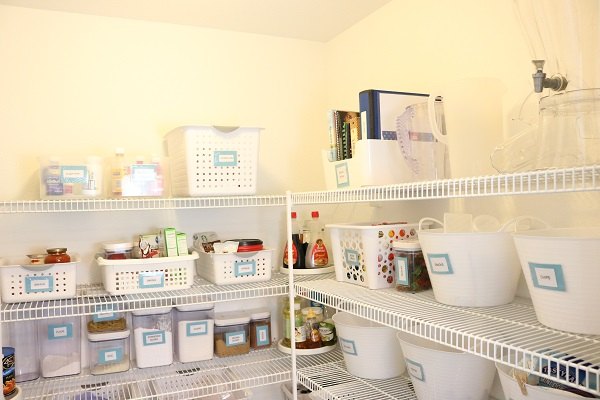
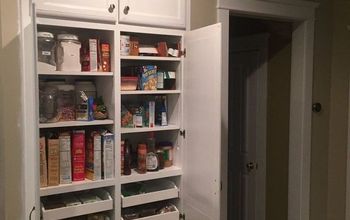
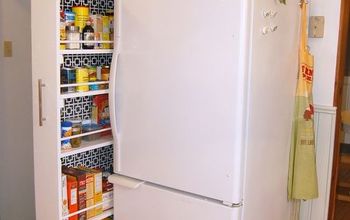
Before getting into the process, I wanted to share a before photo. This is the top of my pantry. You can definitely see it was a mess.
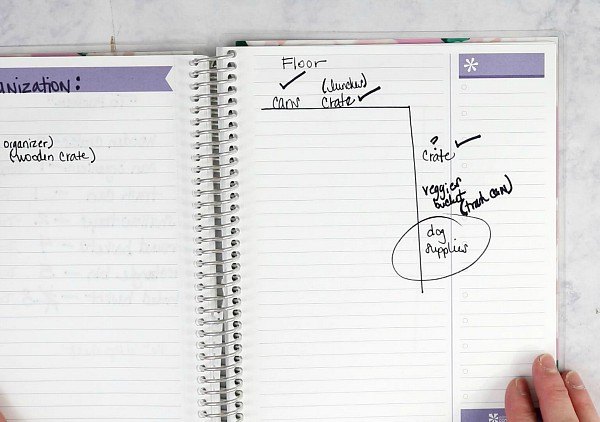
Before I did any work, I decided to come up with a plan. I walked into my pantry, wrote down all of the categories of food and items that would go back into the pantry, and drew up a sketch (when I say sketch, I mean some lines) representing my pantry shelves. Then, I assigned each category a place on the shelves.
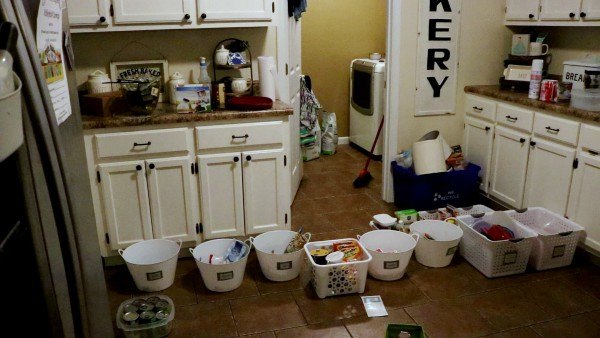
After I had my plan written down, I removed everything from the pantry and used my entire kitchen to separate items based on category.
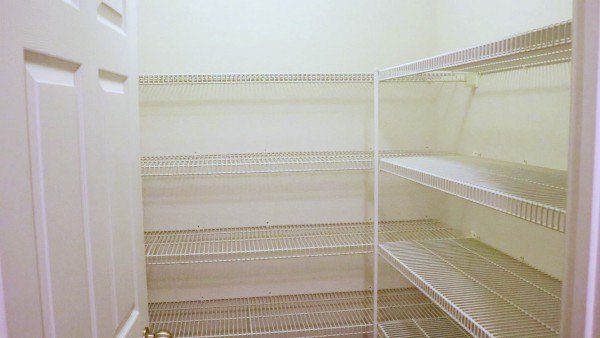
Here is a look at my empty pantry.
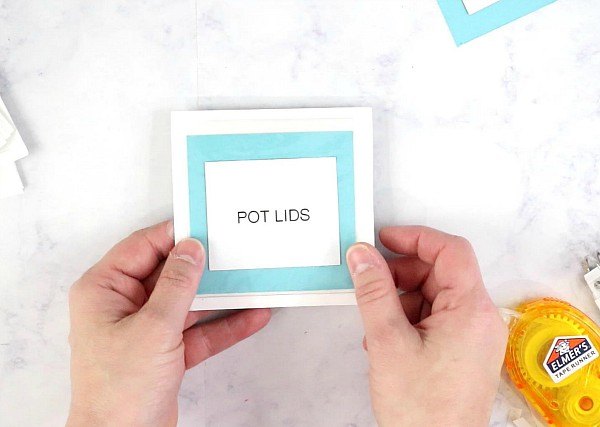
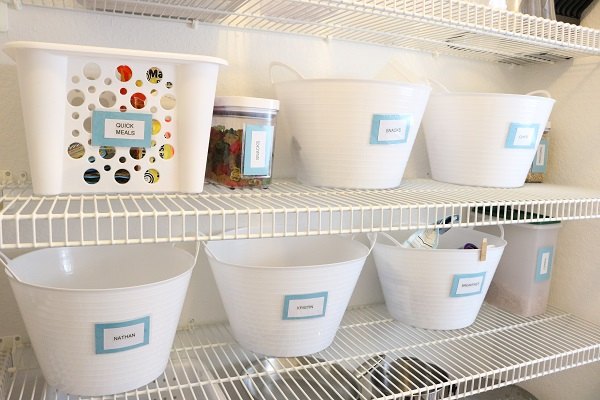
After pulling everything out of the pantry and sorting them by category, it was time to label. Labeling is going to be the key to making this reorganization project a success. Honestly, it was the main part I was missing when I organized my pantry in 2015. When I walked into my pantry, I had no idea where different food items were supposed to go. Therefore, they just got placed wherever there was room.
For the labeling, I used small plastic pockets from Target (the dollar spot) and The Container Store. For the label, I used a piece of light blue scrapbook paper cut down to size with a white piece of paper on top and my label. For the actual label, I used my Brother label maker from The Container Store.
Once the scrapbook paper was placed inside of the plastic pockets, I attached them to the front of each bin. The back of each pocket had a sticky adhesive.
At this point, it was time to place everything back in the pantry where it was labeled on my original plan. Everything fit perfectly with some extra room in case I needed to add some extra bins later.
Before I end, I wanted to share a few things about this project.
The Bins
I haven't talked about the bins I used yet. I wanted my entire pantry to have only white containers. I think when you walk into a space and you see bins that are all the same color, it immediately makes the space look uniform and put together.
White has always been my favorite color when looking at storage pieces because they always look crisp and clean.
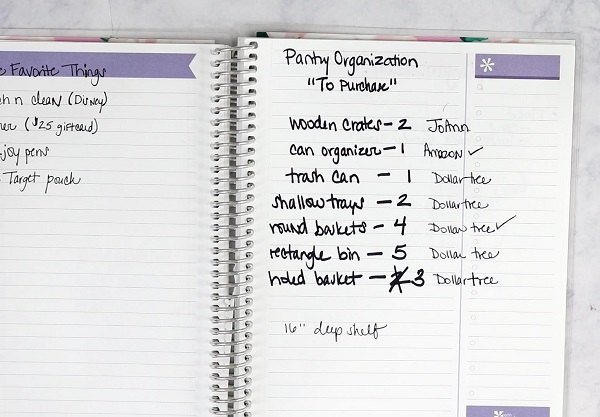
When I was evaluating my space at the beginning of the project, I determined what bins would be best for each category of items. Then, I compiled a list of the containers and bins that I needed to purchase.
The awesome thing was I didn't end up needing to purchase all of the bins that were listed. I was able to pull from other areas of my home and I had a few in the attic.
Overall, I spent a total of $38.00 on this project. At the beginning, I was afraid I couldn't complete the project for under $100.00. So, I was extremely happy with the amount of money I spent.
I have the breakdown below:
- Can organizer – $22.00
- Dollar Tree white buckets (5) – $5.00
- Foam Board – $2.00
- Dog Food Buckets – $11.00
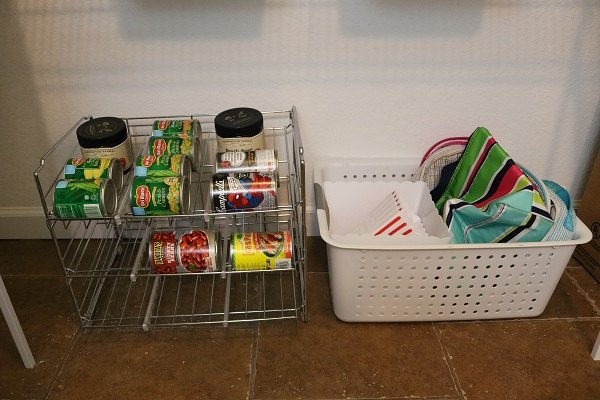
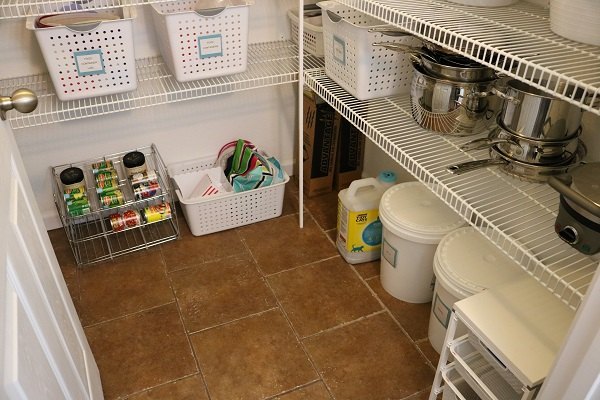
The can organizer was my big splurge. Over the years, I have tried to organize cans in several different ways without any success. So, once I saw one of my favorite YouTubers mention this can organizer from Amazon, I decided to give it a try. It is very well-made and it was easy to assemble too.
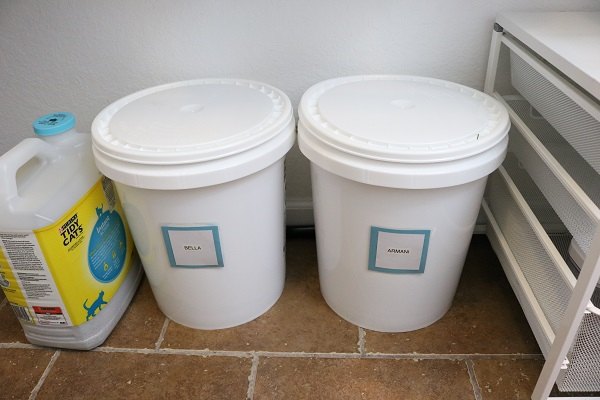
Pet Food Containers
The last thing I want to talk about is the pet food containers that I decided to use. Originally, I wanted to purchase galvanized trashcan type of containers with lids. Something told me to hold off and to go to Wal-Mart before purchasing online. I had the galvanized containers in my cart when I wheeled by the paint section. Sitting on the bottom shelf were white plastic buckets with matching lids. The best part was they were half of the price of the others.
Before I made my decision, I checked to make sure they were food friendly. And, sure enough, on the back was a label that said, "FOOD GRADE." So, I decided to purchase them. All together, they only cost me $11.00.

And, that is all for this pantry organization project. If you were to ask why this project is going to be a success, I would say because of planning and labeling. I didn't rush through the project. Overall, it took me almost a month to plan, purchase and gather my containers, and put the plan into action.
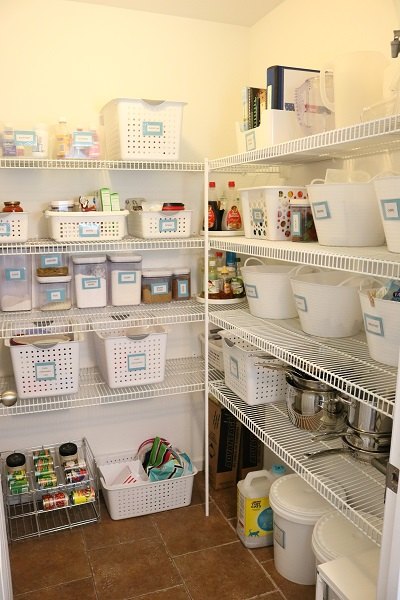
Every section in this pantry has a bin that is labeled. So, when I walk into my pantry, I know exactly where everything goes.
If you have enjoyed watching and/or reading about this project, I would love for you to check out my space, The Gold Project.
Comments
Join the conversation
2 of 40 comments
-
Too much lost space for my needs. But you're the only one whose needs are met in your pantry. Therefore, looks great!
-
Yes, it looks great. You must have gotten rid of several items which were in your pantry prior to the reorganization, though.


Frequently asked questions
Have a question about this project?
I must have missed it, what did you use the foam core for? Looks great, so neat and clean.
Where did you purchase your account organizer as I purchased two of them online and each one cost me $19 so I would be curious as to where you got yours because just with the two that has the $38 that she said you spent
Did you get everything back in that was there before? This looks amazing!