


Turn Just About Anything in to a Lamp (upcycling 101)

by
Tim Sway
3 Materials
$3
2 Hours
Easy
Lamps are a fun, inexpensive and an easy way to experiment with design. Plus they are safer to make than you think. In this video I show how I made several lamps using all reclaimed materials for basically no money. If you'd rather read and look at pictures, then keep scrolling.
{
"id": "4030652",
"alt": "",
"title": "",
"video_link": "https://www.youtube.com/embed/UnI0OqgrmrE",
"youtube_video_id": "UnI0OqgrmrE"
}
{
"width": 634,
"height": 357,
"showRelated": true
}
This 7-minute video is chock full of information about my philosophies and some tips and tricks. The written tutorial below shares most of the same information and the photos are stills from the video.
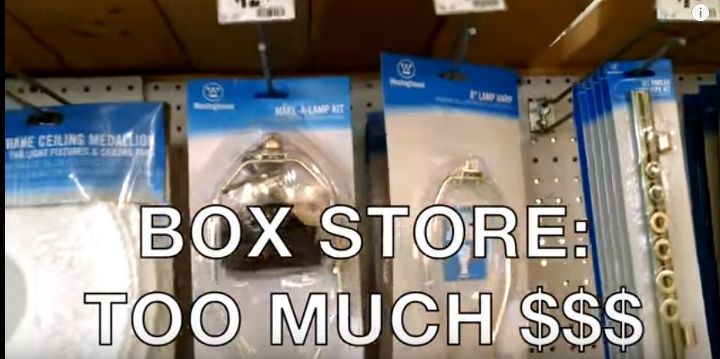
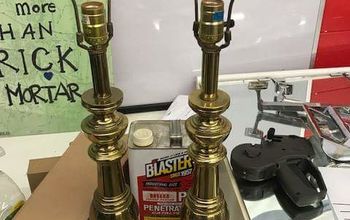
You'll need sockets, cords and parts, but don't buy the $15 kit at the box store!

Just buy an ugly lamp from the thrift store and use the parts instead. (Check to make sure it works before you buy).
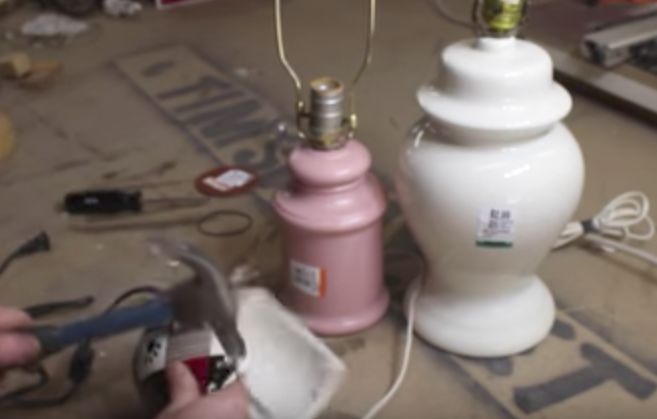
Extract the amp parts you need and start designing your own. For example:
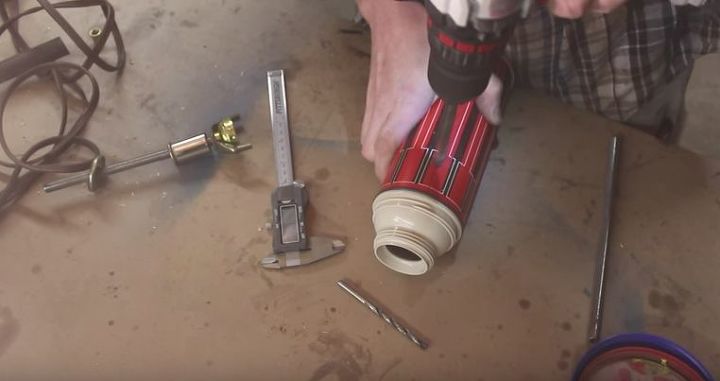
I drilled a hole in this old Thermos...

Cleared some space out of this reclaimed wood and used some epoxy and a piece of pipe to assemble. You'll see the end result in a minute but first, let's talk about wiring.

DISCLAIMER! I am just a guy on the internet and am not liable or responsible for anything you do or make. I am also not an electrician. That said, wiring lamps is easy. just pay attention!
There are only two wires. Hot and neutral. Usually black and white, respectively. Put one on each terminal of the lamp socket and make sure they never touch! If you wire a switch in, you simply cut one of these wires (usually the black) and wire a switch in between it. If you need to connect two wires, use the proper wire caps and electrical tape to make sure no bare metal is ever exposed or touching other bare metal. And never cross colors!
Use your brains and don't do any of this while it's plugged in and check your work carefully before plugging it in. PRO TIP: I use a power strip with a built in breaker to test my wiring, so if something is wrong, the power is tripped right at the strip instead of at the fuse box.
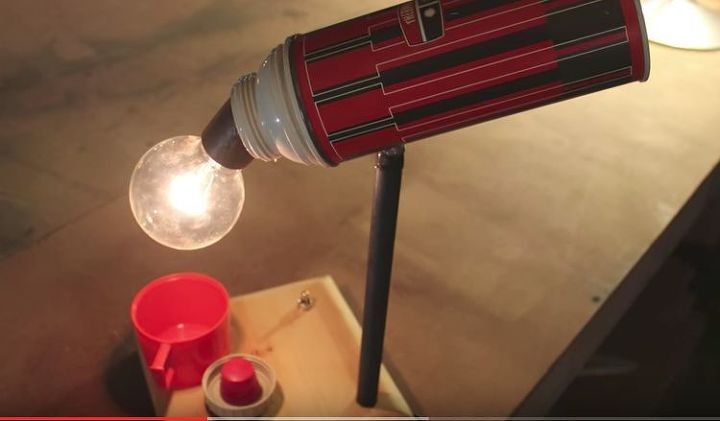
Here's what my finished Thermos lamp looks like.
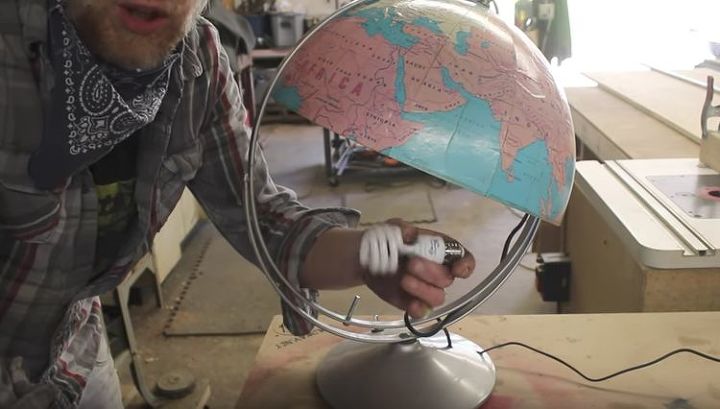
I wired half an old globe and spray painted the inside a reflective silver, but I made sure to use CFL bulbs that don't get hot as the shell is made of cardboard.
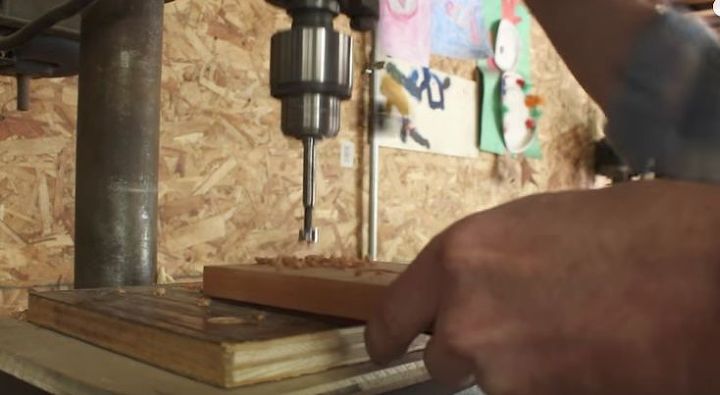
And I drilled some holes into some reclaimed cherry trim,
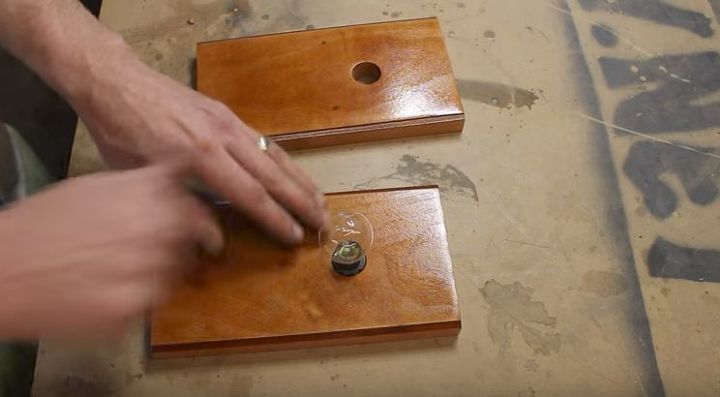
mounted small, pressure-fitting bulbs into it
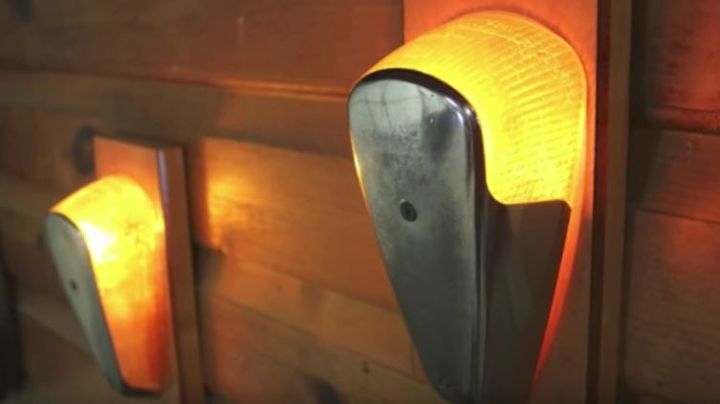
and affixed turn signals off an old VW Beetle. Voila!
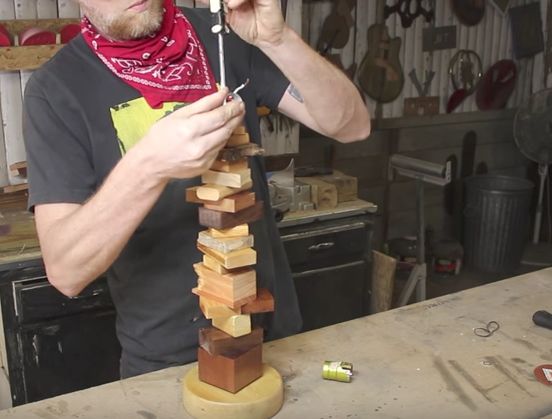
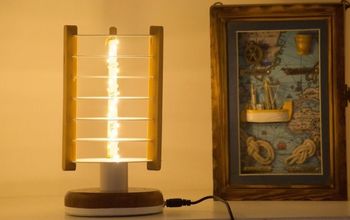
I also took a bunch of bits of scrap wood, drilled holes in them and placed them over a pole wired with lamp guts. All the blocks of wood spin! Watch the video to see these completed and in action as well as several other lamps I have made. I hope they inspire you to try something new.
Be good,
Tim
Comments
Join the conversation
2 comments
-
Innovative and genius! Cool lamps.
-
thank you!!


Frequently asked questions
Have a question about this project?