


3 DIY Garden Art Projects

by
Eamon Walsh
3 Materials
$10
8 Hours
Easy
Hey, I like to try and make stuff for around my house and garden using mainly old and scrap materials. All these projects were made from bits and pieces I had lying around my garage. I don’t throw away anything as I think it will always have a use in the future!
{
"id": "4076107",
"alt": "",
"title": "",
"video_link": "https://www.youtube.com/embed/Rwss_V2Lve8",
"youtube_video_id": "Rwss_V2Lve8"
}
{
"width": 634,
"height": 357,
"showRelated": true
}
Have a look at the video above to watch how I made one or all of these projects or have a look at my (hopefully understandable!) guide below.
#1 Copper bird wind chime.
The materials needed for this are some sheet copper, an old 7 inch circular saw blade, 7 inches of ½ inch copper pipe, threaded bar, 3 nuts, 2 washers and some electrical wire or strong fishing line.
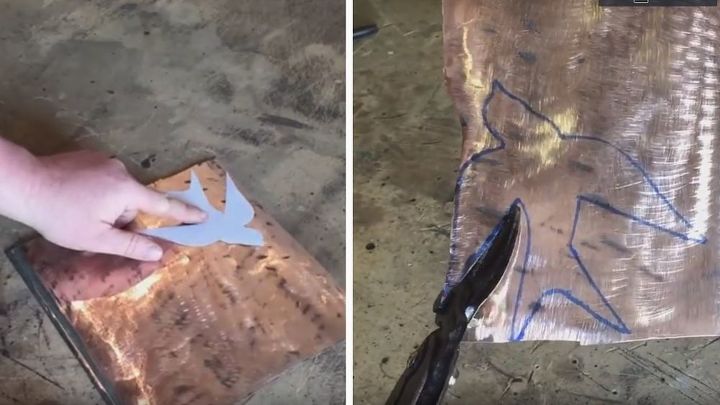
Firstly I downloaded and printed the outline of a bird from the internet. I used a swallow but you could have a different bird or even draw your own. I then transferred it to the sheet copper and cut it out using a tin snips * TIP Be careful of the sharp edges*
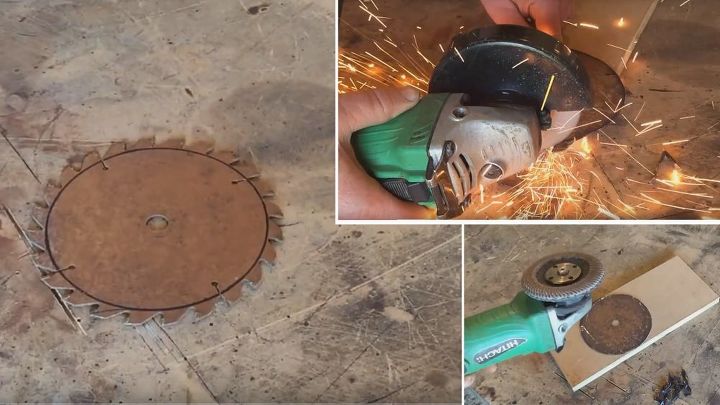
I had an old circular saw blade and decided to use this to mount the birds from. I used an angle grinder to cut the teeth off. *TIP use a paint can to mark the circle and a flap disc to smooth the edges when cut*
I welded two nuts together to form a hook from which to hang the chime. This is then screwed onto the threaded bar, then a washer, the copper pipe, the blade, another washer and finally another nut to lock it all together.
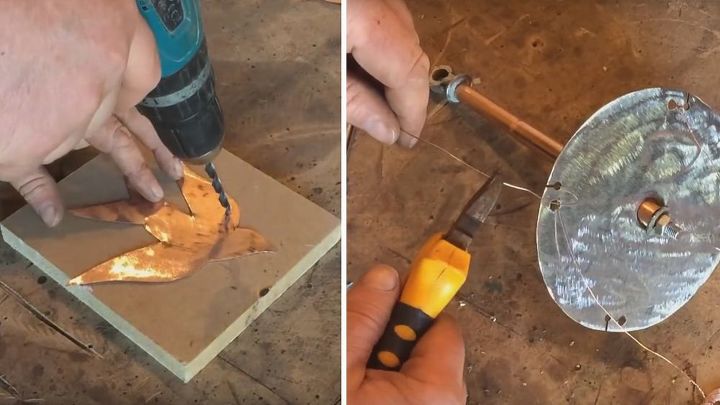
Drill holes into the birds and saw blade to hang the birds from. Strip the insulation from the electrical wire using a utility knife to expose the wire. Use these wire strands to attach the birds to the blade. *TIP you could use fishing line instead of the wire to hand the birds (its more flexible)*
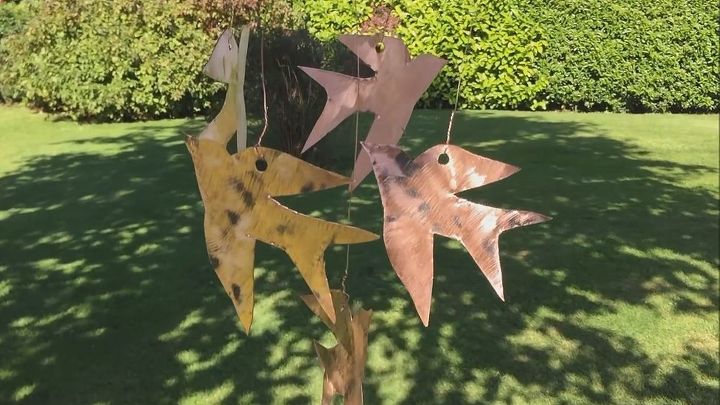
I purposely didn’t put any finish on the metal as I am hoping in time the copper will gain a nice patina.
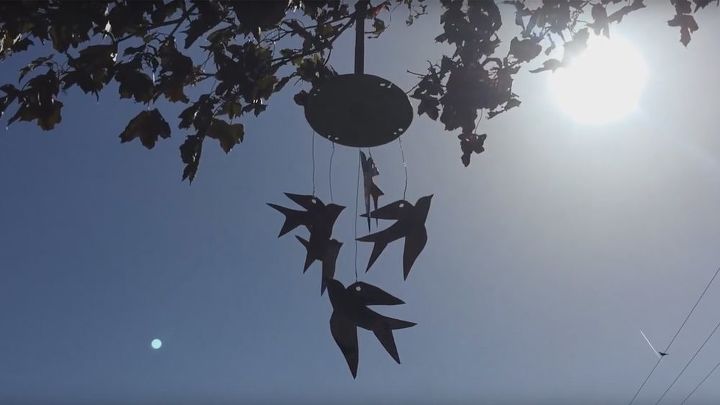
And that’s it… the completed copper bird wind chime. I hope you like it. See below for the next two projects…………………………………………..
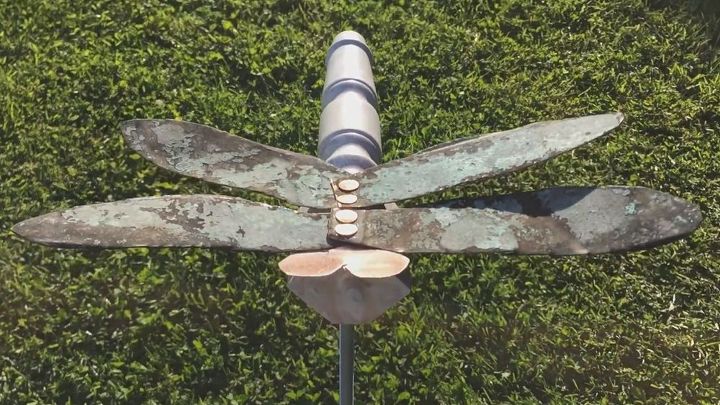
#2 A dragon fly
I used the leg of an old broken stool and some old copper for this one. I also used a few copper nails and some white paint.
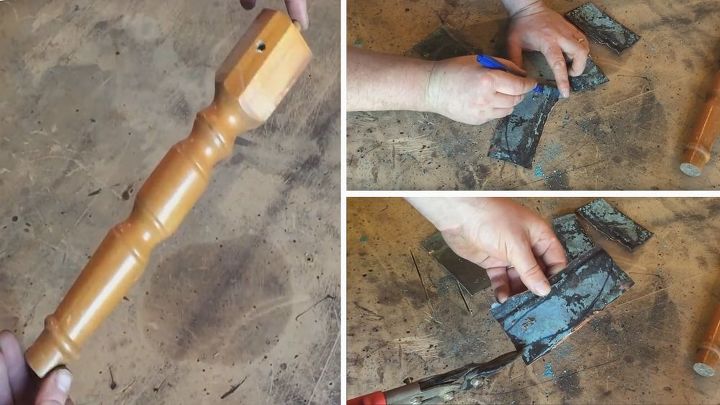
Firstly I sketched out a wing shapes onto the copper and cut them out using a tin snips.I then flattened one corner of the stool leg using a block plane to form an area on which to nail the wings.
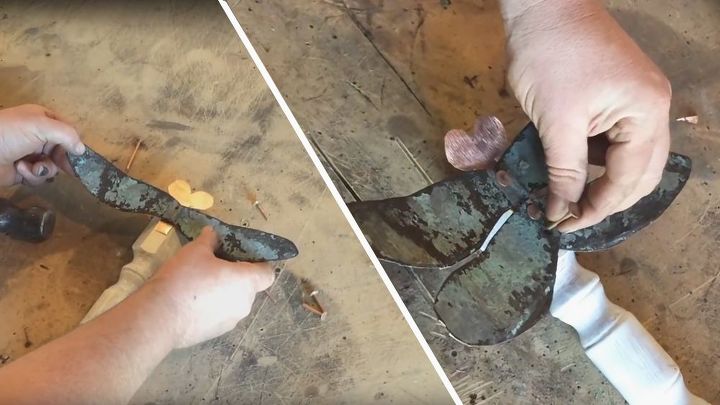
I decided to cut out some eyes for the dragon fly and left a tab on one end so I could nail through the wing and then through the tab to hold everything together. I sanded the leg and gave it a coat of white exterior paint. I used white as I thought it would be a good contrast against the old copper which had developed a nice patina from being left out side for a number of years.
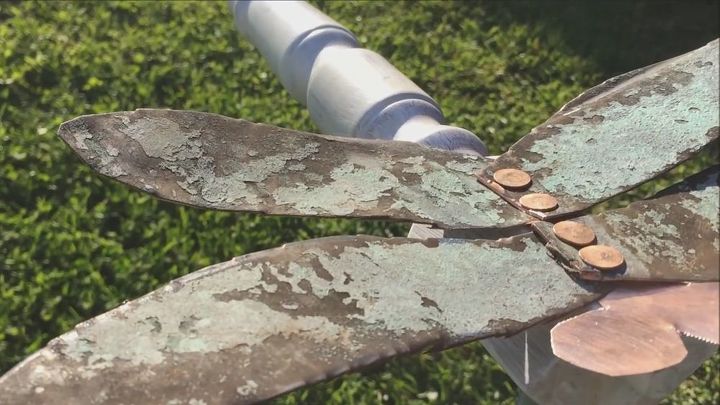
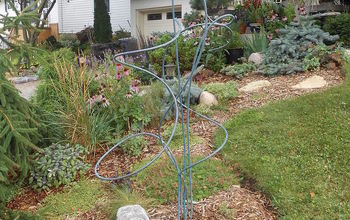
And that’s it the finished project! I attached a metal spike to the bottom so I could stick it into the ground but it could also be hung from a tree using some strong fishing line.
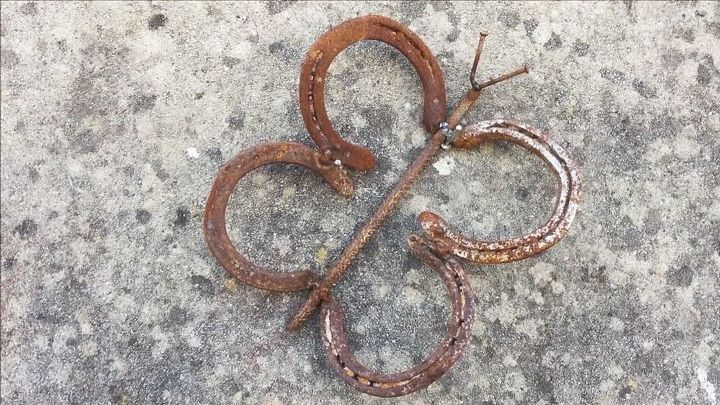
#3 A horseshoe butterfly
This is an easy welding project. The materials needed are 4 horseshoes (roughly the same size) some ½ inch re-bar and two nails.
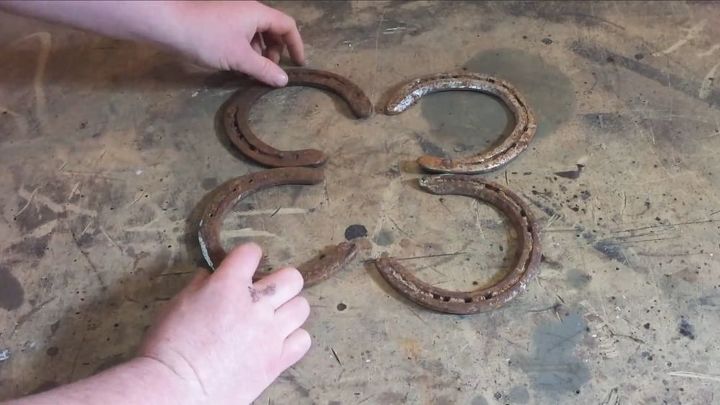
I set out the position of the horseshoes and re-bar flat on a table. I then welded the shoes together on each side but not to the re-bar just yet.
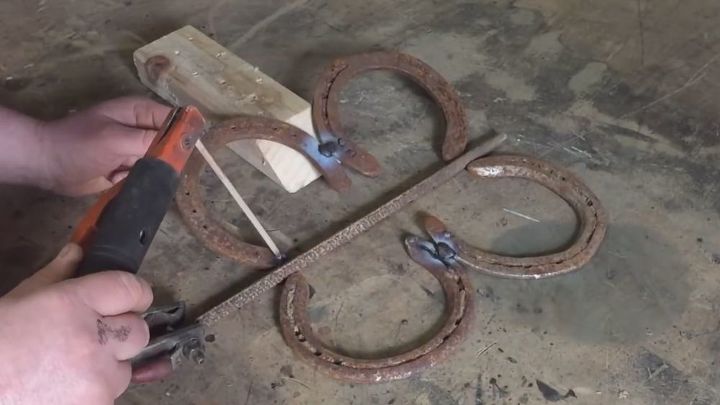
The whole butterfly could be welded flat but I decided to put the wings at an angle so it would appear to be in flight. I did this by using a piece of wood to prop it up to the required angle as I welded it together.
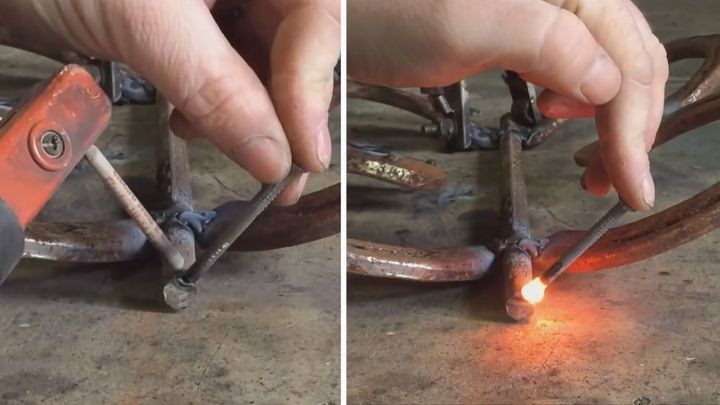
I cut two nails to approx 2 inches and welded them to the re-bar to act as eyes. *TIP a vice or vice grip to hold the nails when cutting to avoid injury*
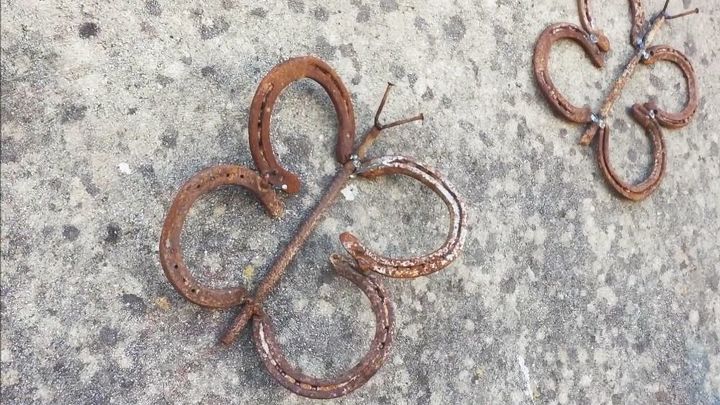
And that’s it…the finished butterfly. I hope you like it. You could also customize it by welding nuts and washers into the wings to act as a design on the wings.
If you like these projects, I have more to view on my Youtube channel : https://www.youtube.com/channel/UCFO-cCV9jr_P5eA3ik5CLcw


Frequently asked questions
Have a question about this project?