


Pressed Flower Home Decor Tray

5 Materials
$20
4 Days
Easy
I feel like I traveled back to the 1970's with this project. If you're an old soul like me then this is the project for you. Take a journey with me that involves a glass tray, pressed flowers and epoxy resin. You won't regret the outcome!
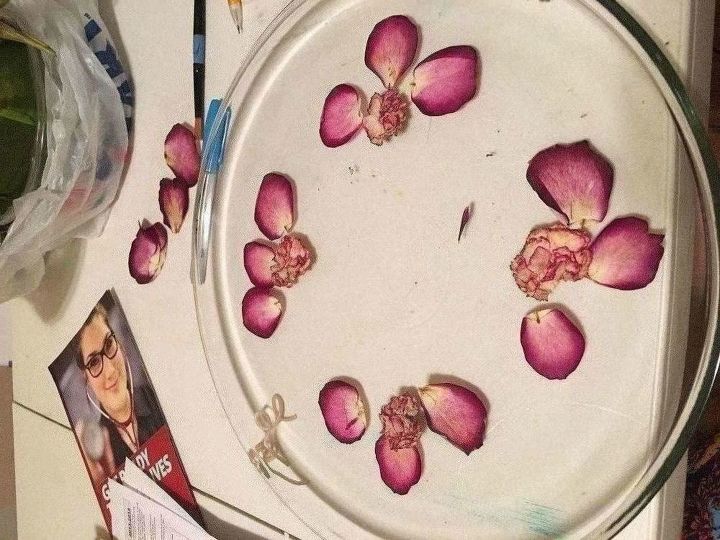
I found a glass tray at Goodwill for $4.00. Any size tray will do for this project, just as long as it is wood, glass, ceramic or porcelain. Epoxy resin will melt right through plastic. I started out with my pressed flowers, that I had left over from my candle project. I played around with a lot of different flowers until I settled on a design. The design I came up with kind of reminds me of a mandala. Designing a mandala is completely optional. You could just put different flowers on the tray with no rhyme or reason and that works fine too. It's completely up to you.
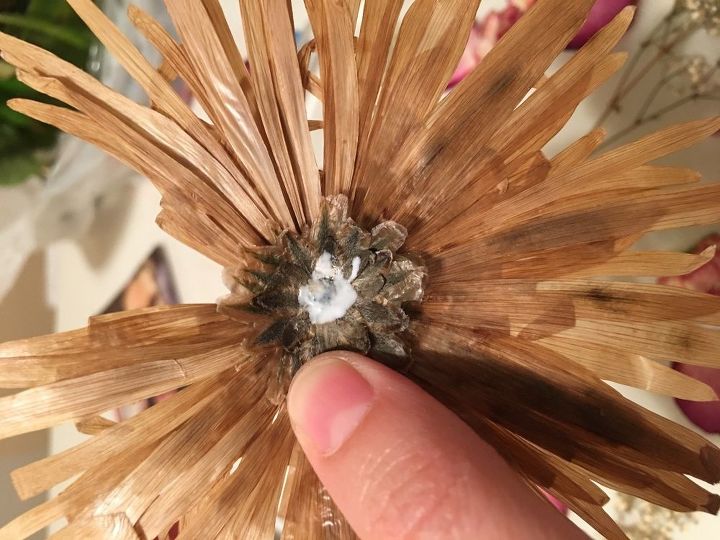
After I decided on my design I took a paint brush and dabbed a small amount of glue (Mod Podge) on the back of my flowers so that they would stay in place when I poured the resin.
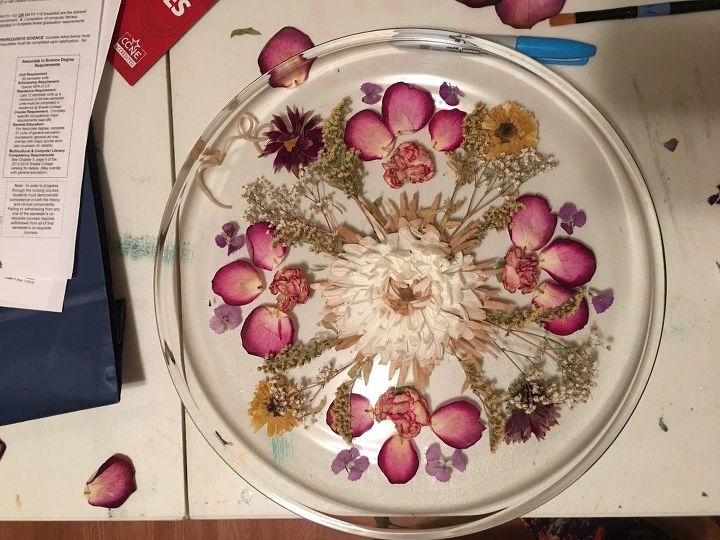
I let the glue dry overnight. This is my design that I came up with. Looks like a mandala right?

The next day, I mixed the resin. The resin I used was a 1:1 ratio, equal parts of resin and hardener. I cannot stress this enough, but to follow the directions that come with the epoxy resin exactly as is stated. The resin I bought was EnviroTex Lite. The directions were to measure 4 ounces of resin in one cup and 4 ounces of hardener in another cup. I mixed the resin for 2 minutes and then added it to the hardener and mixed that for another minute. I then poured the resin starting at the outside of the tray and working my way in. After the resin was poured I took a nylon paintbrush and spread the resin to fill in the empty spaces and to cover the flowers completely. After 10-15 minutes air bubbles will rise to the surface. You can get rid of these by simply breathing on them with your breath.
I set up the tray on top of my cubicle shelf and made a make shift plastic canopy over it to protect it from dust particles during the curing process. Depending on the temperature and humidity in your house or workspace, that will determine the amount of time it will take to cure. This project took about 2 and a half days to cure.
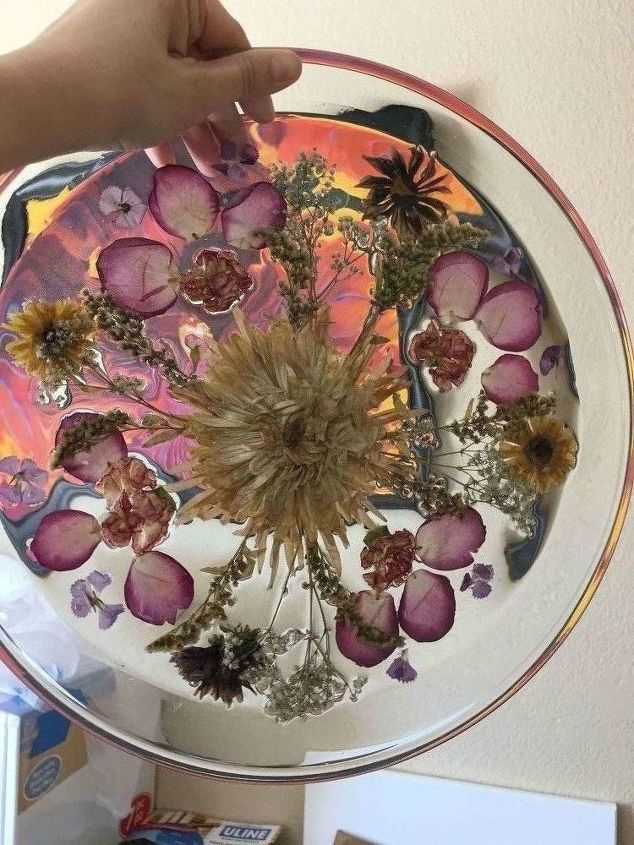
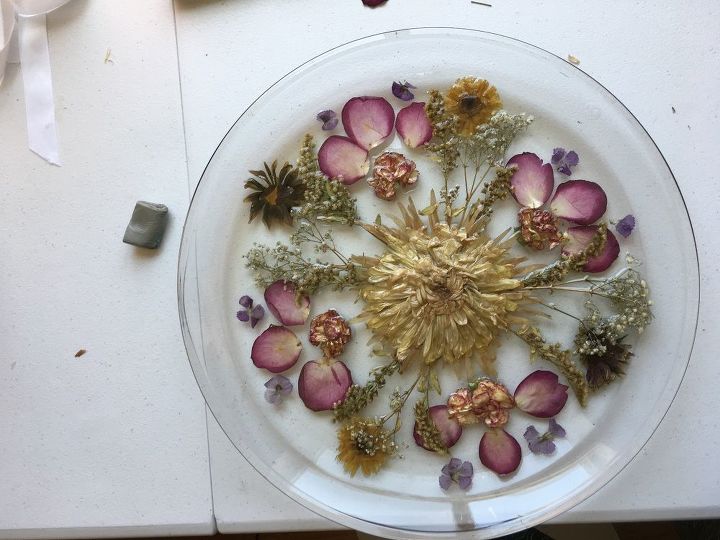
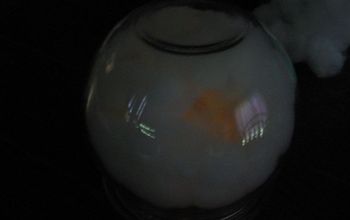
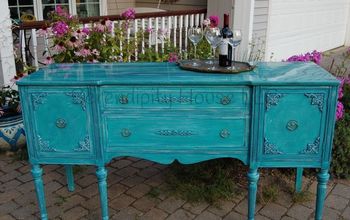
This is the home decor tray in its finished state. The resin is hardened and completely see through in the blank spaces of the glass. I could see this tray on a coffee table or dining room table with some pillar candles or a vanity tray for makeup and perfume if you're lucky enough to have a set up like that. Anyways, I hope you enjoyed your trip to the flower power days of the 70's and I hope this tray makes a great conversation piece in your home!
Comments
Join the conversation
2 of 6 comments
-
That is so pretty. I love it.
-
Beautiful!! Did you design on the back of the plate?


Frequently asked questions
Have a question about this project?
Is this food safe? Beautiful job! Love it!