


DECOUPAGED WOOD CRAFT BOX

5 Materials
4 Hours
Easy
About 4 months ago I bought this wood box to use for a craft project. I decided to use a suite case instead. So I put it away for another project.
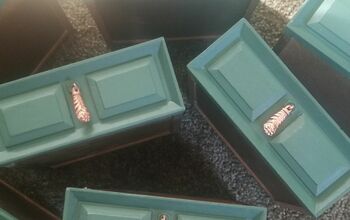
I got it out the other day to use for my keyboard project. Well I struck out again. It wouldnt work for this project. I had previously removed the latch and hindges to paint it. It had ABC cut into the front and sides if the box.
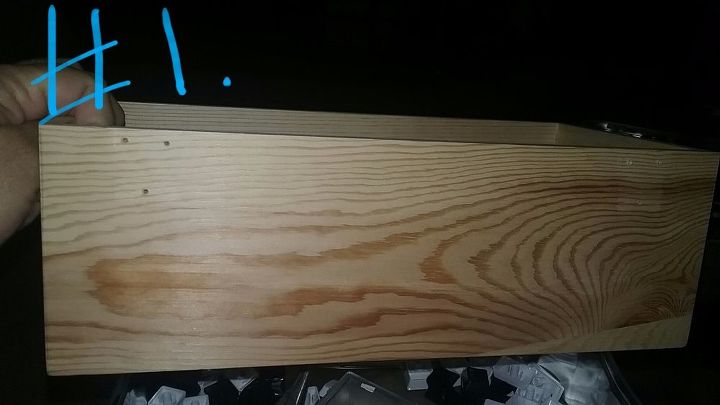
The back of the wooden box.
I knew I wanted to cover the box with paper or cloth. I went through my scrapbook paper to find what I needed. I came across this white paper with gray flowered print. I also found blue paper to out on the inside of the box.
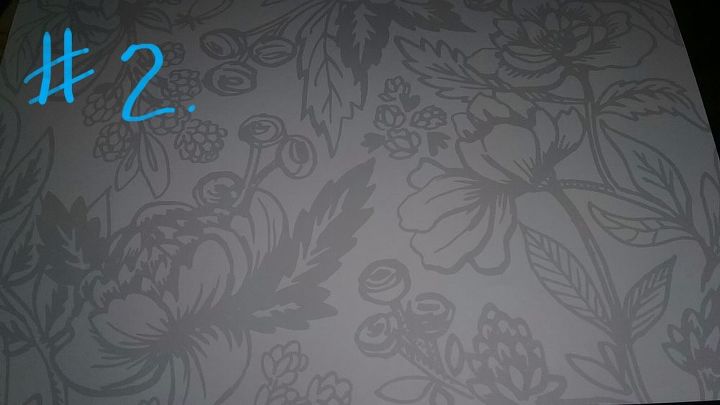
Scrapbook paper.
I cut the blue paper to fit inside the bottom and lid of the box. And then I inserted the paper.
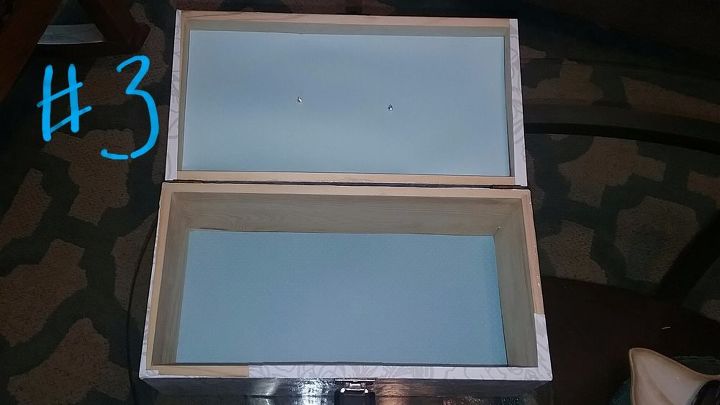
Line the lid and bottom of box with paper.
I cut out all of pieces I needed of the gray flowered print paper for the outside of the box. I then decoupaged the paper to the outside of the box.
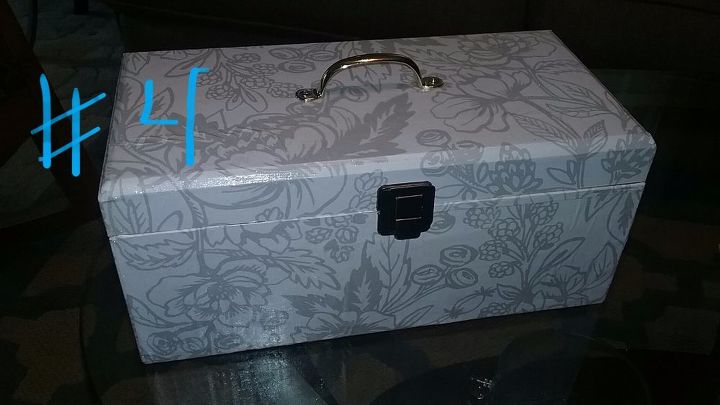
Decoupaged box.
I found turquoise silk flowers and plastic jewels to decorate the outside of the box.
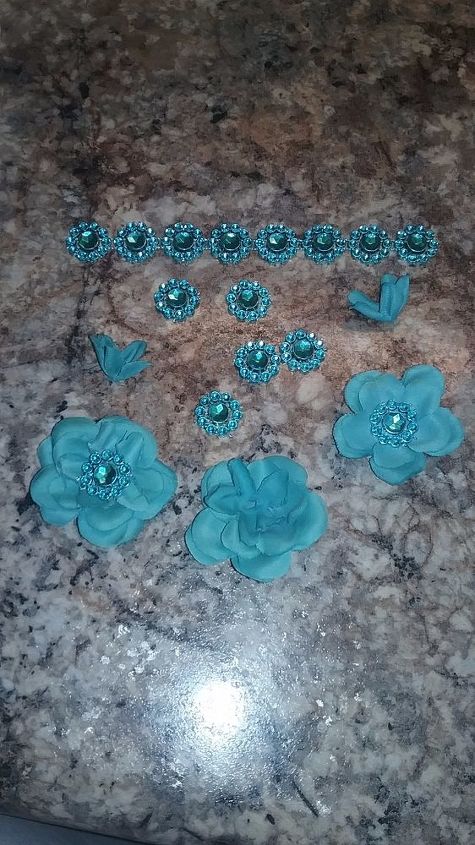
Silk flowers and plastic jewels.
I hot glued the flowers and jewels to the lid of the box.
I filled my newly decorated box with craft supplies. It is perfect to hold craft supplies. It also looks nice on the book shelf.
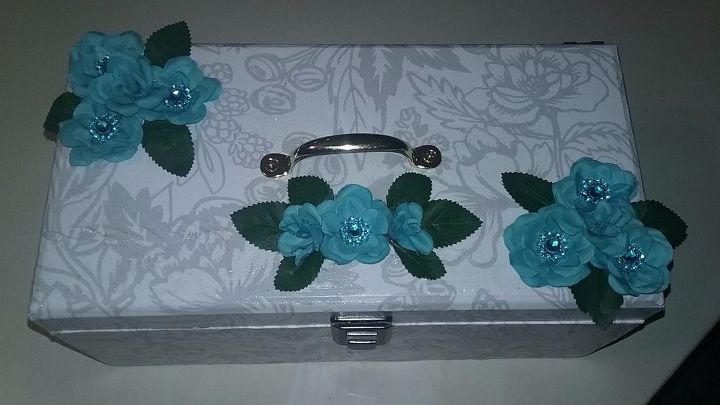
I hot glued flowers and jewels on the lid.
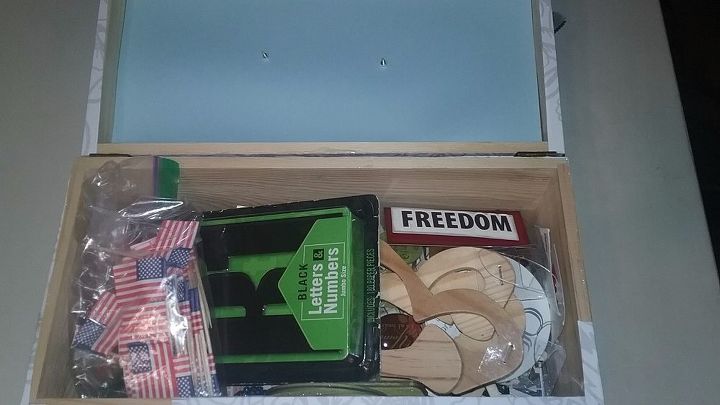
My box holds quite a bit of craft supplies.
Comments
Join the conversation
3 of 4 comments
-
So pretty! I love those flowers
-
Karen your box is beautiful! I love the blue paper liner. How sweet!


Frequently asked questions
Have a question about this project?
I'd like to try this! What are the dimensions on your box?
Thanks. Judy