


Penny Topped Table Upcycle
5 Materials
$25
3 Hours
Medium
See how a penny mosaic top gave this little metal table a fresh & stunning look!
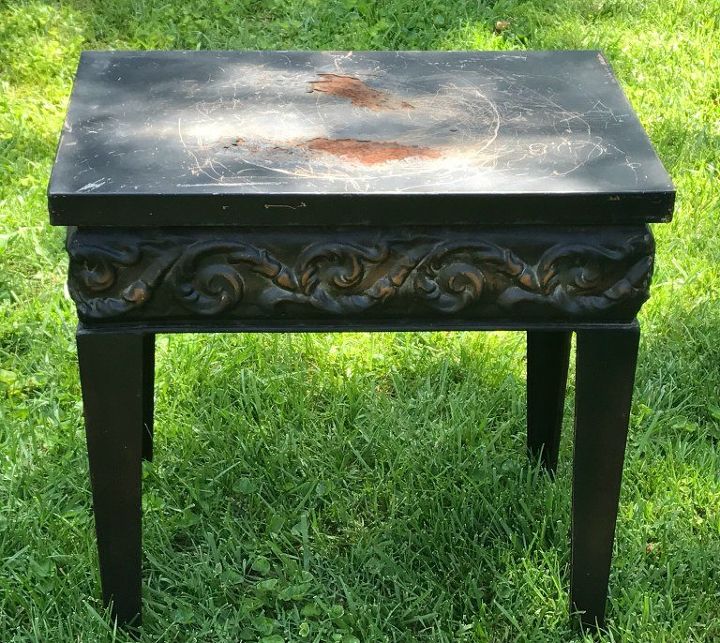
Recently I upcycled an old rusty cart into a wonderful little bar cart for my patio. The day I dragged it outside for spray painting was such a sunny afternoon, I decided to give another piece of furniture a much needed face-lift as well. A small metal table… Buried beneath plants. Outside. For two years.
This is such a nifty little piece and so lightweight. But because it’s metal, it falls prey to rust.
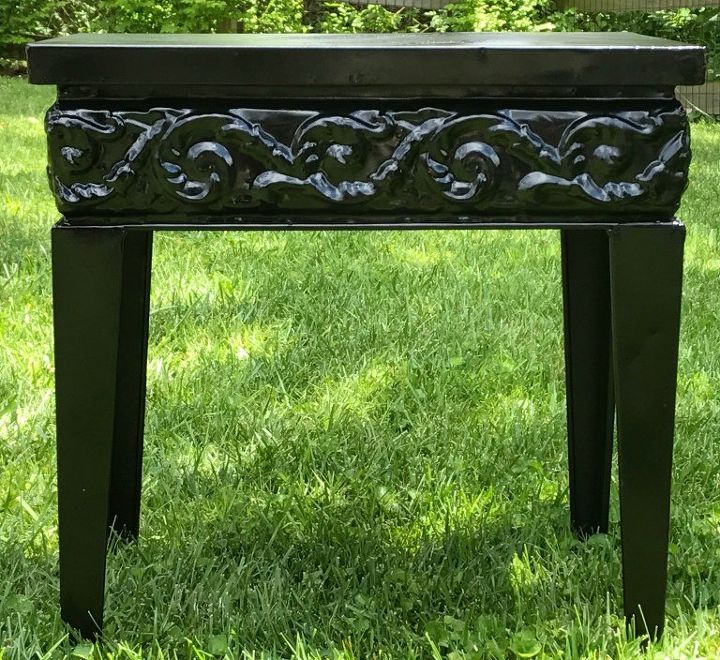
STEP 1 - A good washing and a fresh coat of black spray paint began to breath new life into it.
Except for one thing. Even rigorous sanding didn’t help the heavy rust spots on the top. Time to be creative.
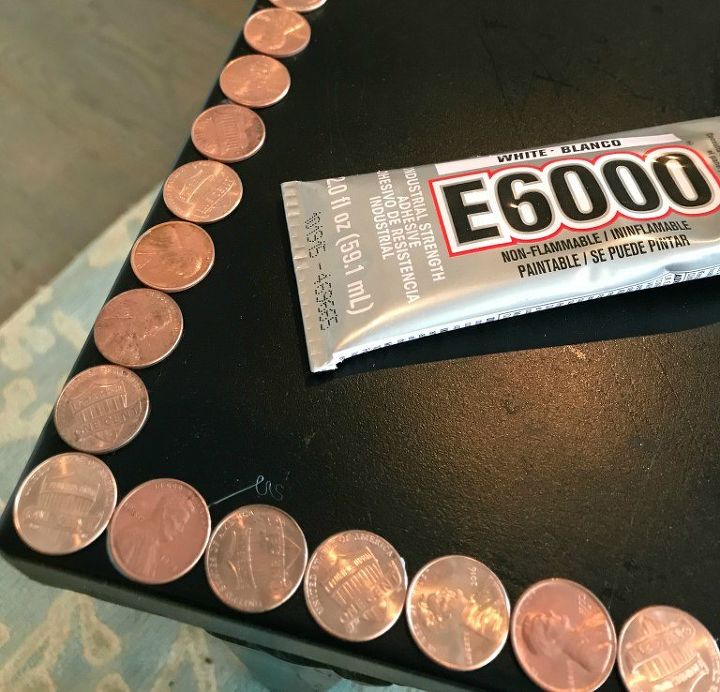
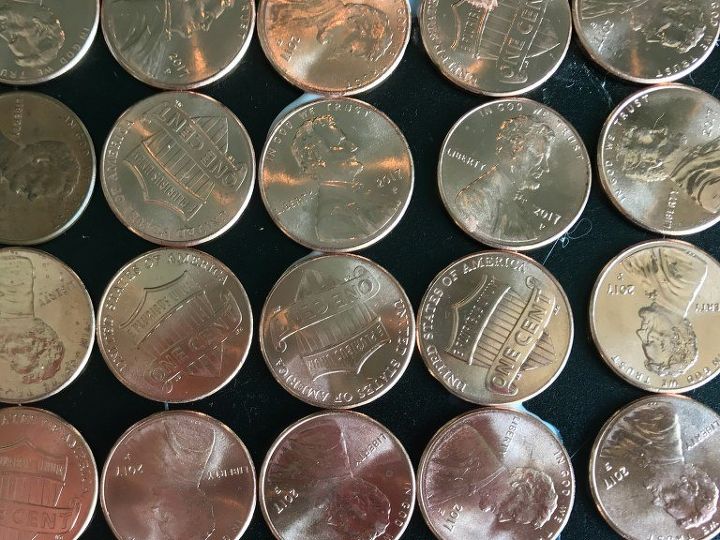
STEP 2 - Raid all the penny jars in the house. I’ve been wanting to experiment with a penny mosaic, and this was just the candidate. If you prefer shiny pennies, soaking them in a mixture of half vinegar, half water does the trick. I personally like tossing in a few tarnished ones to add depth.
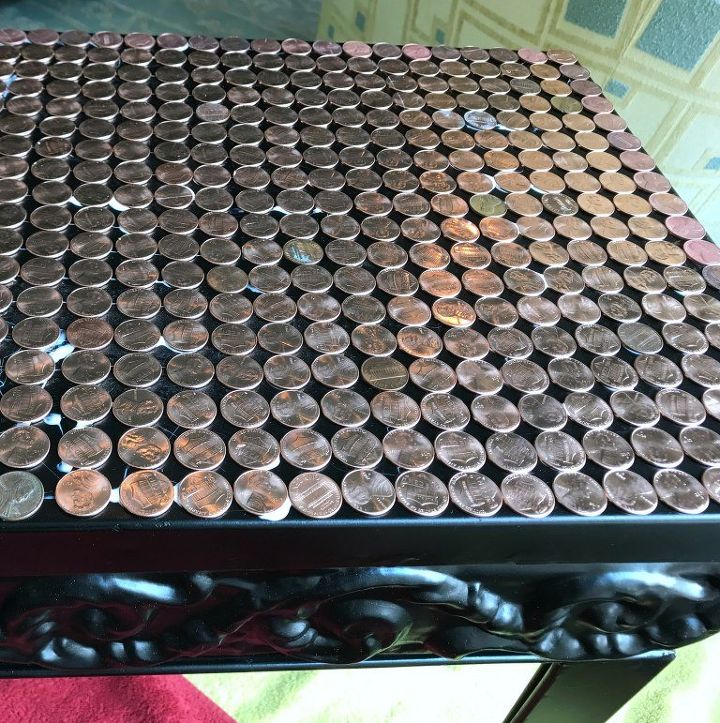
STEP 3 - Using a small amount of professional strength adhesive, glue the pennies onto the table top.
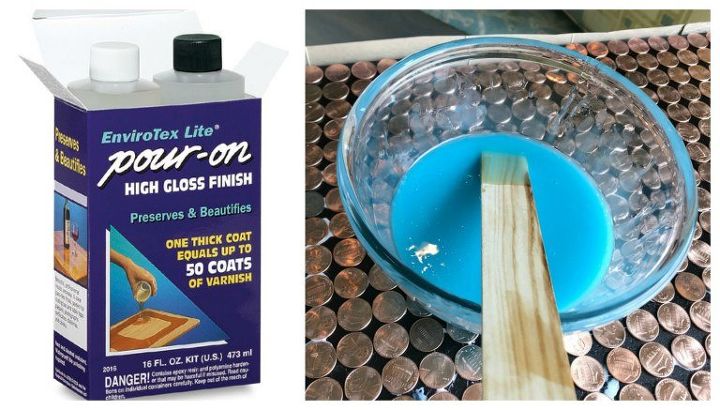
STEP 4 - I mixed up some epoxy resin (bought from Michaels) according to the directions. With one exception (of course… I’m an artist) – I added a squirt of aqua acrylic paint to tint the resin.
STEP 5 - Before applying the resin, I tried to seal the edges of the table with cardboard (anything waxy will melt).
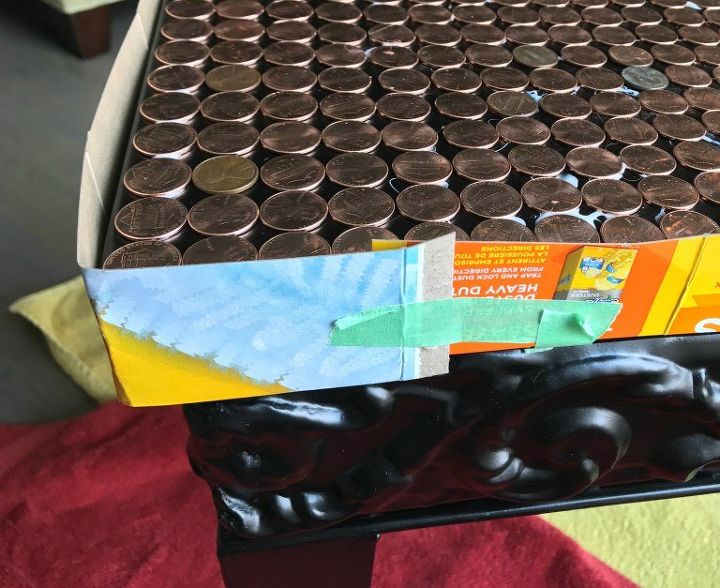
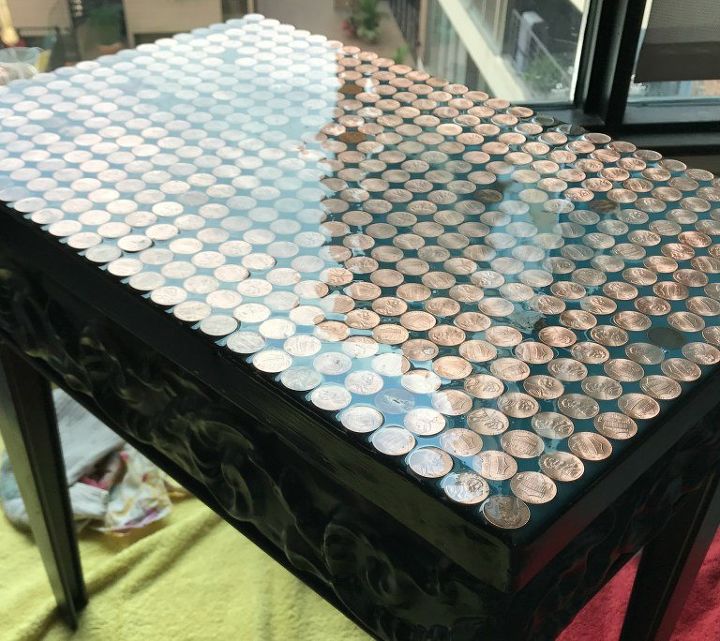
Then I poured the mixture onto the table top, gently spreading it out evenly with a piece of sturdy cardboard. Then I let it dry. (In retrospect, I think aluminum foil would have worked much better than my cardboard border. I had to constantly wipe up leaks. Tip: nail polish will remove the gooey residue from the table edges.) This was my first time working with resin, and all in all, I was happy with the transformation.
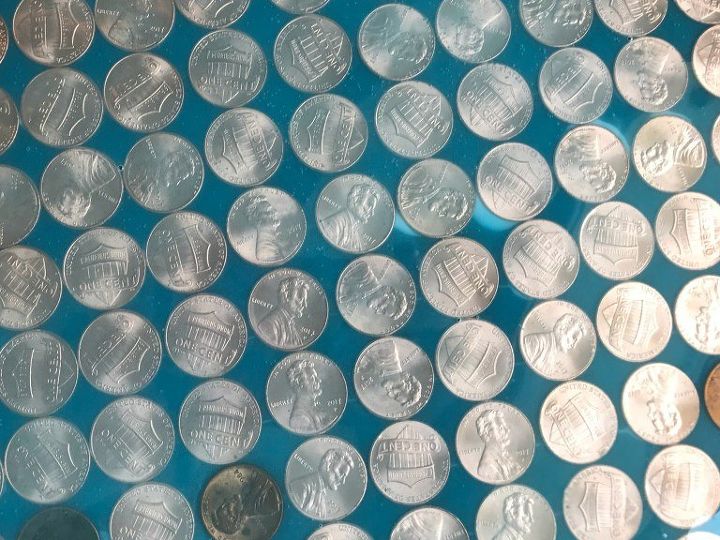
GOOD TO KNOW: Crafting is about experimenting, trial and error, and sharing. Not just posting fabulous finished projects on Pinterest and fantasizing about your fan base swooning. So here’s the deal. First, use a better border edge than my make-shift cardboard one. And secondly, pour the resin slowly. I probably poured too much before giving it time to spread out naturally. Hence, the aqua tint is very concentrated in some places and lighter in others. (I suggest not adding a tint your first time working with resin.)
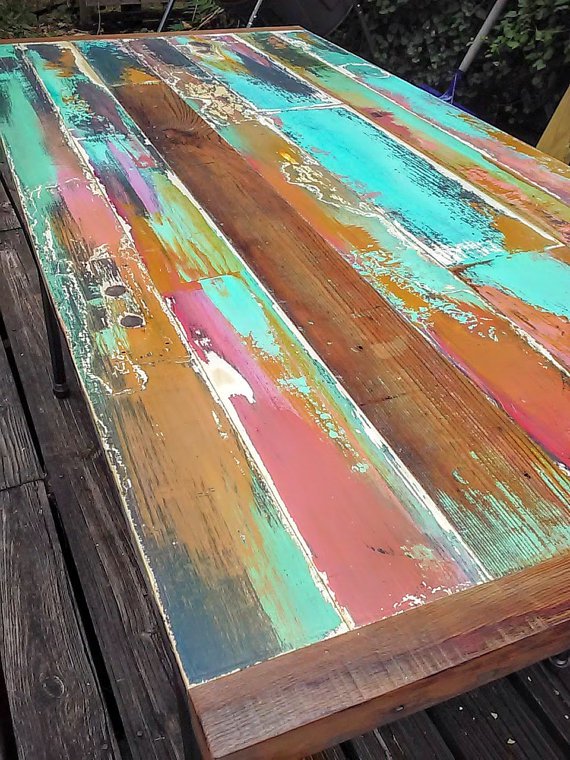
My inspiration for tinting it blue was this beautiful image; I love this luscious combination of aqua and copper.
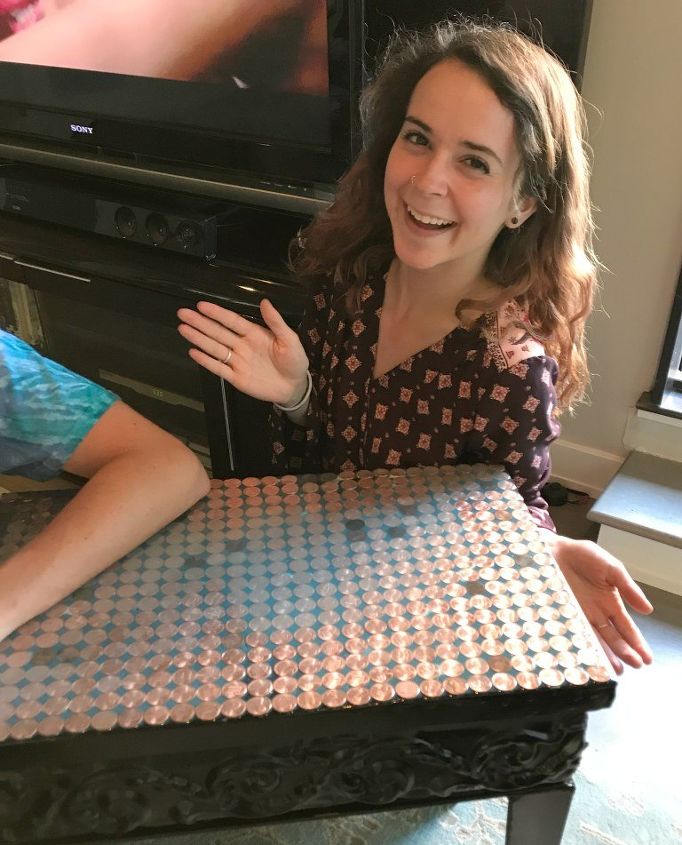
Although my inner perfectionist demon kept telling me that I could have done a better job (in spreading the resin more evenly), my son and his girlfriend told me how much they loved it. Yep, I gifted them the little metal table, and it does look pretty cool. The aqua tint looks different from different angles. A kind of fool-the-eye, artsy vibe.
Or maybe it’s just seeing their smiles when I told them it was theirs.

Want more details about this and other DIY projects? Check out my blog post!
Comments
Join the conversation
4 comments
-
very cool
good tips
love it
-
Love it.


Frequently asked questions
Have a question about this project?
Did the colored resin dull the look of the pennies? Maybe you could paint the top before attaching the pennies and use a clear resin?