


DIY 2x4 Shelving Unit
$170
4 Hours
Medium
Are you like me and have a lot of stuff and no place to store it? This past winter I worked on organizing my basement and needed shelves to both store and display my treasures. I'm a life long collector of vintage and love to use my things in my decor but I can't use them all at one time. My new shelving units now house my collectibles when they aren't being used. These shelves are super sturdy and can hold much heavier items than what I'm storing on them. Another great feature is if we ever move, these can easily be taken apart and moved to a new location. If you have a garage (I don't), these shelves would be perfect there for storage.
*This list is what you’ll need for one shelving unit. I made two shelving units, so my pictures will show double the amount.*
9 – pieces of 2×4 8 ft. lumber
1 – 4 ft. x 8 ft. sheet of 5/8” plywood
16 – Simpson Strong-Tie Connectors – Rigid Tie RTC2Z connectors
2 – Boxes Simpson Strong Tie #8 x 1 1/4" Wafter-head Screws
5/8" Deck Screws
Circular Saw
Compound Miter Saw
Drill
Jig Saw
Carpenter's Square
Clamps
Pipe Clamps
Clamping Squares – We have four of these and find them to be super handy!

These are the plans that I used to make my shelving units. In my area, Simpson Strong Tie products are only available at Home Depot, so that’s where all of the materials for this project were purchased
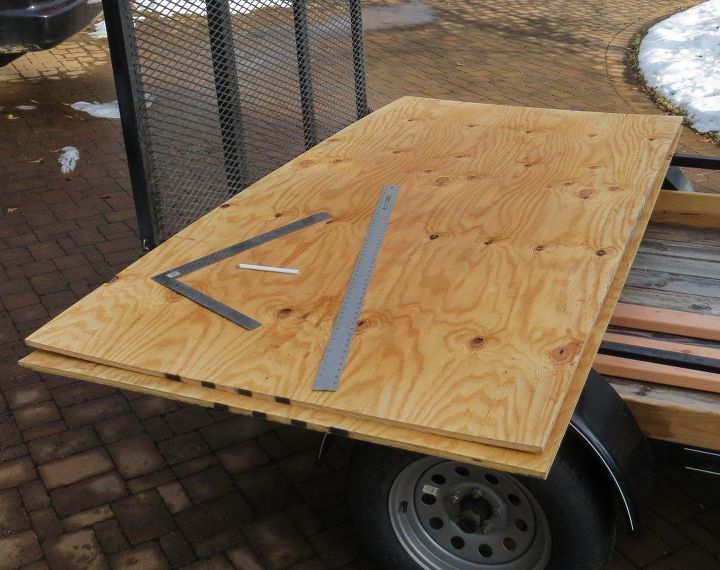
The shelves were cut first because the sheets were large and it was easier to cut them on the trailer and then bring the pieces into the house. Remember that I made two shelving units, so I needed two sheets of plywood. Each sheet of plywood was cut to 24” x 48” using a circular saw.
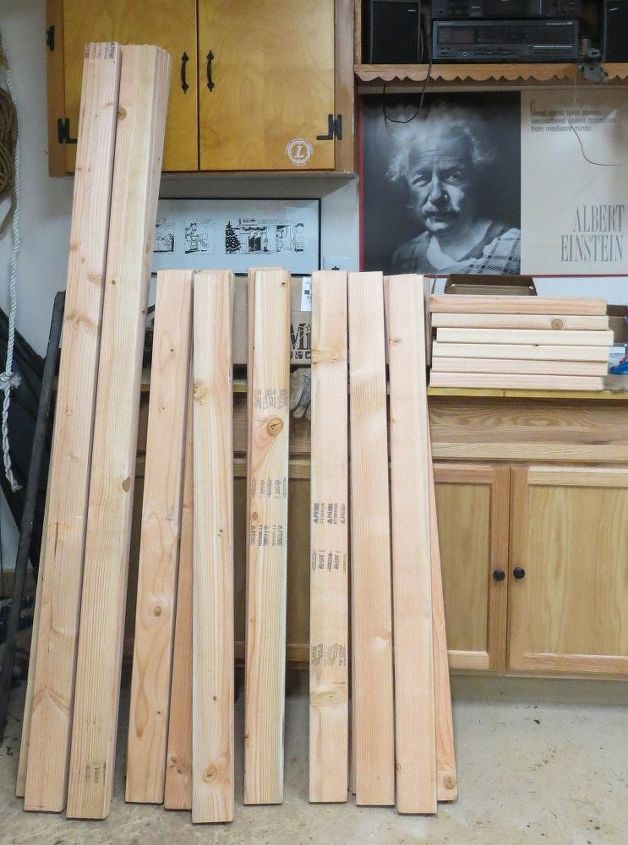
Each shelving unit required 8 – 45” rails; 4 – 72” corner posts; and 8 – 17” end rails. These were quick and easy to cut with our sliding compound miter saw. (Probably my favorite workroom tool!)
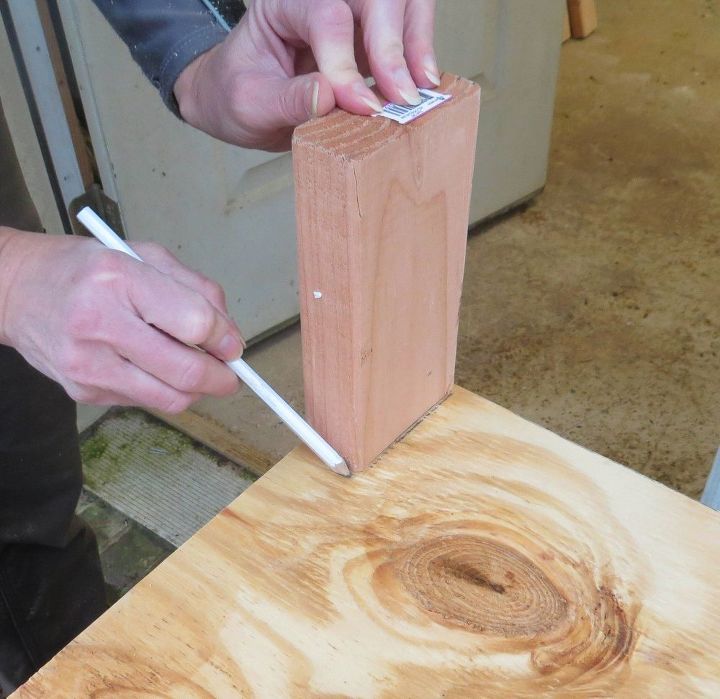
Trace around a scrap piece of 2×4 on each corner of three of the shelves to accommodate the corner post. The top shelf is not notched.
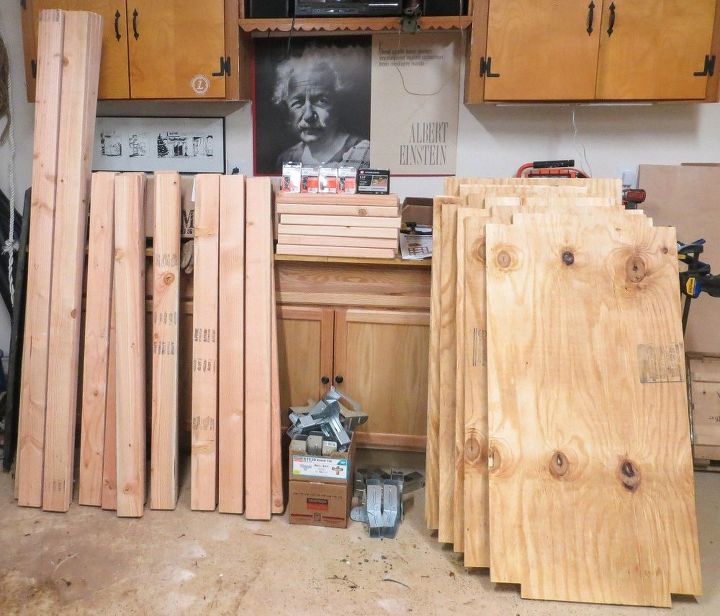
It didn’t take long at all to cut all of the pieces needed to build two shelving units.

Assemble the shelves. Visit my blog to get the rest of the step-by-step directions. These shelves were so easy to make and they are super sturdy!
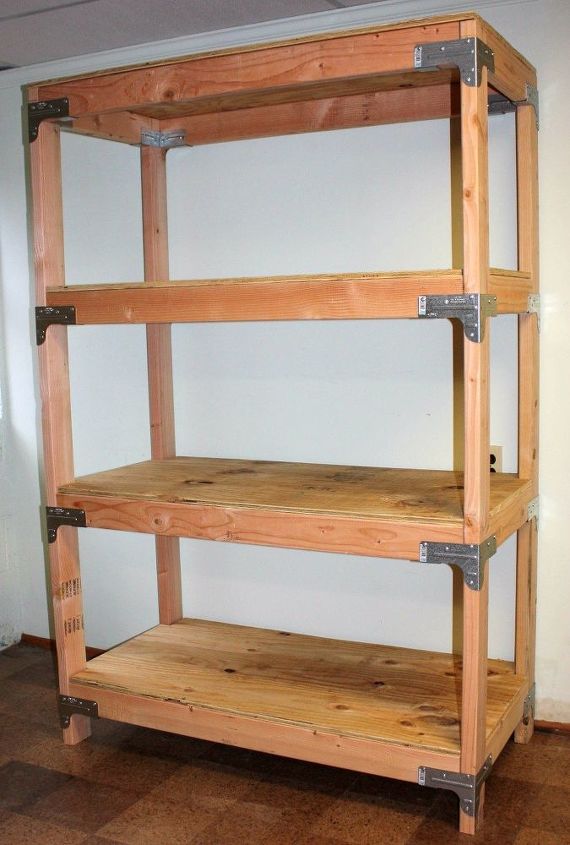
This is one of the completed shelving units.
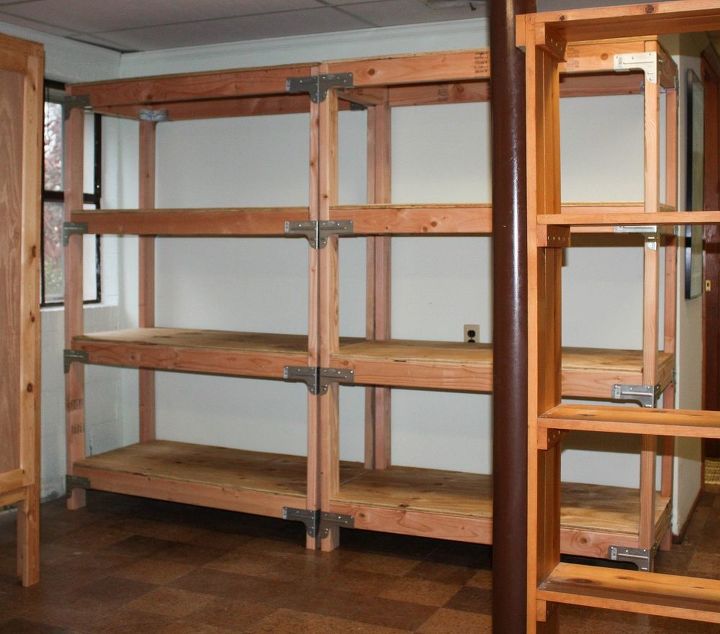
And here you see the two units side-by-side.
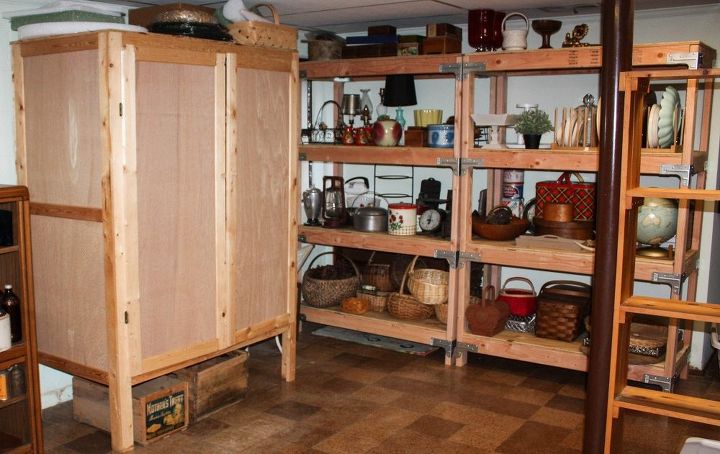
Now I can see all of my treasures! I rotate my decor and when I'm not using an item, it is stored here. The "pie safe" to the left of the shelves is another DIY project that stores craft supplies.

Want more details about this and other DIY projects? Check out my blog post!
Comments
Join the conversation
2 of 25 comments
-
I don't actually have a question...but I was excited to see you are from Lynchburg! My husband and I met at the downtown Y, got married at the Prayer Chape at LU, and lived in a cute lil cape cod off of Rivermont Ave! We now live in Myrtle Beach 😎
-
Neat work, well done Paula! As for advice to go to IKEA. For me the joy of creation of something from the beginning is a big deal. It is not comparable with just assembling of ready kits (even IKEA is good!) As well, it's difficult to find the ready shelves that fit 100% good at your space. And when you find, it's not 25 USD )))
Well, If you try once to build with your hands and the result is good..then... you will do more and more and more...


Frequently asked questions
Have a question about this project?
Paula, beautifully done and well constructed. I am going to try this with the aluminum brackets you used. I also have a question about your "pie safe" would you possibly have instructions and pictures on how to make this? I was looking at a second hand TV cabinet but am thinking your pie safe would be less expensive to make and I could customize the measurements. Thanking you in advance for any help on this and thank you for sharing your shelving unit build. :)
How much did it cost to make one of them
Can I get more details on the clamps you used?