


Hand Carve a Walnut Coffee Scoop
$120
8 Hours
Medium
I've recently fallen in love with woodcarving. It's so exciting to take a raw piece of wood, work it directly with your hands, and turn it into some beautiful and useful. Such is the project I'm presenting here: the hand-carved walnut coffee scoop.
So pull up your porch chair, grab a carving knife or two, and a glass of sweet tea.
Let's get started!
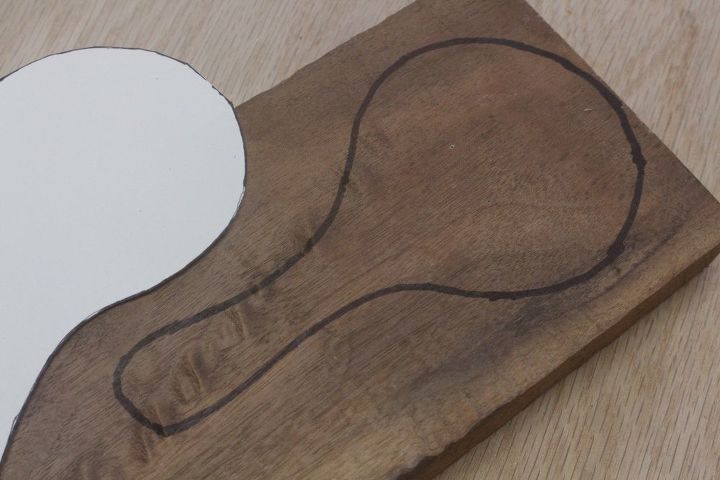
The first thing I did was choose one of my favorite hardwoods for making kitchen utensils -- walnut. But other woods like cherry or maple would work great also. I found a pattern I liked and traced it to a piece of walnut. Use some card stock for your template. That way you can use if over and over again.
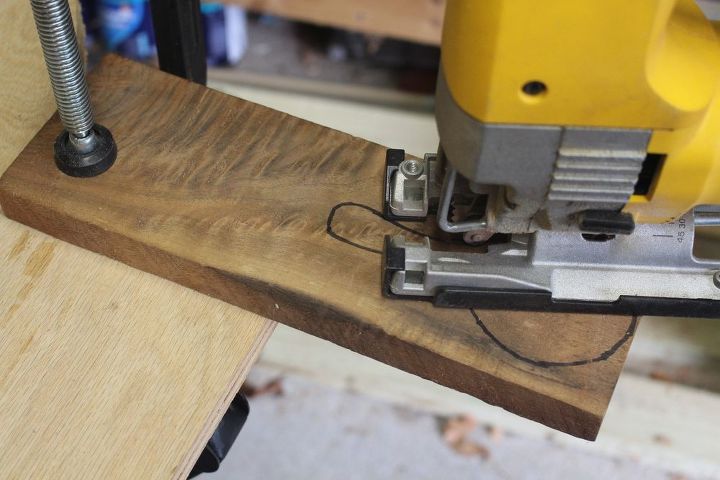
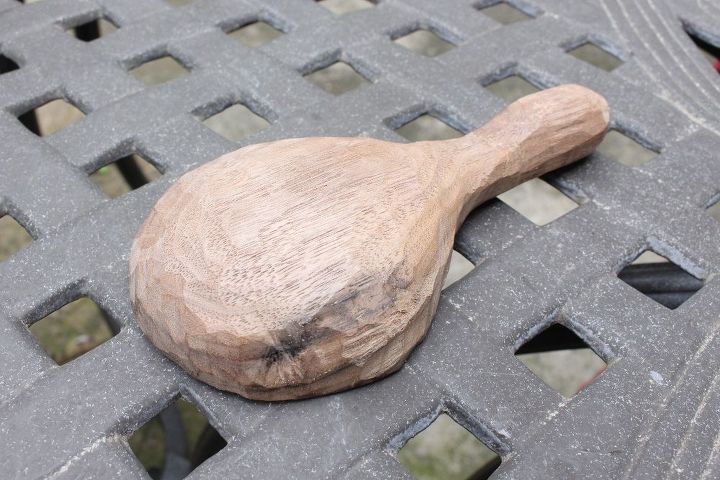
Next, I used my jig saw to cut the rough shape of the scoop out of the wood. Stay to the outside edge of the line. It's important here to use curve-cut jig saw blades. These blades will allow you to make tight curves. Make sure to secure your board with clamps.
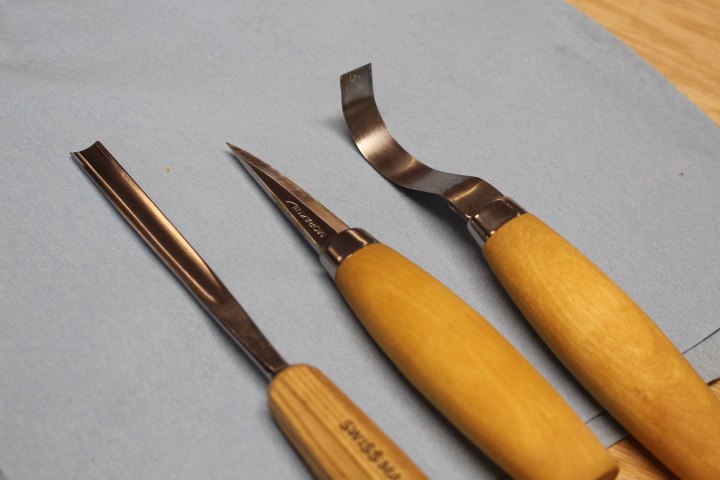
From left to right, I used a 10 mm spoon gouge, a straight blade carving knife, and a hook knife. You can order these online or find them at a woodworking store near you.
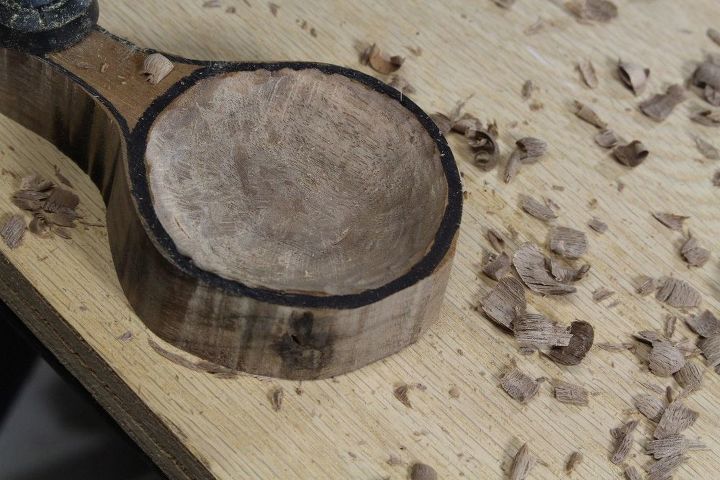
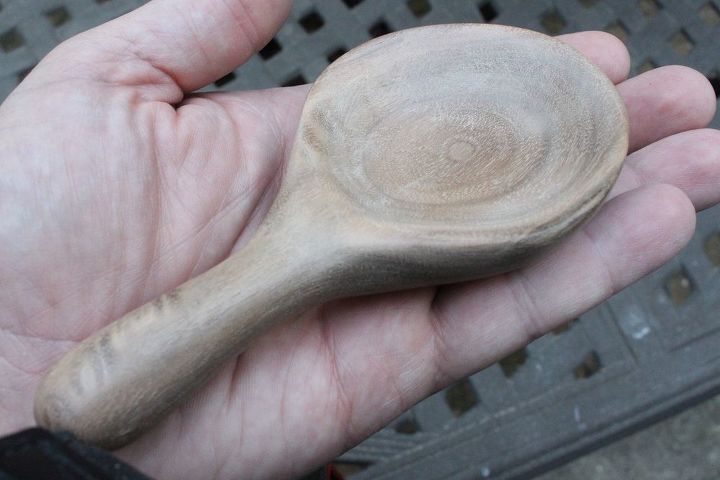
I used the gouge and hook knife to hollow out the coffee scoop bowl. If you are new to carving, be sure you have gotten some basic training or have read up on the types of techniques and strokes. Make sure you keep constant control of the blade and know where it is going at all times. Work with carving tools that are sharp and it good working order. Practice on some scrap wood first.
I used the straight blade knife to carve the outside profile of the scoop. Some folks like to stop here if you're going for a more rugged look. But I generally like to sand my wooden utensils to make sure they are splinter free and smooth to the touch.
Used several grits of sandpaper to get the carving cut marks out. Start with 80 grit and work up to 500 grit or higher.
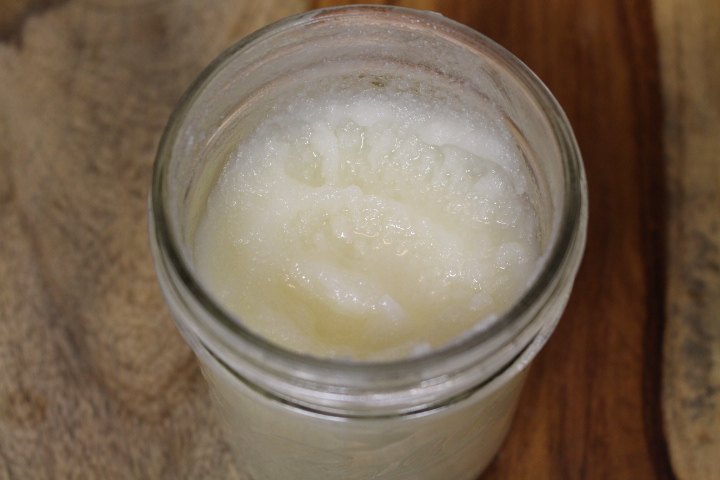
To finish the scoop, I used my homemade beeswax butter. I put it on the scoop with my fingers and worked it in well. Allow it to soak in overnight. Next day, wipe off excess butter with a paper towel and buff the scoop with a clean cloth.
You can see my beeswax butter recipe on my website. It's basically a mix of mineral oil and beeswax.
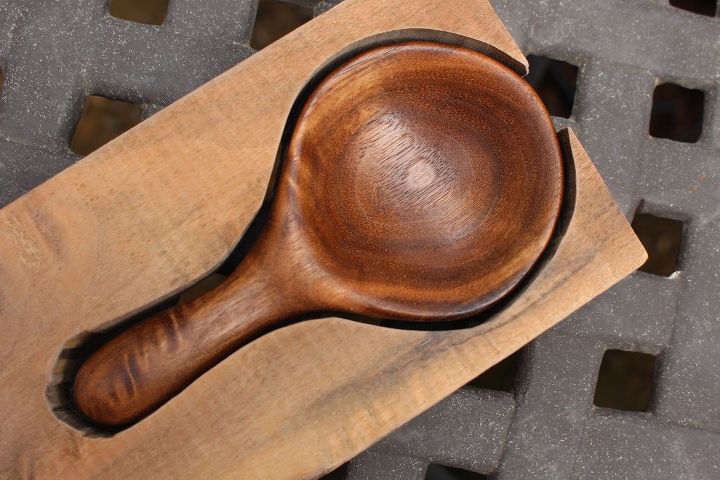
Heres a pic of the finished coffee scoop and the board from which I cut it out.
To see more detail instructions for this tutorial, please visit my blog post link below.
If you'd like to get more tutorials like this in your inbox, please consider subscribing to my site -- Four Oaks Crafts.com. You'll find a signup form on the left-hand side of my site.
If you sign up, I'll send you my free Home Shop Safety and Tool Checklist.

Want more details about this and other DIY projects? Check out my blog post!


Frequently asked questions
Have a question about this project?