


Make a Cherry Cutting Board
$50
4 Hours
Easy
The board I'm showing you in this tutorial is my goto cutting board even to this day. I made this for my wife for our anniversary. The board is cherry, and I used my wood burner to add some designs and a message to the board. This project requires minimal tools and this particular style of cutting board can be easily mass produced. These make great gifts or a nice product to sell.
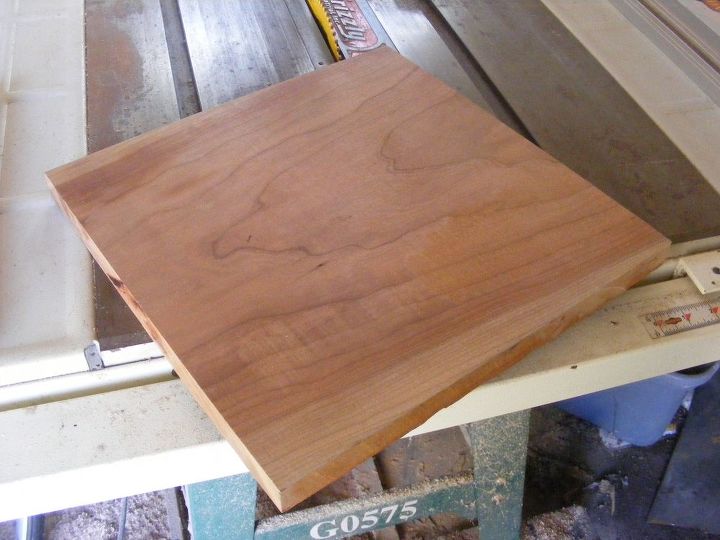
Cherry is a great choice for a cutting board. It's a closed-grain hardwood and less apt to warp than other woods. For this project I decided to use one board and the cutting surface will be the face grain. If you make a cutting board like this, the design options are endless with regards to the shape.
Choose a board that's not warped, even grain, and free of defects like knots or cracks.
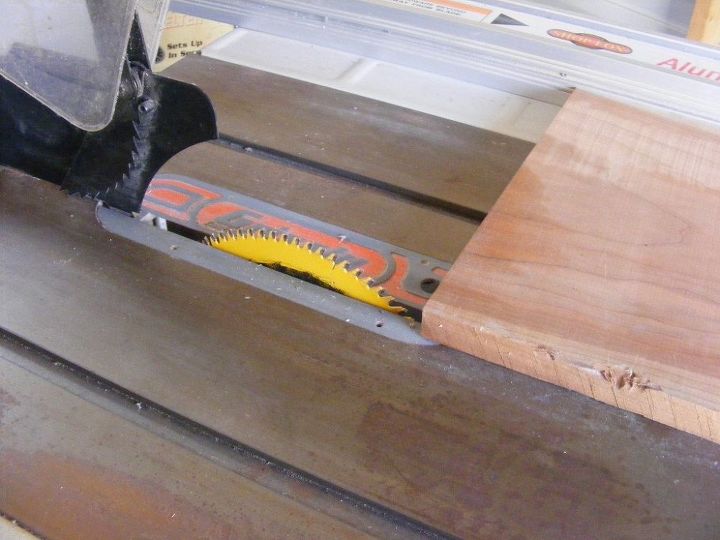
I used my table saw to square up the edges. However, this may not even be necessary if you use reclaimed lumber or boards already cut to a certain dimension. If you decide to apply a certain shape design, you could easily use just a jig saw. If you use a jig saw, remember to use curve-cut blades.
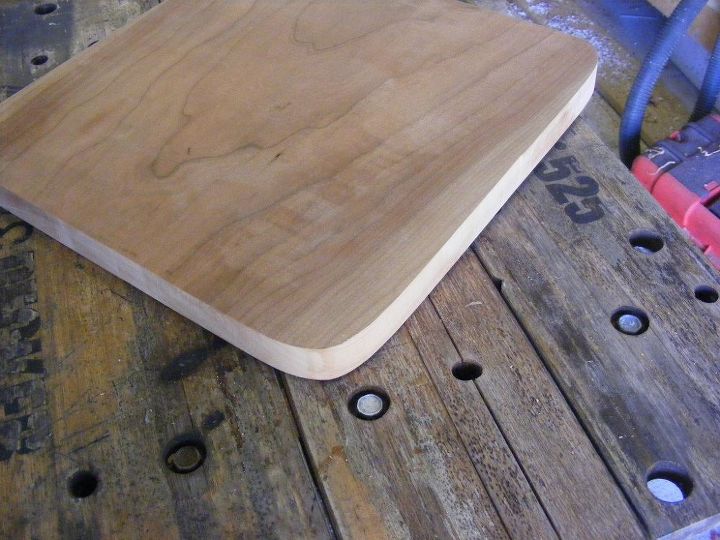
I went with a pretty simple design, and decided to round off the corners with my jig saw.
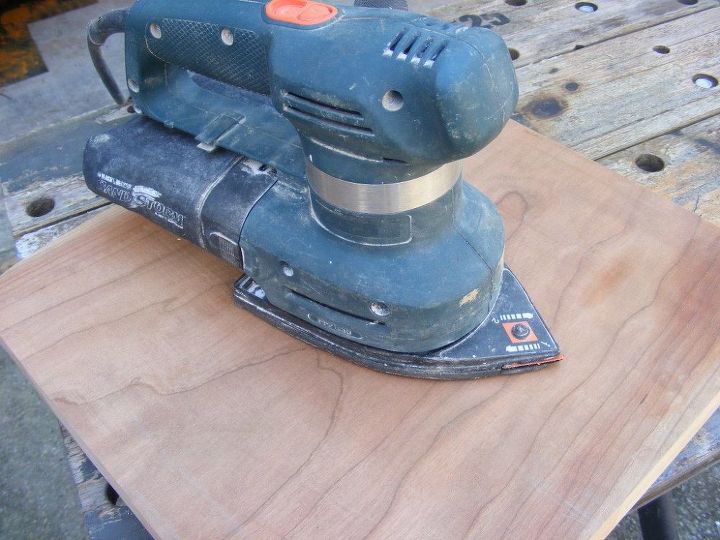
I sanded both surfaces of the cutting board with my orbital sander. Start with 120 grit, then 220, up to 500 grit. If you have finer grits that will be good, but remember it's a cutting board so it will get scratched up. Main thing is to get it smooth to remove any potential splinters. Gently run your fingers around the board and edges to fill for catch points that might create splinters.
Make sure you do this sanding step before you do the wood burning.
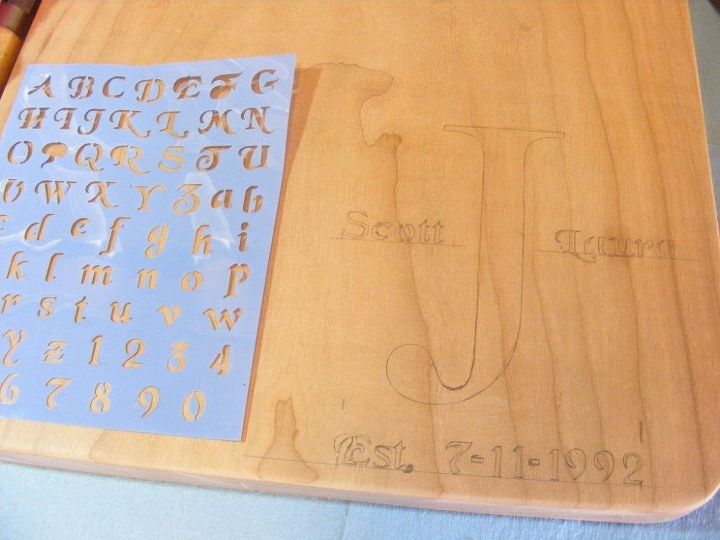
I picked up some letter stencils at my local hobby store and applied a message in the bottom right corner. If you decide to add designs like this, I recommend staying on the corners. That way it won't interfere with where you do the majority of the cutting and food preparation. Feel free to use my design.
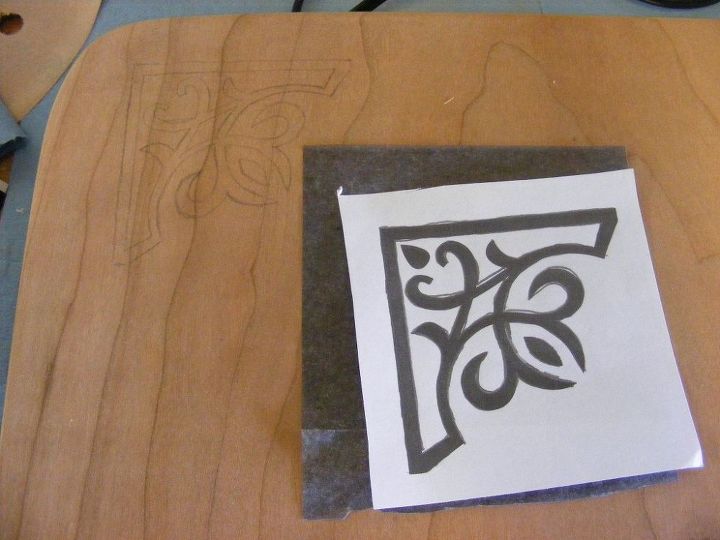
Here I'm going to the opposite corner to balance out my design. Again, this was a stencil I found at the local craft store.

Wood burning my design on the board. I chose to invest in a higher-end wood burner, but you can pick up an inexpensive one at the local hobby store or order one online. I recommend burning fairly deep into the wood. That way your design will last longer.
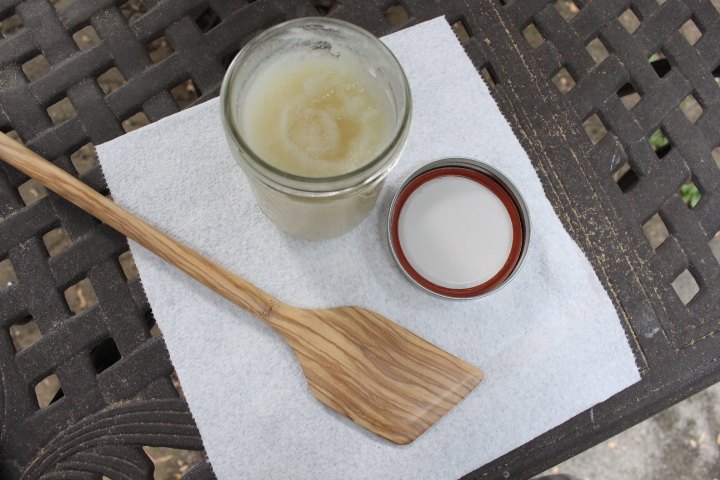
Now for the finish. You can simply use food-safe mineral oil for the finish. You can find it several places: dept. stores, home improvement stores, etc.
I like to use a homemade beeswax butter recipe which is a mixture of beeswax and mineral oil. I spread it on the board and work it in with my fingers. Let it soak in overnight. Next day, wipe off excess with a paper towel. Then buff with a clean cloth.
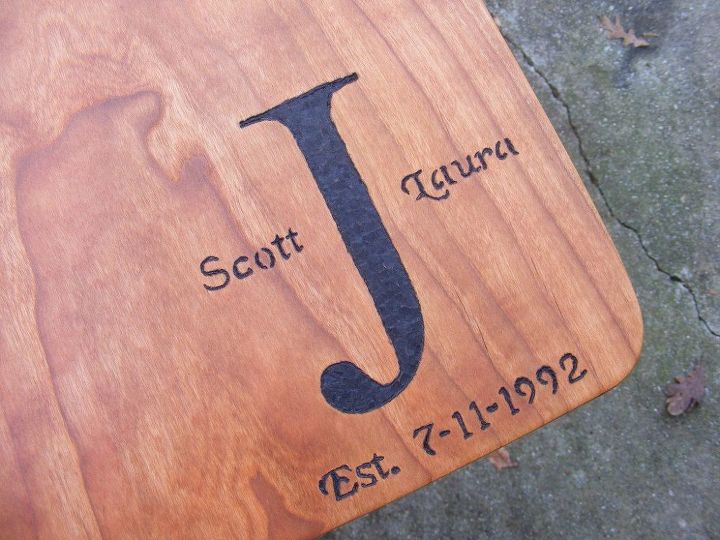
The finished board. The beeswax butter really makes the grain pop. It will also protect and preserve the board for many years.
For a more detailed tutorial, please check out my blog link below.
Please check out my website: Four Oaks Crafts.com. If you want to get more tutorials like this in your inbox, please consider subscribing to my newsletter. Look for the signup form on the left hand side of my website.
If you join, I will send you my free Home Shop Safety and Tool Checklist. This will help you get started with a new shop or do an assessment on your existing shop.
Here's the cutting board after I've finished with the wood burning. As you can see, I tried to leave plenty of "empty" surface area for cutting and food preparation.

Want more details about this and other DIY projects? Check out my blog post!
Comments
Join the conversation
2 comments
-
Looks great! Awesome job!


Frequently asked questions
Have a question about this project?