


My Latest and Greatest Crate Nightstand...

by
Stacy Davis
2 Materials
$45
30 Minutes
Easy
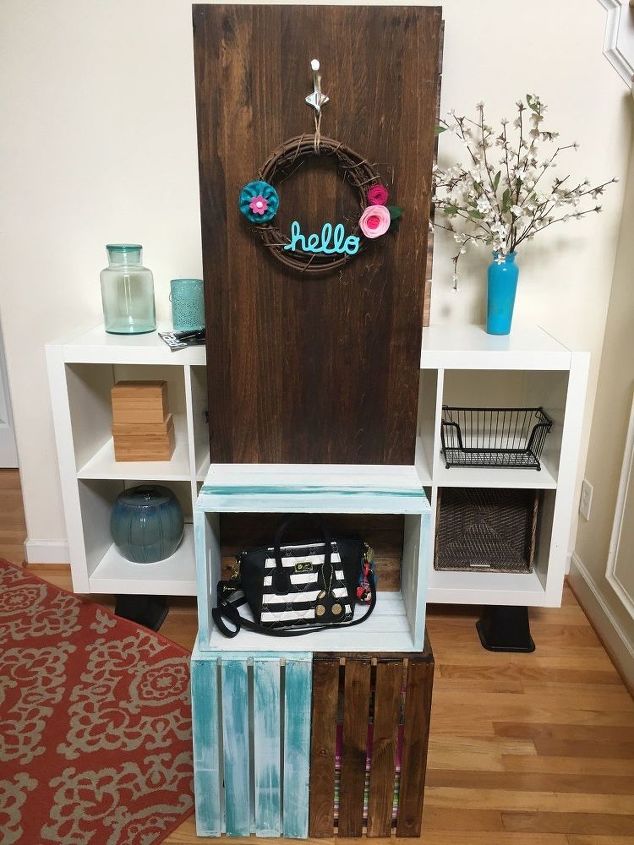
Do you ever make a project and then you find out as time goes by that you don't use it? It happens to me all the time. I am constantly disassembling items to make new items. That is the case with my latest nightstand. I wasn't using my spinning mudroom. I only have one kid in school and just wasn't using it as I had intended to. So, I took it apart and as I was playing around with it, I decided that 4 of the pieces made a pretty nice nightstand. I added a phone hammock to the back for charging and this was good to go.
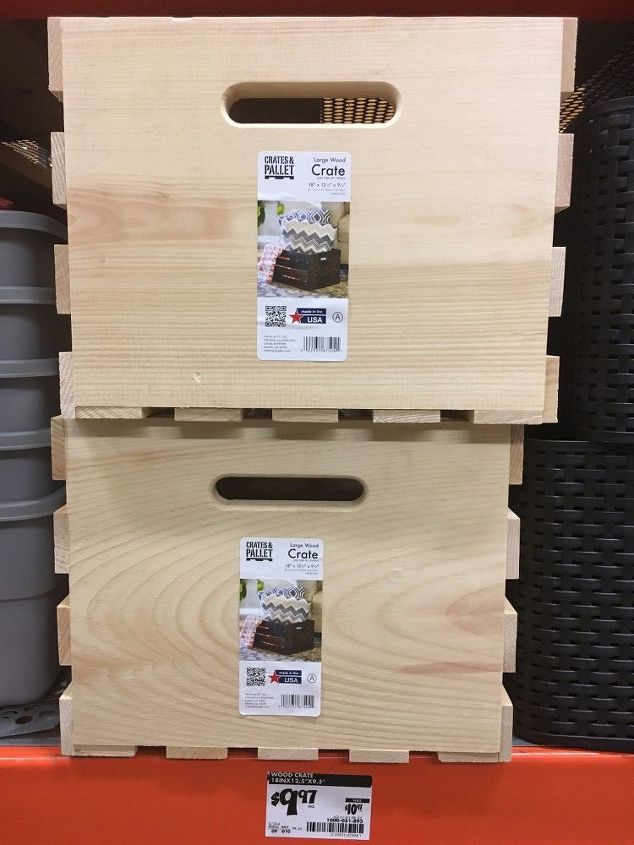
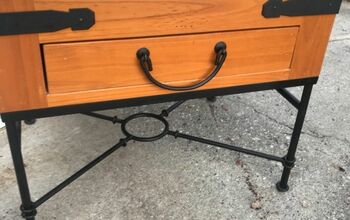
The bottom is made from 2 crates glued back to back. I intend to add shelving here but haven't had the chance.
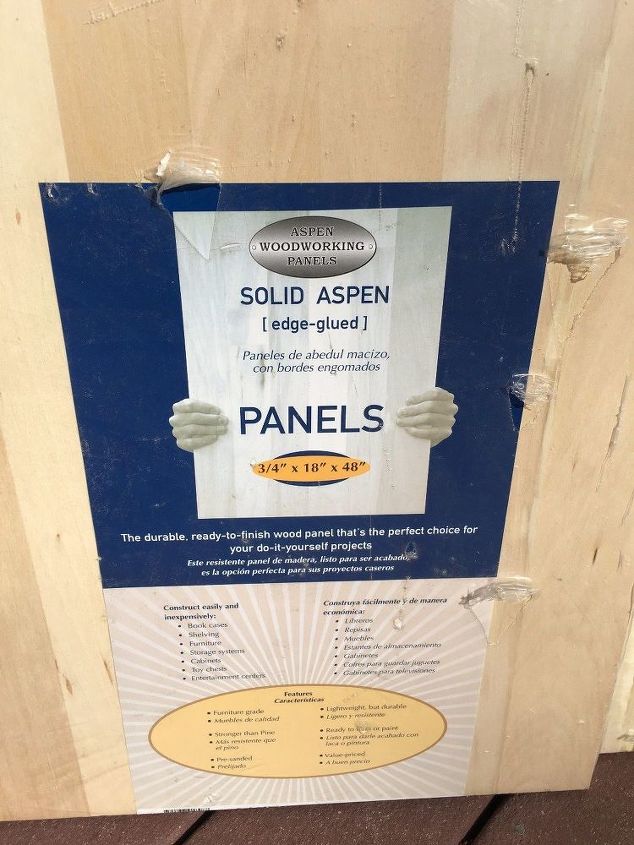
The top of the nightstand is a panel 3/4 by 18 by 48, this one was aspen but they come in other types as well. I used wood glue to attach it to the bottom of the crate.
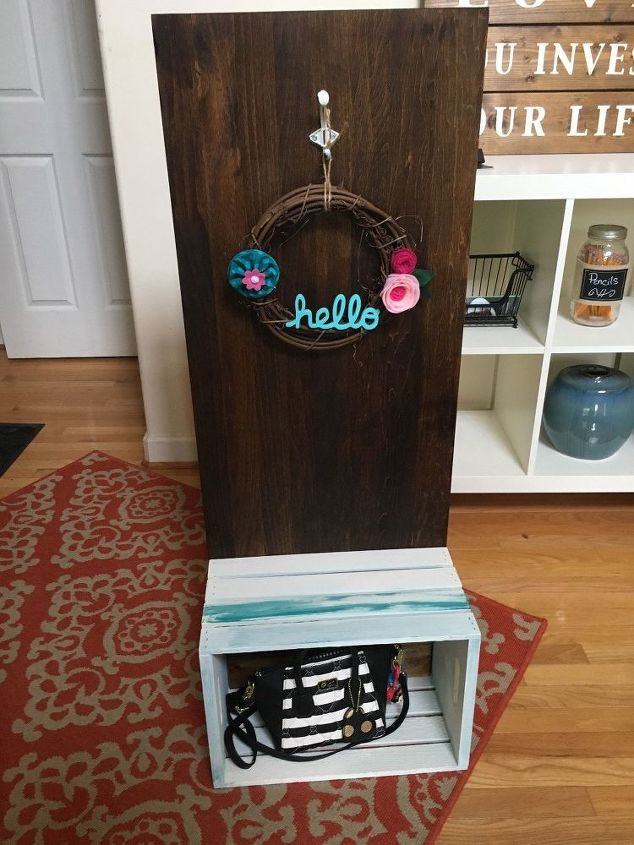
Here is a front view of the top portion...
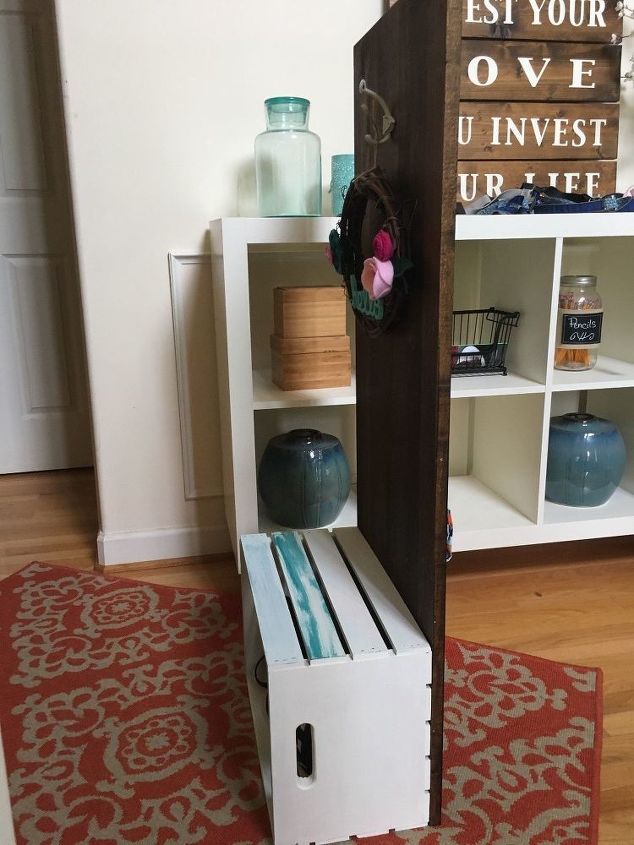
And a side view...

Here are the two pieces side by side. The left piece will sit on top of the two crates that have been glued back to back.
Attach the bottom crates to the top crate using screws, nails and/or wood glue. Your choice, all should work.

On the backside of the nightstand, I made a phone hammock to hold my daughter's phone while it charges. I used some fabric that I had on hand and make basically a pillow case. I decided to add a piece of felt to the inside of my hammock to give it more stability.
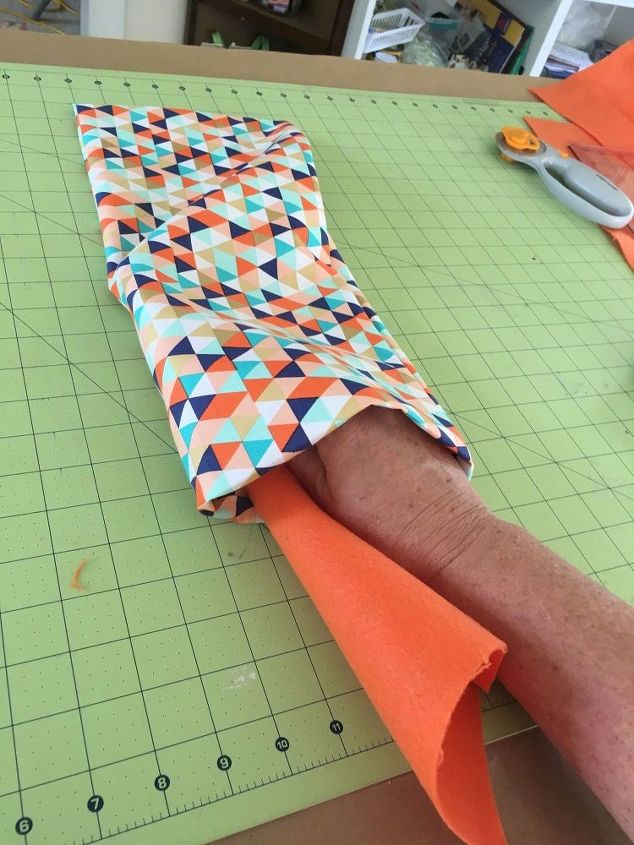
I slid the felt piece inside...
I didn't sew it into place. I figured that the 6 grommets would secure it into place and they did.
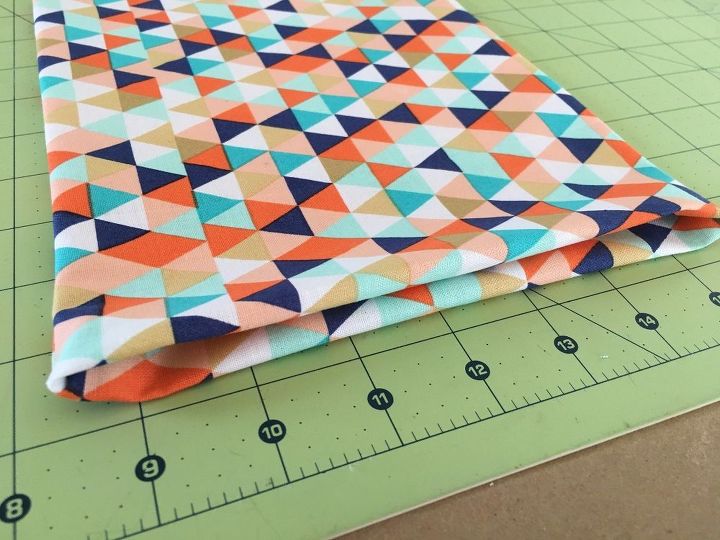
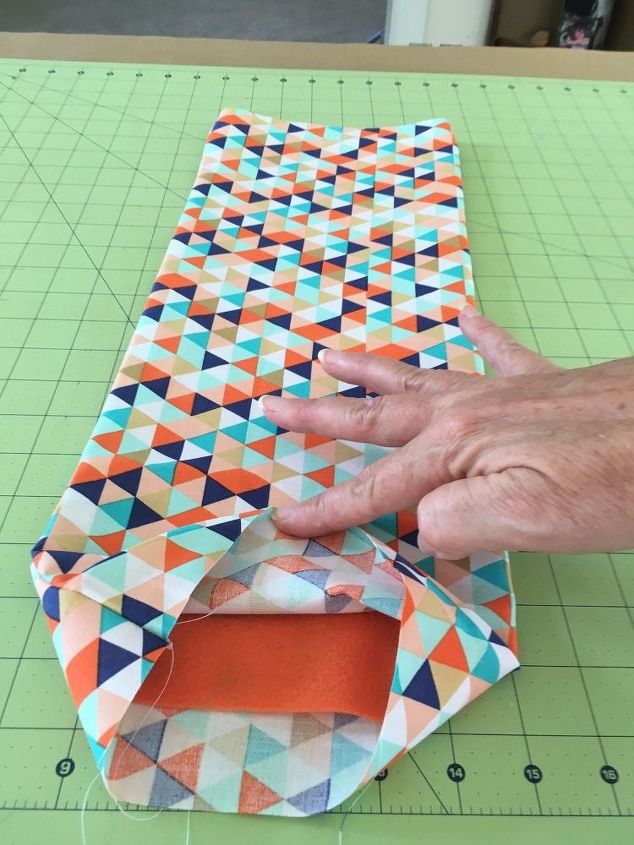
I tucked the ends inside and sewed them shut.
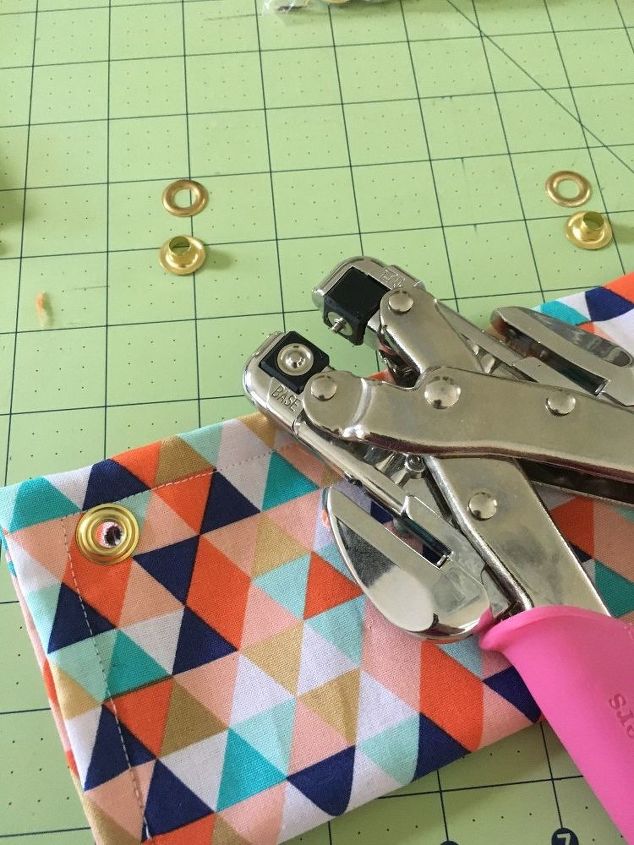
A Crop-a-dile works great to put the grommets on the hammock.
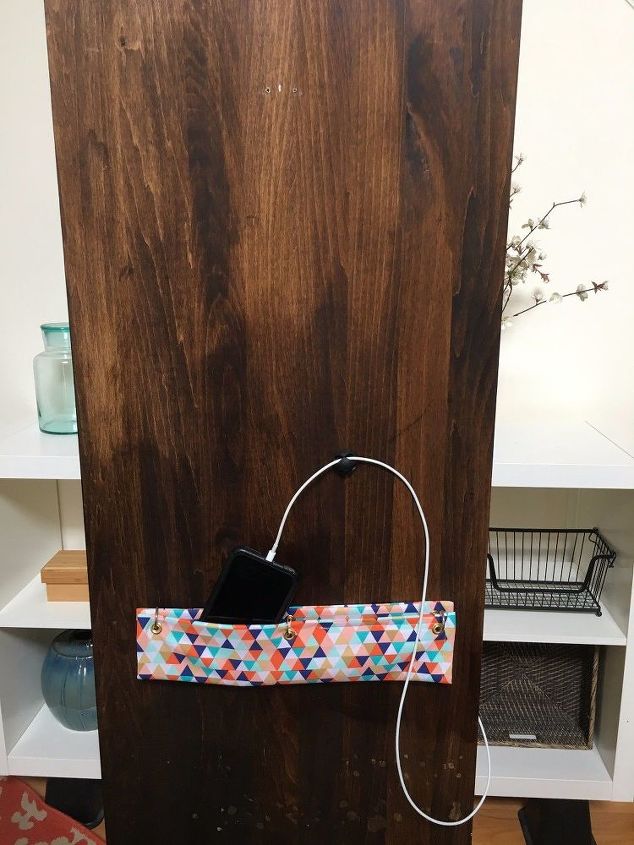
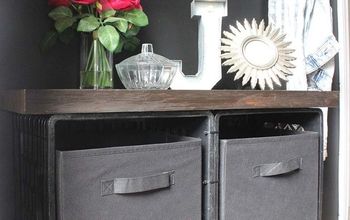
Cup hooks, fabric, felt and grommets were what I used to make a hammock for charging her cell phone. I put it on the back of the nightstand because the top of her nightstand is usually full of stuff. I thought it would be easy to get when she wanted it, yet it would be out of the way while it was charging.I used a stick on cable clip to hold her charging cord. I thought it would be nice not to constantly be searching on the floor for it.
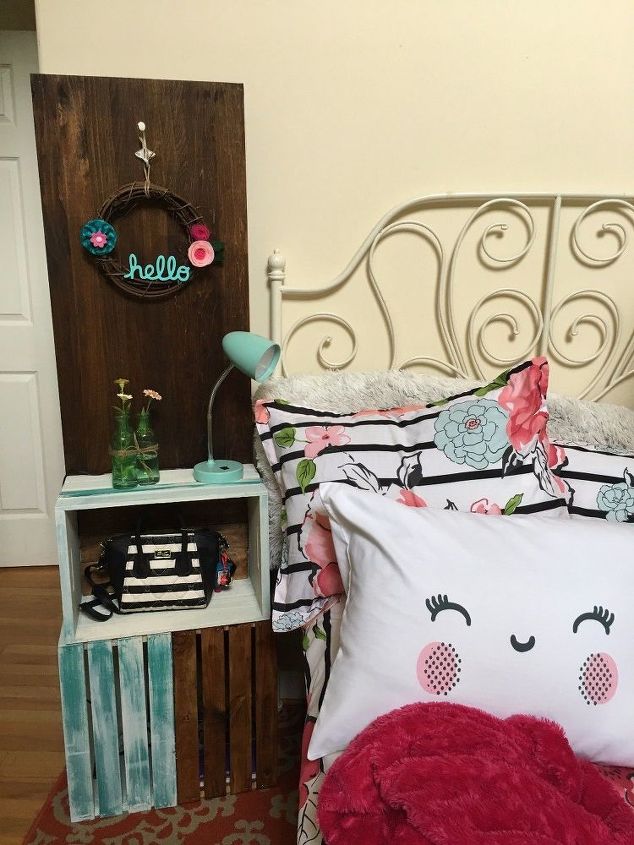
Here it is... The crates came to $30 and the panel was $15 because it was on clearance. So, all in it was $45 because I had paint, fabric, grommets, all the little things.
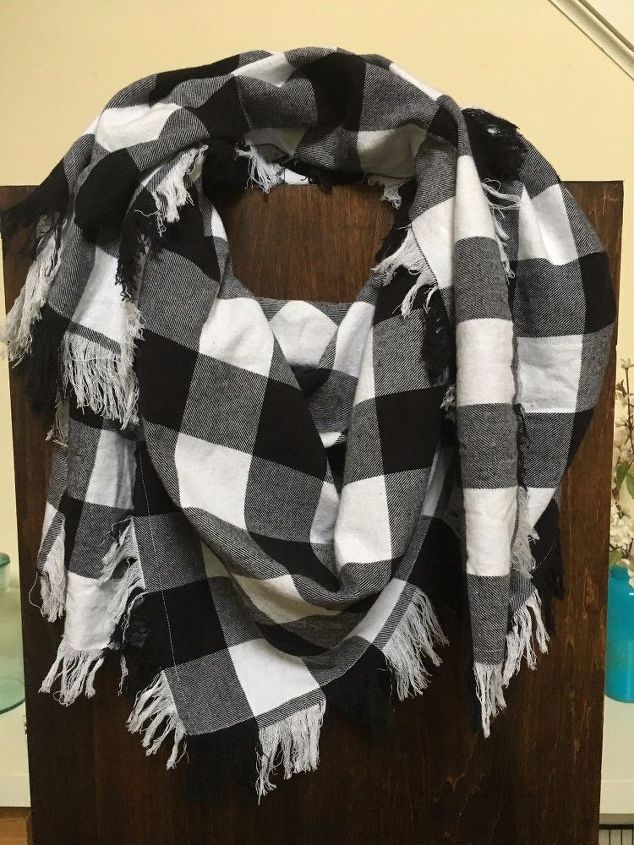
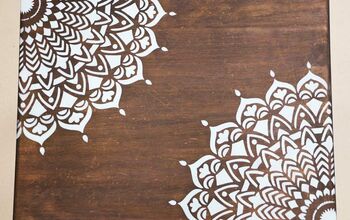
Here is a sneak peek at my next project. This would make a great gift idea so be sure to follow along to see it soon!

And just to let you know, it's sunflower season! One of my favorite times of the year! 
Comments
Join the conversation
4 of 18 comments
-
Super cool !!! And you could possibly add a mirror to the back board ...I think that would be neat
-
This turned out fabulous Stacy...Great job! I love this! Anything using crates, stain, paint, storage....SCORE!!


Frequently asked questions
Have a question about this project?
Where did you get the pillows on your daughters bed? The pattern reminds me of my scrapbooking papers of Paris chic!!
Love thisthis also paint on them what did you use?