


Flower Pot to Star Lamp
7 Materials
$3
15 Minutes
Easy
It's back to school time! Change a flower pot into a star lamp - it's easy and inexpensive. Great for dorm room, kid's bedroom, & hang out space. Make it for your backyard for ambiance. Easy to personalize and the possibilities are endless. Great project for adults and teens.
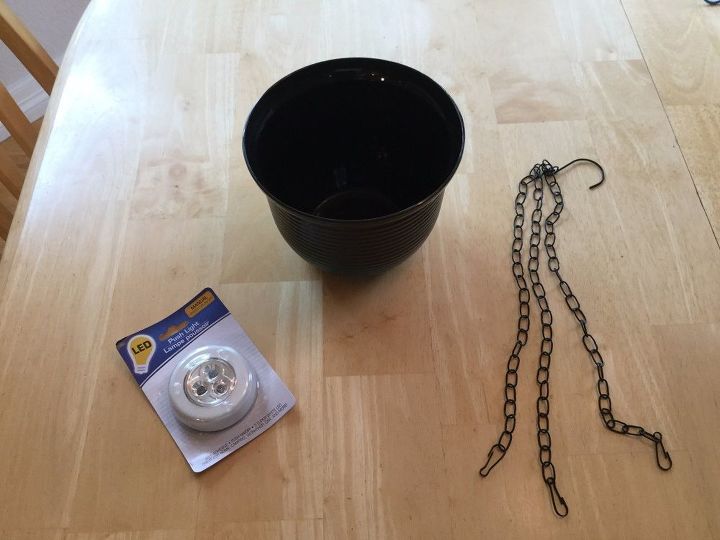
You'll need a flower pot, a battery operated LED light, and a chain or something to hang your lamp up when you are finished. I'll be giving you other options and ideas along the way... (where to buy these items will be listed at the bottom of this post.)
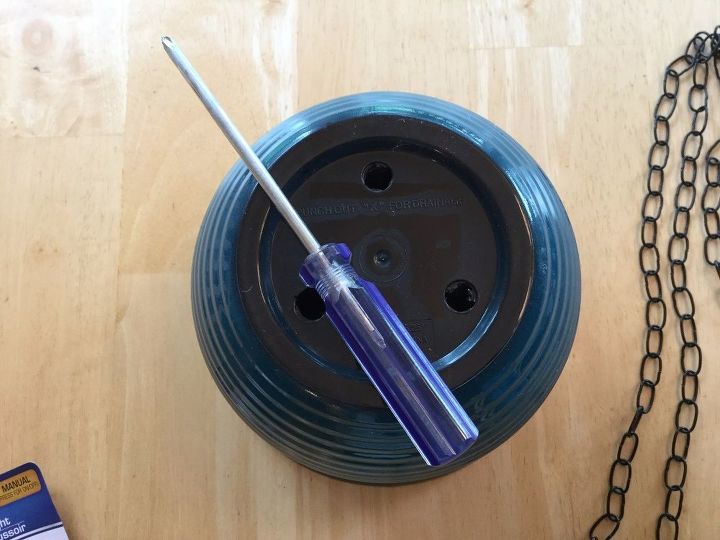
Pick a flower pot you like, and if you want personalize it by painting it, Mod Podge pictures on it, add stickers, etc. I found this blue black flower pot at Dollar Tree. Punch out the pre-fabricated holes in the bottom of the flower pot. If your flower pot doesn't have holes, simply drill some. Depending on what you are using to hang your light - you might be able to get away with less holes as well.
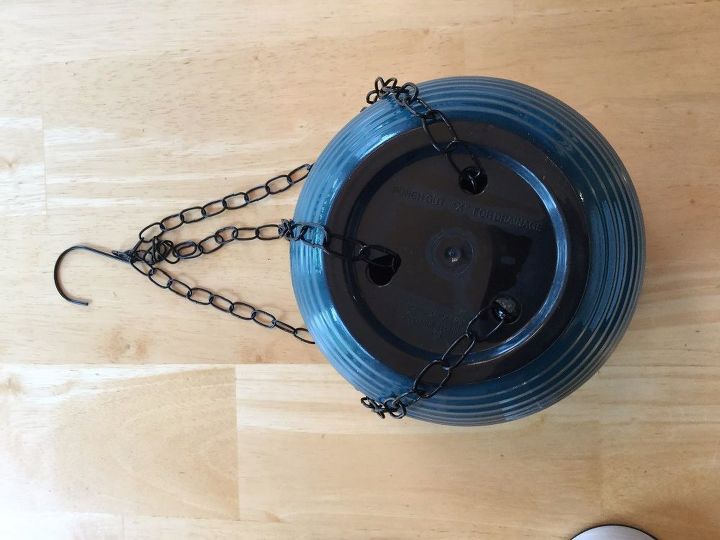
I used a chain that I had from a flower hanging basket (Dollar Tree). You could also use rope or string.
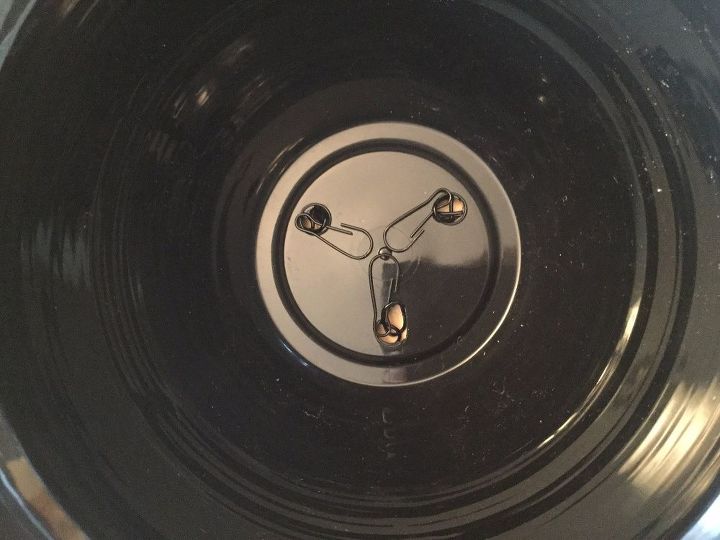
I took the hooks from my flower basket and laid them inside the basket like this. You will need the surface area to be flat so you can adhere the light inside.
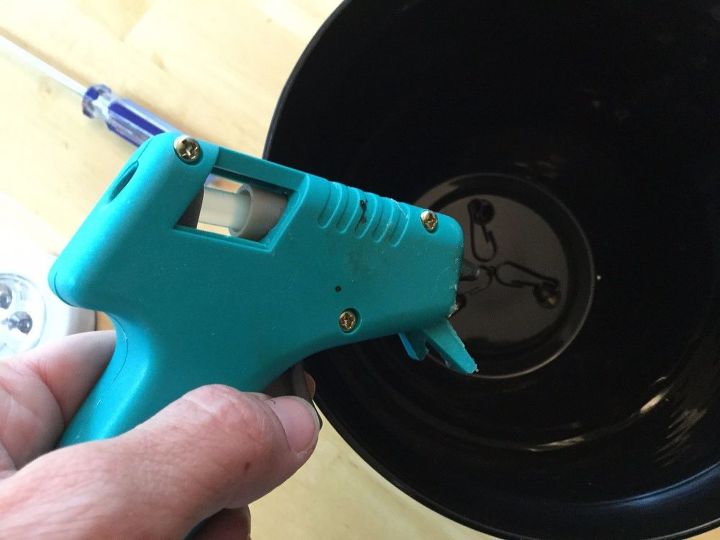
You can hot glue the hooks into place, use a glue of your choice, or ....
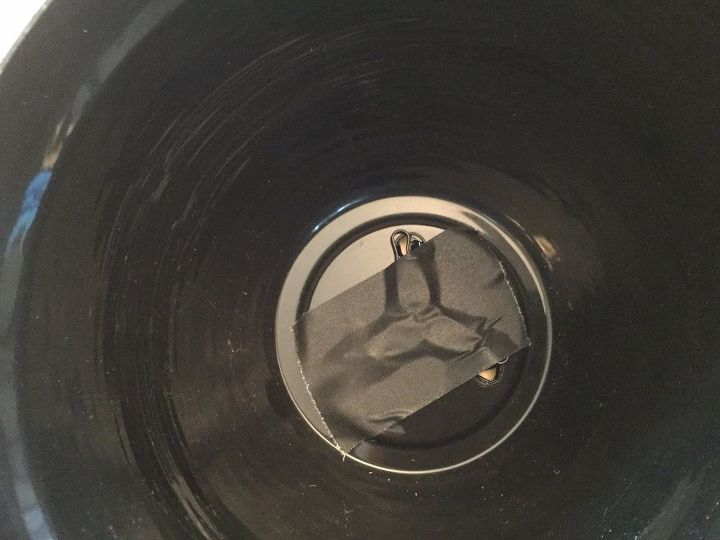
use gaffers tape to hold them into place.
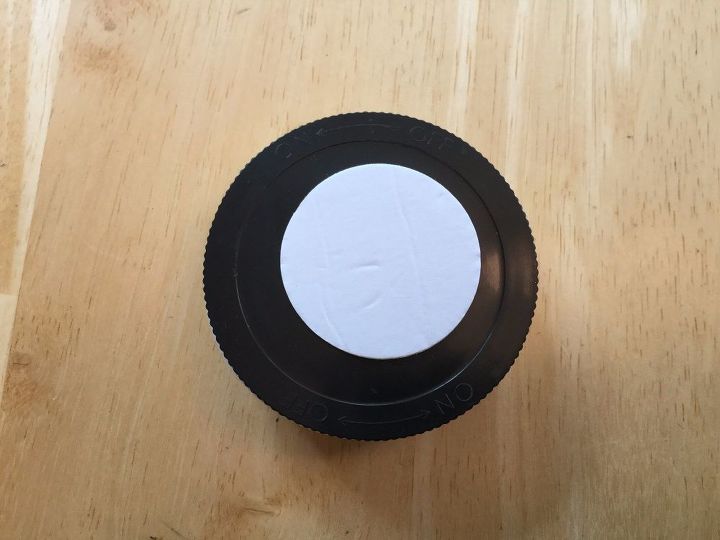
This light came from Dollar Tree and had a self adhesive back on it. Add your batteries, and stick the back on. If you want it to be a little more secure, you can glue the back to the bottom of the flower pot.
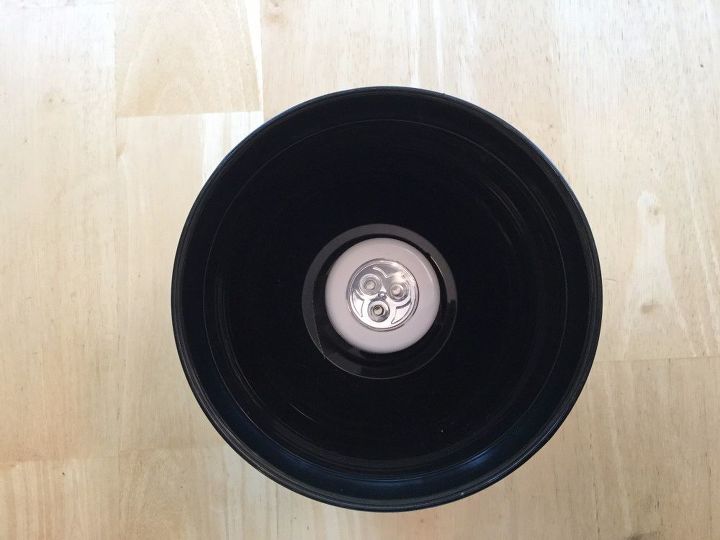
Stick your light onto the bottom of the flower pot.
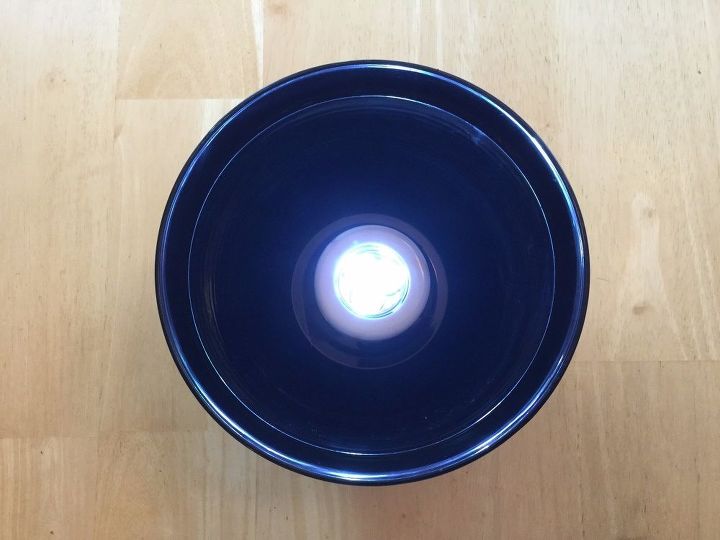
This light is a touch light, meaning you simply put the light button and it turns on and off. To get to the batteries later it is no problem as this unit twists off from the back leaving it in place while you pull the unit out to replace the batteries.
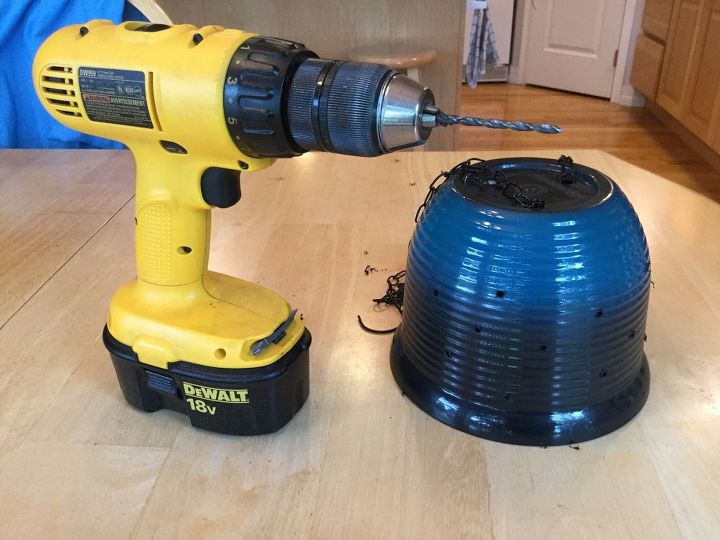
You could stop here and leave the lamp as is, I'm turning this one into a star lamp. Use a drill to drill holes in any size of your choice or a variety of sizes in random places around your lamp.
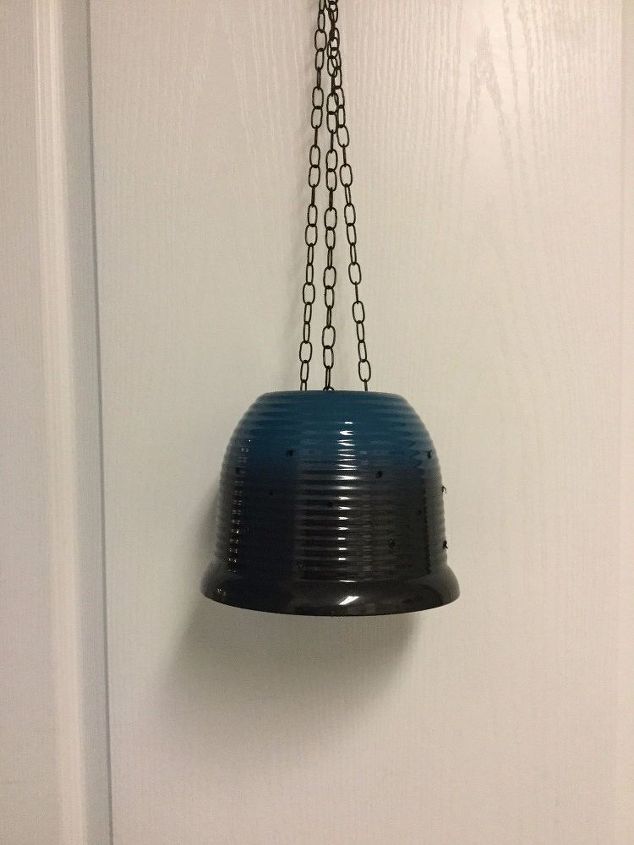
Your lamp is ready!
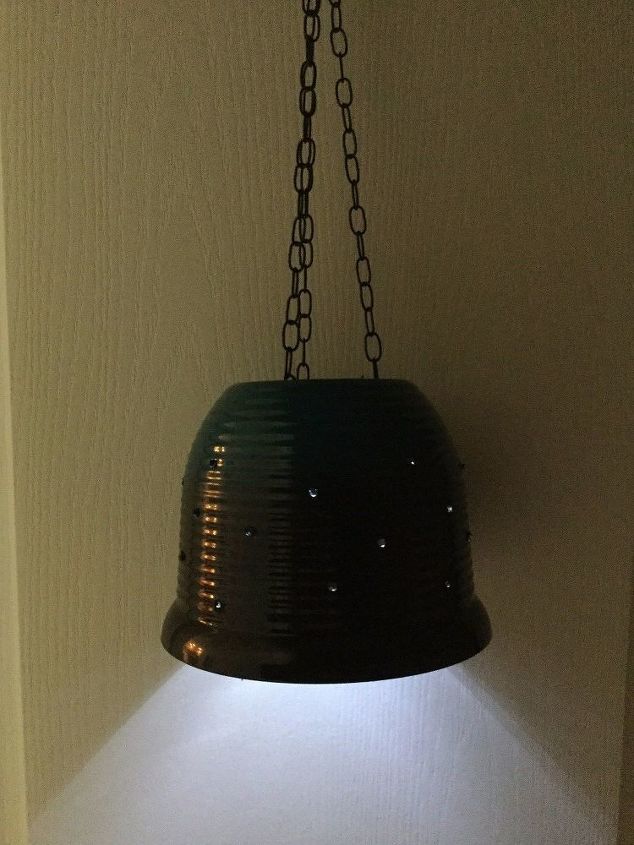
Hang it up where ever you want and turn it on.

The stars are a little hard to see in the photos but they are really cool in person.
I would love to have you stop by my blog Chas' Crazy Creations for the full tutorial as well as sign up for my latest creations, posts, recipes, exclusives, and more...
I would love for you to subscribe to my YouTube channel to see more of my crazy creations - https://www.youtube.com/channel/UCIOsMN7hycVRco-MROXwmXg

I'll be making this and more back to school ideas on Hometalk's Facebook Live DIY - Wednesday, August 23rd at 8pm EST.
Resources for this project:
See all materials


Any price and availability information displayed on [relevant Amazon Site(s), as applicable] at the time of purchase will apply to the purchase of this product.
Hometalk may collect a small share of sales from the links on this page.More info

Want more details about this and other DIY projects? Check out my blog post!
Comments
Join the conversation
3 of 54 comments
-
We have been looking for pendant lights for our island. What a great idea. Pots come in more colors than ones sold and are much cheaper.
-
I'm making an electric light, but this will be perfect! Thank you!!


Frequently asked questions
Have a question about this project?
What do you mean by stars? Did you drill the holes in outline of star?
Great idea. Gaffers Tape? -Duck Tape?
Love it!!!! How did you attach the chains?