


Mystic Sea TV Gallery Wall

by
Jewellmartin
2 Materials
$4
2 Hours
Easy
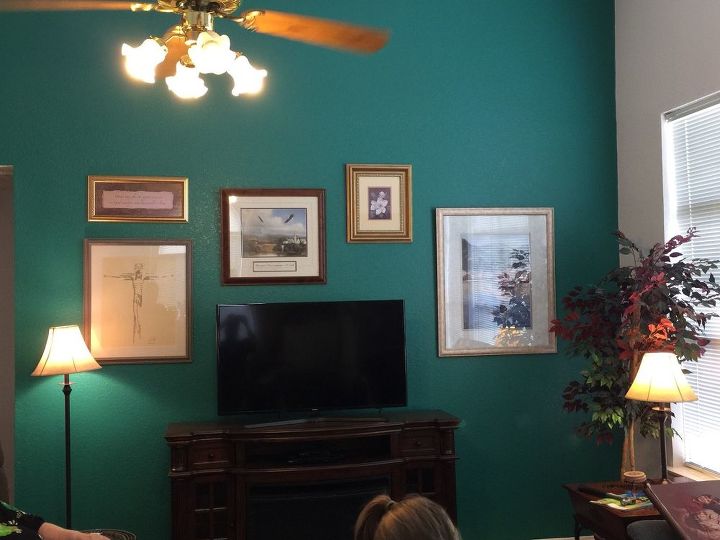
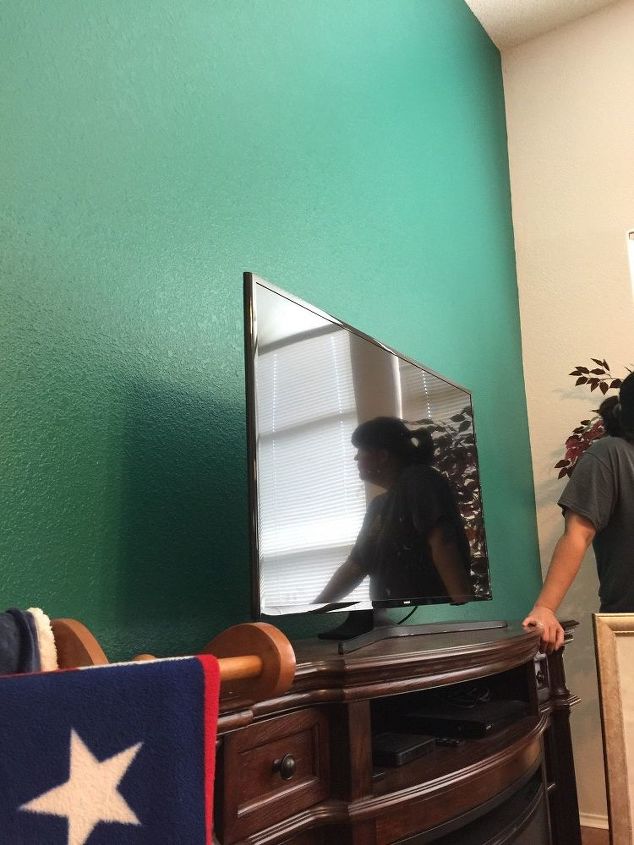
I'll be honest. The focal point in our family room is the TV. When we remodeled the family room, I claimed the one full wall as "my" wall--and had it painted Valspar's Mystic Sea. From the beginning, I said I wanted to make that a gallery wall. Hometalk friends gave me advice and even examples. Thank you!
1. PLAN THE BACKGROUND COLOR. Painting the accent/ focal wall. I watched all the beautiful ads on TV for Valspar paints, especially the one with two women who look a lot like me in a little boat, apparently rowing ashore to meet an old sailor painting his house with Mystic Sea, a gorgeous blue-green.
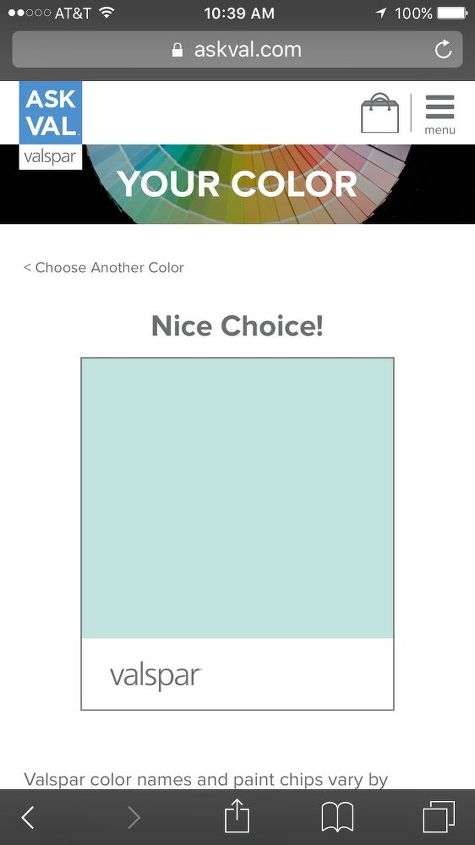
Mystic Sea by Valspar website
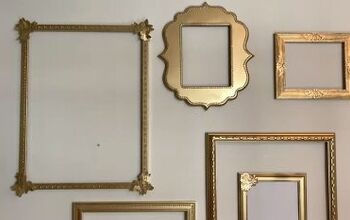
2. PLAN AHEAD, but adjust as you go. Best laid plans by mice and men oft go aglee, to misquote Robert Burns. I was disappointed by the dark green tone instead of blue, but I decided to live with it. We dusted the whole wall. I pulled out my lined tablet on which I had drawn five possible layouts. I knew I could have measured each frame on newspapers, cut it out and played with the arrangement. I could have photographed the pictures I wanted to use, printed them out on the printer I messed up a year ago, and arranged them. But I didn't. I just used pencil and paper to get my ideas down. The most important decision I made was to have all the photo frames different, as they were originally. My pictures have two different metallic finishes, an iced metallic, and two different wood colors. With the depth of color for the background wall, I wanted some contrast and lightness. Each picture has its own stage and holds its own in the grouping. I may do the two wood frames in something light and metallic.
Jesus picture by Kevin Martin.
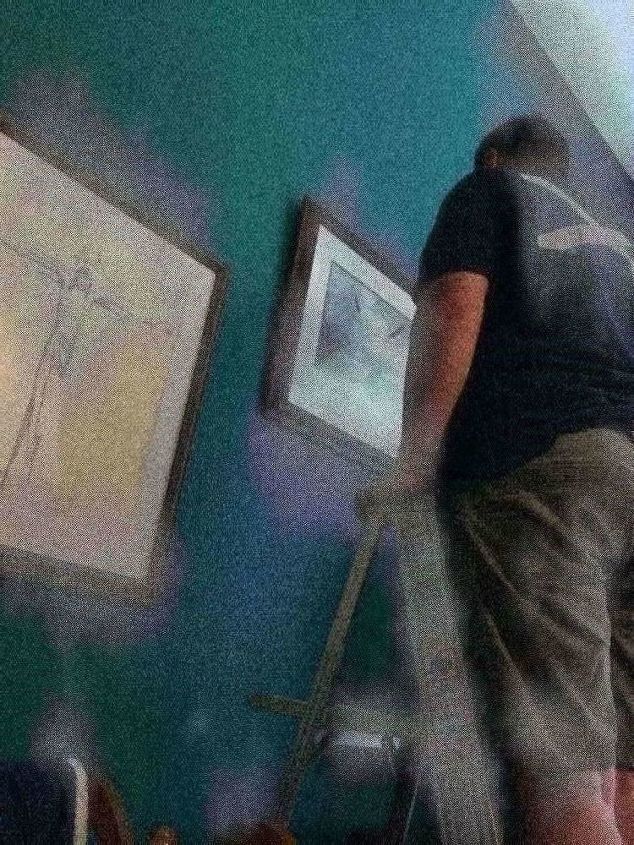
3. CHOOSE YOUR FOCAL POINTS. I made my first few choices from pictures I already have. One large print went to the right, lower than most people would hang it. I wanted that picture to anchor that side, closest to the window. On the left side, the anchor is an original painting by my son, Kevin. He drew this picture of Jesus on the cross, using only words from the Bible. The next year we saw computer printed copies on sale at the mall, but Kevin's is all hand drawn. Then we began hanging other prints, judging spacing by eye and measurements.
I only used pictures I love.
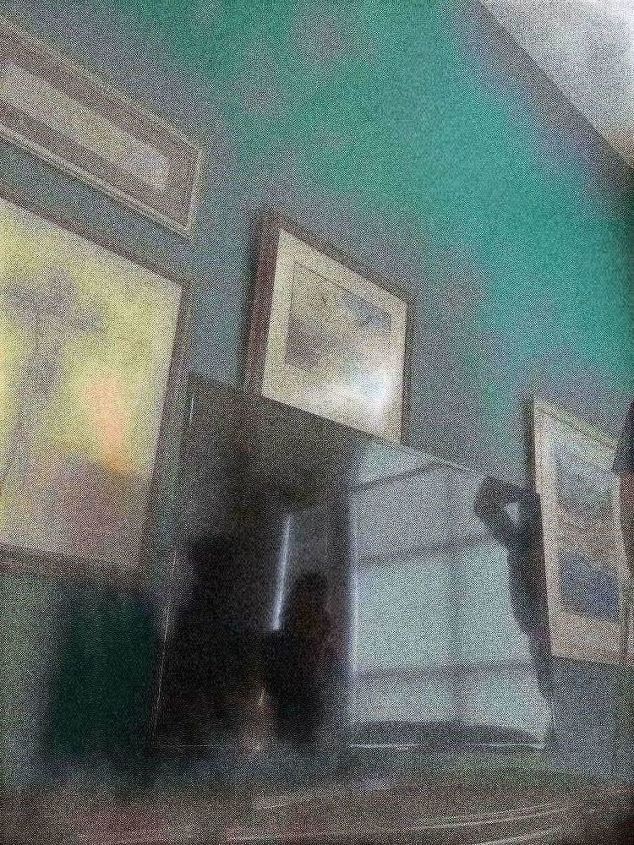
4. ARRANGE THE FILLERS, using pictures and sayings, or even a giant clock. Everything I put on this wall has been given to me by my sons or close friends. Judge them by size, frames, colors, or themes. I had to work around the TV, so we were constantly checking that pictures could be seen around the TV by at least half the family room at a time.
Final arrangement, for now.
5. ADMIRE YOUR WORK without second guessing yourself. We used picture hangers, Command strips, and a couple of nails to reach the studs on the larger pictures. I have wood filler and some of the paint reserved for any tiny holes if I make major changes. I am looking at clocks and when I choose one, the magnolia painting will continue it's wandering through all the rooms in the house. We don't need a large clock in the family room.
If you are thinking about a gallery wall, I hope my example helps. You can possibly avoid some mistakes, make a plan, or just get an idea. Best wishes 😇
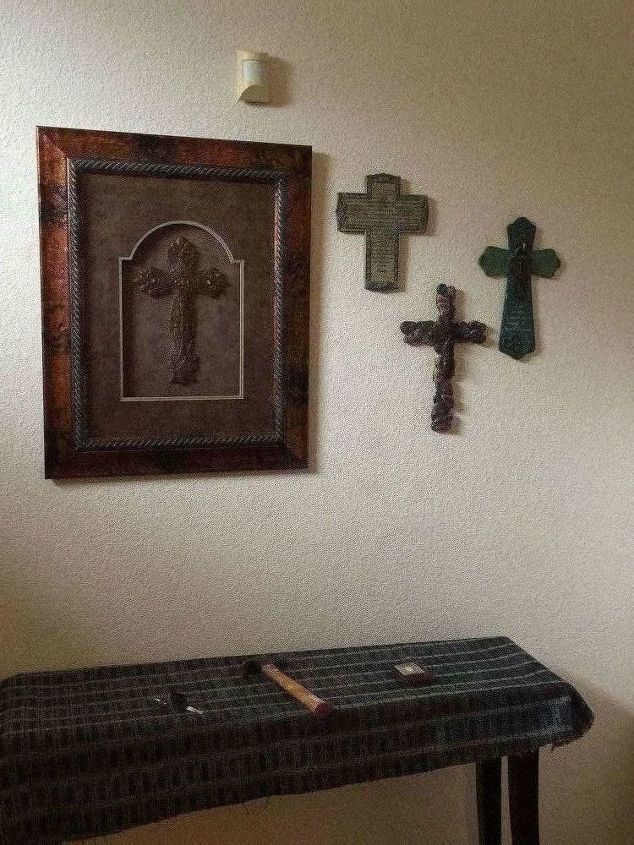
One step in the foyer!
Lagniappe: a little something extra. My son and dil hung three crosses for me in the foyer, next to a framed cross given to me by my other son. Many of my friends have cross walls, or rows of crosses spread throughout their homes. I need to do more with this wall but I wanted you to see the first physical step. 😇
This the before photo--smile!
Comments
Join the conversation
2 of 4 comments
-
Thanks, ladies! It really makes me happy now!
-
Good! That's what is most important!


Frequently asked questions
Have a question about this project?