


Refinished Vintage Rocking Chair
$75
3 Hours
Medium
When I was decorating my little girl's nursery, I knew I needed a new nursing chair. I had bought my old one second hand, and I just didn't realize how uncomfortable it really was until I needed to spend hours in it with my first and second babies. Of course, they make some comfortable chairs these days, but most of them are really expensive. Plus, I was trying to create a vintage schoolroom feel for the nursery (you can see the whole space here), and most of the chairs that were actually in my budget didn't match the look I was going for.

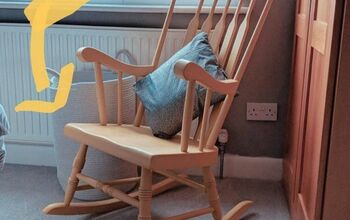
So, I kept my eyes peeled on Craiglist, in sales ads, estate sales, and garage sales, until I finally stumbled upon this chair at a thrift store. It was marked $58, but had a half off tag, so I took her home for $29. At one point, it was clear that the center back of the chair had been caning, but a previous owner had made a panel out of thin plywood, covered it in fabric, and attached it to the chair.
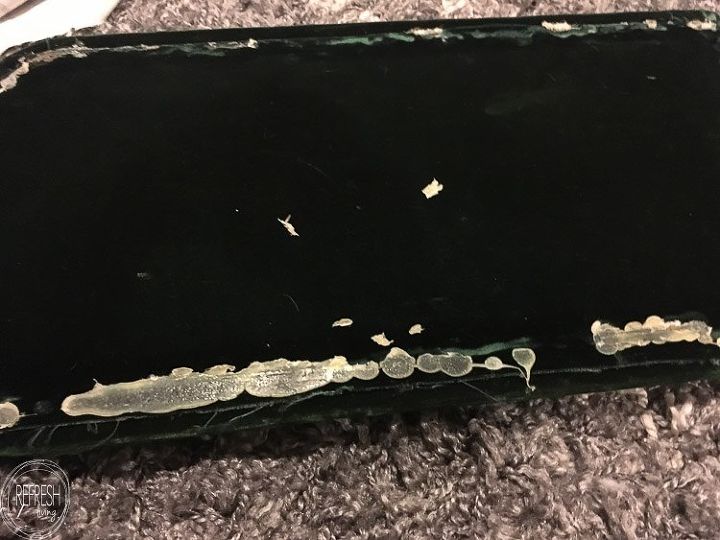
It was only after I removed that panel from the back of the chair that I realized they had used hot glue to actually adhere it to the back frame. I laughed at the time, but later in the process decided to do the same exact thing to attach my newly upholstered panel to the chair. I figured if it worked so well the first time, it would work again (and it hasn't budged yet)!
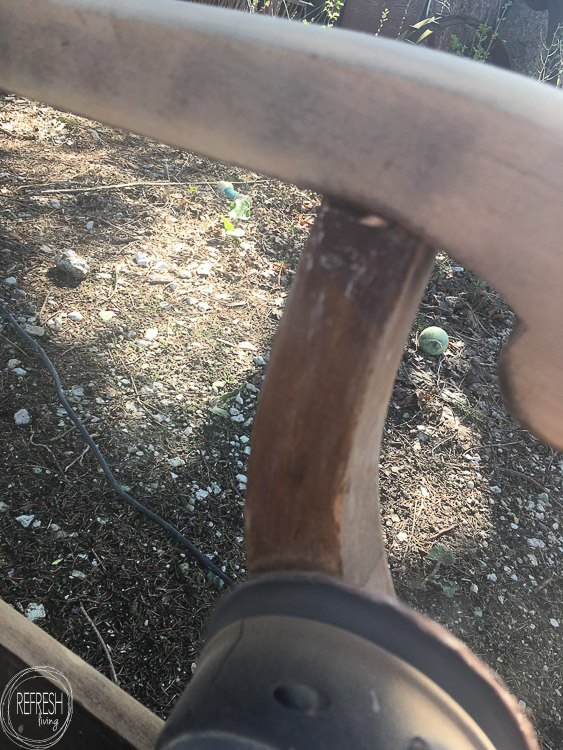
But, let me backtrack just a little. After removing the back panel and the seat cushion (which in this case just rested in the frame), I worked on the frame of the chair. I stripped it down with the only type of furniture stripper I ever use, and then sanded away the residue and any remaining finish.
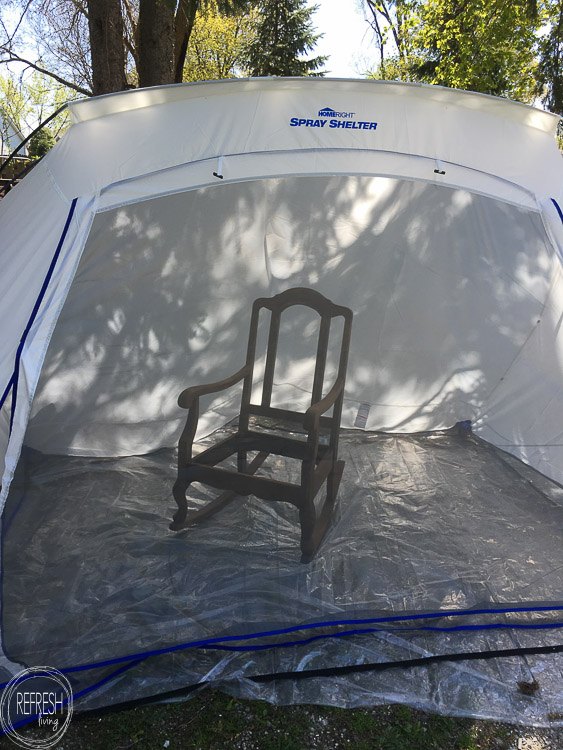
I stained the frame and then sprayed on a couple of coats of clear acrylic sealer.
(If you are interested in the specific products I used on this particular project, please head over to my post, which is linked at the bottom of this post. Thanks!)
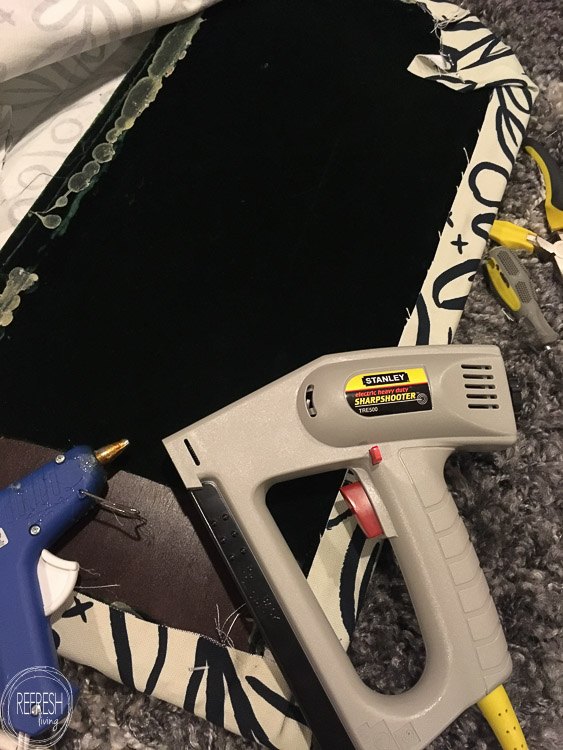
I actually just hot glued the fabric to the back panel, and then used my staple gun to attach the fabric to the bottom of the chair seat. (I upholstered just like a normal chair seat.)
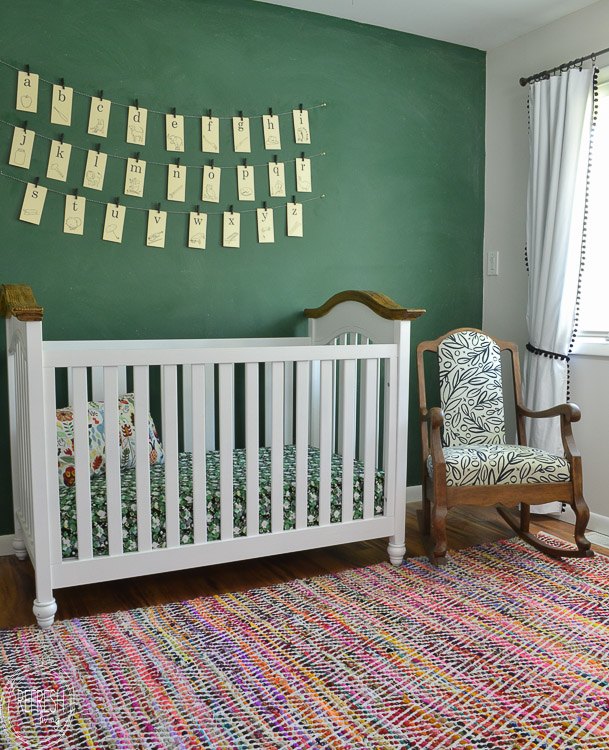
I really love the lighter wood because you can see the variations in the wood tones now, whereas before it almost looked like it was painted brown instead of stained. There are about 5 other DIY projects in this vintage schoolroom nursery - I would love it if you came by to see the whole space!

Want more details about this and other DIY projects? Check out my blog post!
Comments
Join the conversation
1 comment
-
It looks really good with the crib! Great job!


Frequently asked questions
Have a question about this project?
Where do you buy spray shelters I need this??