


DIY Retro Style Clock

6 Materials
$10
1 Hour
Easy
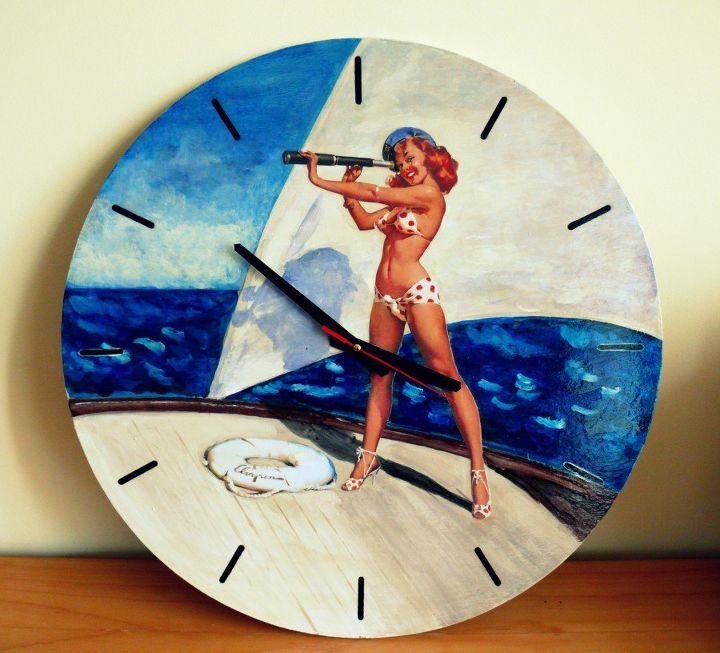
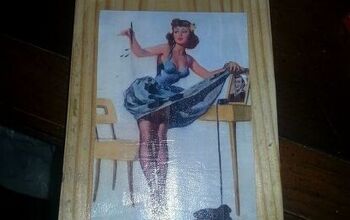
Do you remember Gil Elvgren pin-up girls? My friend gave me a wonderful gift – a calendar with Brown & Bigelow reproduction paintings. I decided to make a do-it-yourself project using my favorite images.
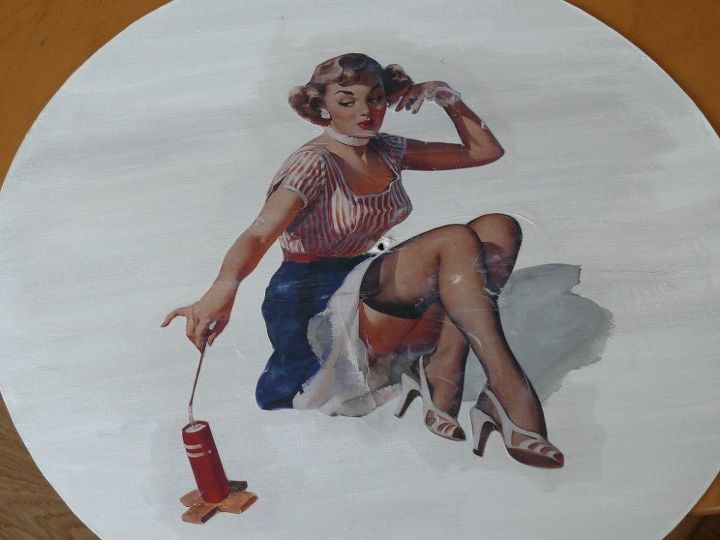
1) Make a hole in the middle of the board (find out the required size by checking the clock mechanism).2) Paint the board with acrylic paints – I made a neutral greyish background.3) Cut out the image and place it on the desired area on the board. Cover it with decoupage glue. You need to do it little by little making sure that there is no air left underneath it.
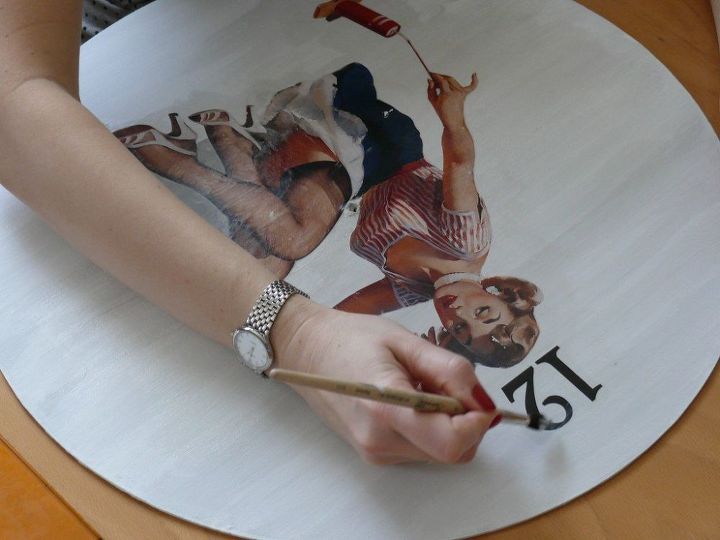
4) Cut out the numbers and allocate them on the board using ruler and angle meter.
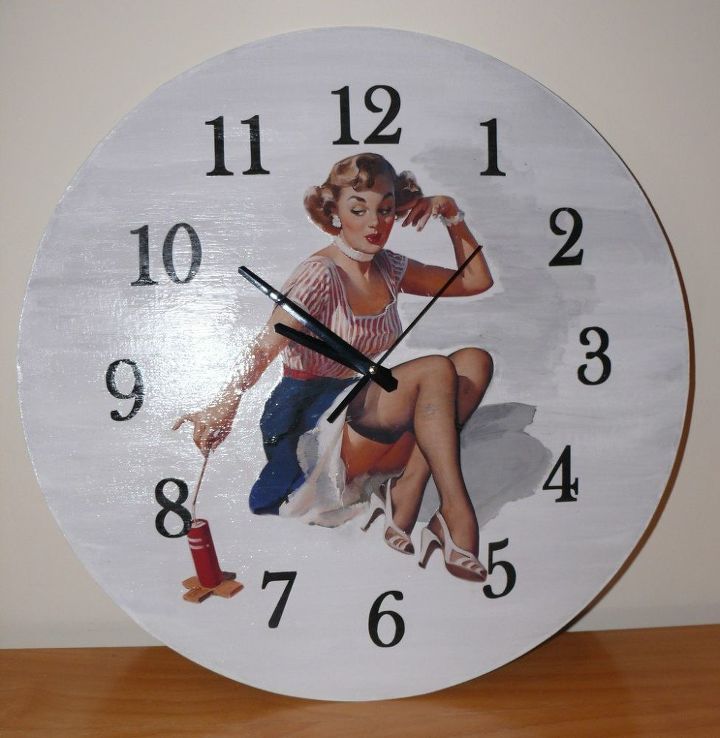
5) Cover the numbers with decoupage glue. I covered the whole surface with the decoupage glue in order for it to look more even.6) Let the surface dry completely. Cover it then with acrylic varnish – it will create a glossy look and also protect your creation from dust and moisture.7) Insert the clock mechanism and put in the battery. Set the time!
Comments
Join the conversation
2 of 4 comments
-
I love anything retro, and this is great!
-
Thanks for the inspiration! I am trying my hand at using modgepodge for the first time to make a series of plaques with retro prints. Beautiful clocks.


Frequently asked questions
Have a question about this project?