


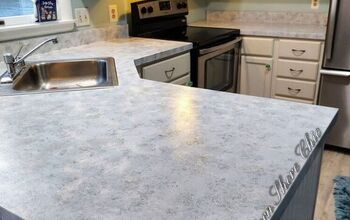
Painted Countertops
by
Sha11256824
8 Materials
$50
3 Days
Medium
Do you have old Formica counter-tops that you want to change, but your budget doesn't match your wishes? Here's how to give your counter-tops a big look on a small budget.
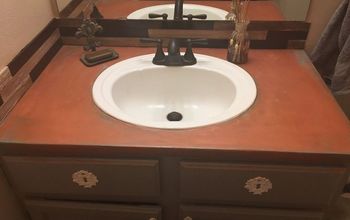
I decided to try painting my small bathroom vanity top because it was the ugliest. green Formica. I thought that if I ruined it I could just get a new top. But I was delighted with my end project.
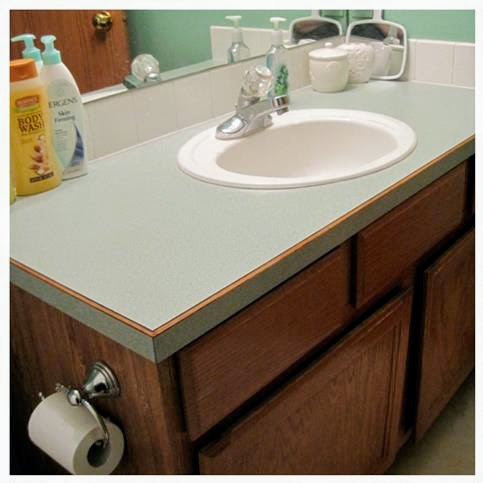
My green Formica tops that I actually picked out over 20 years ago really needed a change. I started this project by browsing DIY painted counter-tops. I found a few different sites that had directions for painting faux Corera marble. I really like this look.
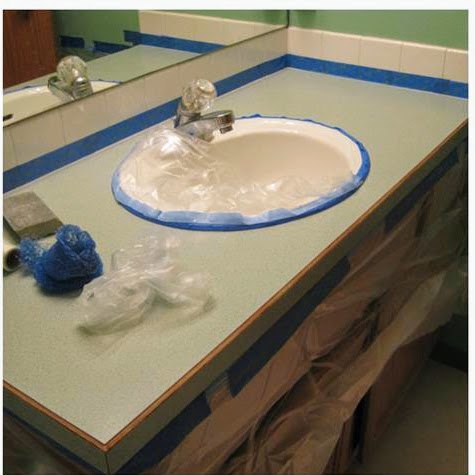
Step 1. Prep area:
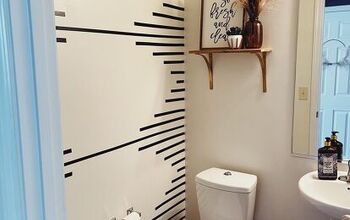
I gathered up my materials needed and started by taping off the areas not to be painted using Painters tape and plastic to protect floors, vanity, sink & faucet.
2. Painting:
- I started by painting over the green with my base color using White Primer. I rolled with a small paint roller. I had to apply more than one coat. Wait to dry between each coat. I used a small paint roller pan covered with foil.
- I mixed my acrylic paints on a paper plate to get the colors of gray I wanted.
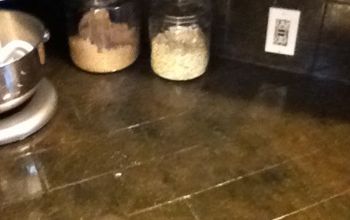
- Then I began painting in a small area with the small brushes by making the first main veins wider, then branching off with smaller veins. I painted by using a light flipping over as I went. Marble always has veins that go in one direction.
= I dipped the sea sponge then blotted and pulled the veins until I got the look I wanted. (Don't worry. If you don't like it you can paint white over it and try it again.)
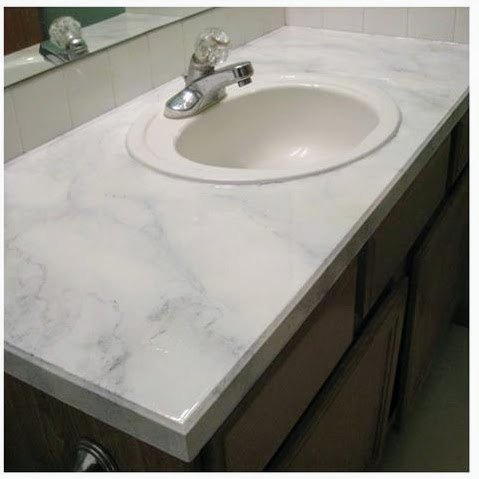
3. Apply the epoxy:
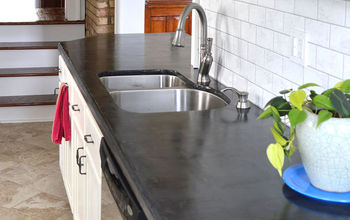
-Mix the Envirotex-Lite as directed and pour on the counter-top. Smooth out as you go so that it is covered, but spread. Use plenty. Let it drip down the edges and wipe under as you go.
- Use the blow torch to pop the bubbles by holding close until it's gone.
The first time I tried this I didn't use a blow torch and just tried to do the blowing with straws method. It didn't work for me, so I got more Envirotex=Lite and did it again using the blow torch. It turned out much better.
The counter-top is holding up very well. It self heals when something heavy or sharp gets on it. If you need to repair it, just get more Envirotex and reapply.
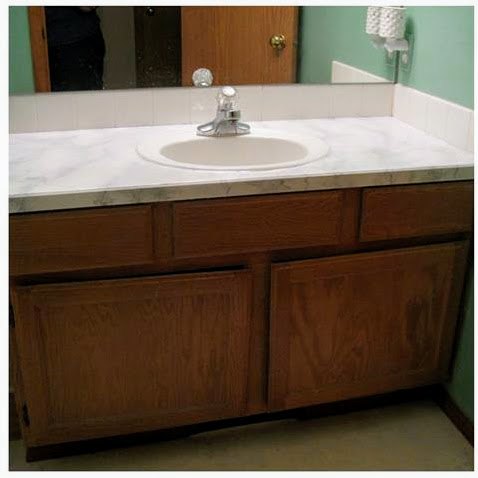
Step 4. Apply Caulk
Apply and let dry. I waited several days before I used the sink so it could it could all dry and cure.
Comments
Join the conversation
2 of 13 comments
-
We painted our ugly kitchen counters; unfortunately, although they looked fabulous in the beginning, the paint chipped and so it is not a viable permanent solution. We ended up doing porcelain tile over the mess. It now looks great.
-
I wonder if you used an epoxy as a sealer?
I think if I had painted my kitchen countertops I would be a little nervous about how long they would last or how to use them. Fortunately with the process I used you can always repaint a spot and re-apply the epoxy.


Frequently asked questions
Have a question about this project?
Would you be able to do a video for this project? Im a visiual person? I would to do this my bathroom. Nice job bt y the way. Thanks for sharing.
What kind of paint did u use?? I want to redo the bathroom & kitchen counters in our rv. Great job!!
That's a small counter.
Why not just by a new countertop for about $10. more ?
It comes in many different "stone" looks .