


DIY Dry Erase Paint Chip Calendar

by
A.V. Perkins
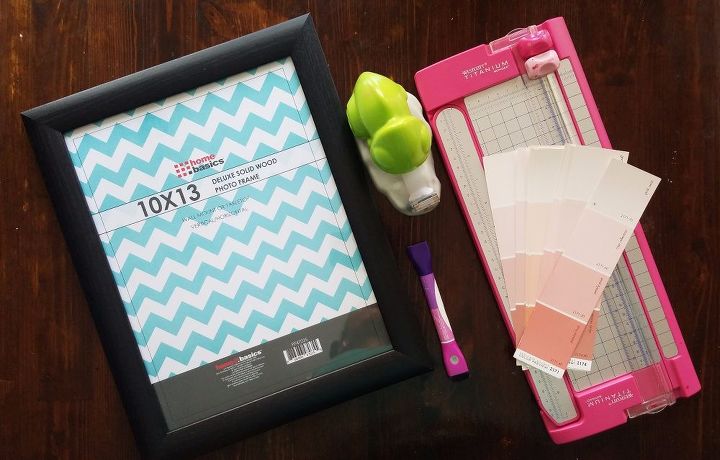
6 Materials
$10
1 Hour
Easy
Deadlines can feel overwhelming so keep track of your hectic schedule with some color! This reusable dry-erase calendar that’s made out of paint chips.
Paint chip crafts are my favorite because it is so inexpensive.
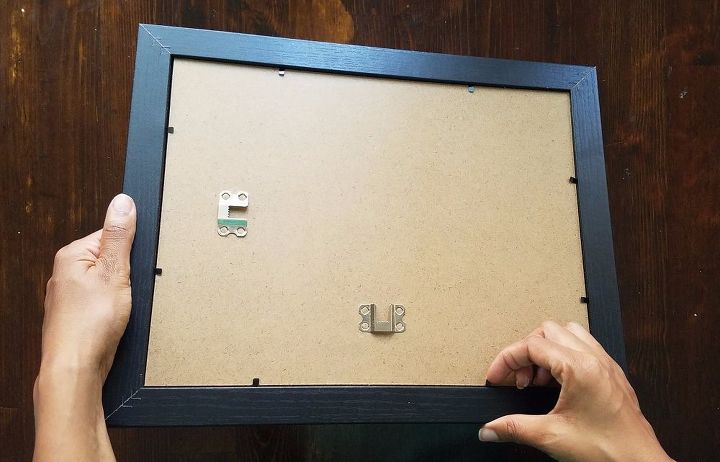
Open the frame and take out the paper (picture) inside. The blank side would make the perfect background for your calendar.

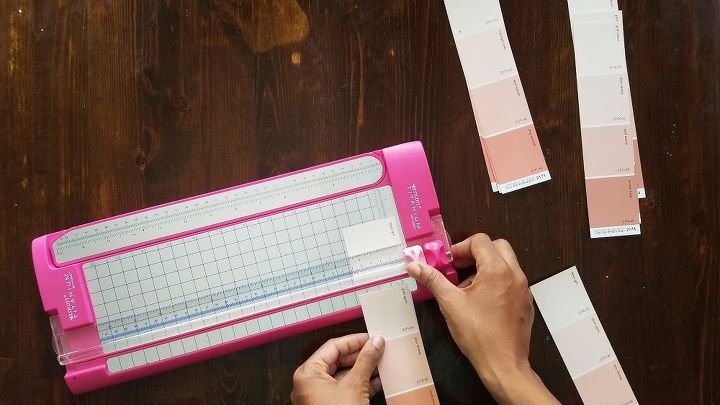
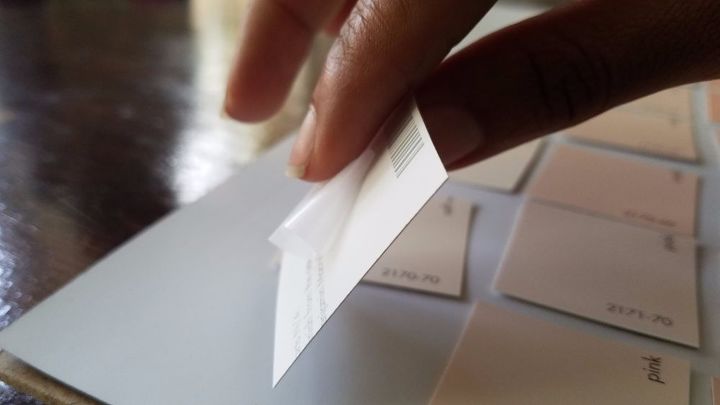
Next, measure a piece of paint chip and cut it into a square.
Continue cutting until you have 35 paint chip squares.
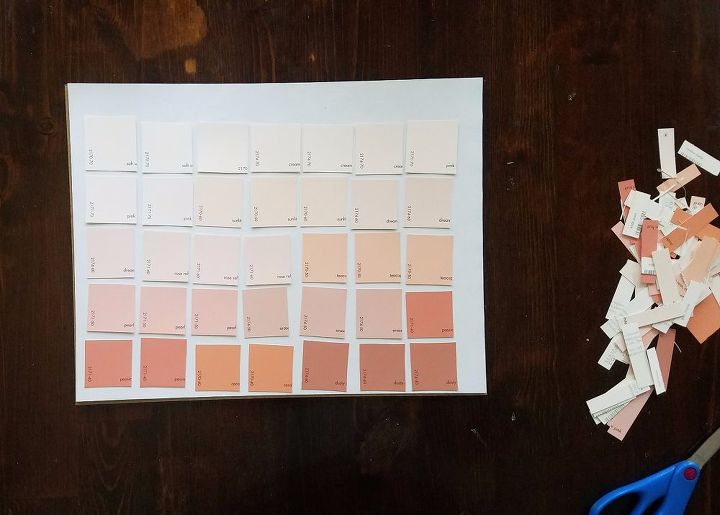
Lay out and affix the paint swatches to the board. Arrange them by placing 5 paint chip squares for each day. Also cut scraps into rectangles to label the days of the week at the top of your calendar. Secure them on your background paper with scotch tape.
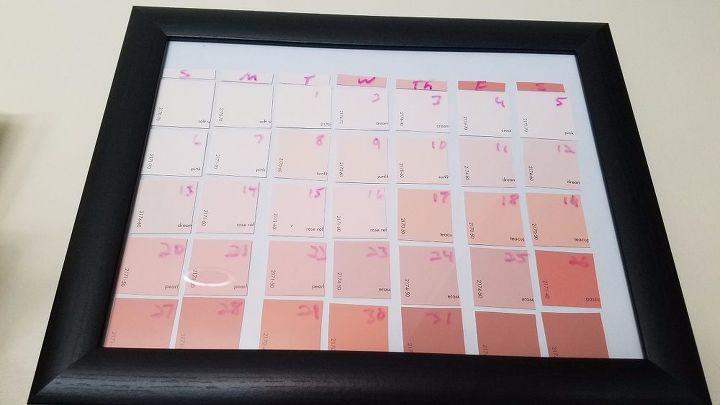
Use your dry erase marker to fill in the dates!
Want more details about this and other DIY projects? Check out my blog post!


Frequently asked questions
Have a question about this project?