


DIY Anthropologie Inspired Swirls Room Decoration

6 Materials
$10
2 Hours
Easy
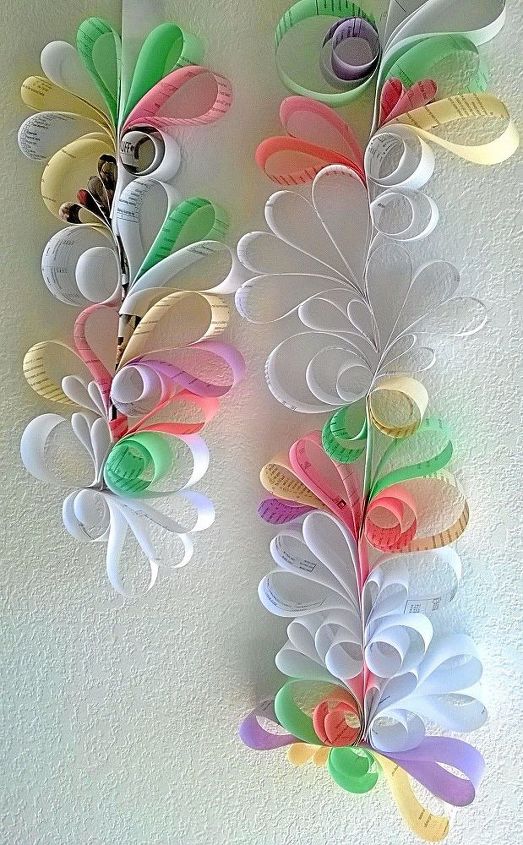
Most inexpensive wall decoration ever, made completely from paper and inspired by Anthropologie home decor! This DIY project is perfect for decorating baby nurseries, baby showers, birthday parties, and even makes one great backdrop for photographs at special events and occasions.
I've always wanted to have one of the walls in my room be an accent, an art expression. I love the idea of picture walls, but I'm not one to display too much of my personal life.
So, I went on Pinterest and just looked around for inspiration.
I knew I wanted to do something with materials I already had around my home. And as you may know by now, paper decor is by far my favorite!
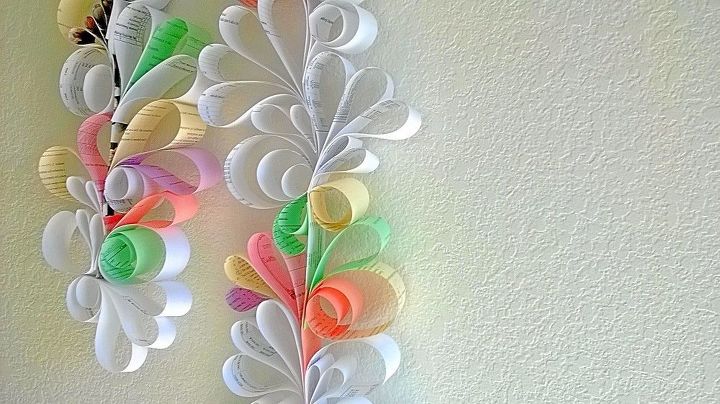
I found a picture of this gorgeous display of blue and white swirls from Anthropologie, and I knew that's what I wanted to try and recreate with paper. And funny enough, the day before I did a little bit of closet cleaning. I found lots of old tests and essay papers from high school, which I planned on recycling.
Why not use them as part of my new mission: turning my wall into an art display?
I pictured pendants of paper swirls running from ceiling to floor, bringing an intriguing romantic element to the energy of my room. And knowing that each pendant would have parts of my high school memories and achievements made the project that much more exciting and personal.
{
"id": "4192391",
"alt": "",
"title": "",
"video_link": "https://www.youtube.com/embed/gsZs6W975gI",
"youtube_video_id": "gsZs6W975gI"
}
{
"width": 634,
"height": 357,
"showRelated": true
}
WATCH THE VIDEO NOW! 
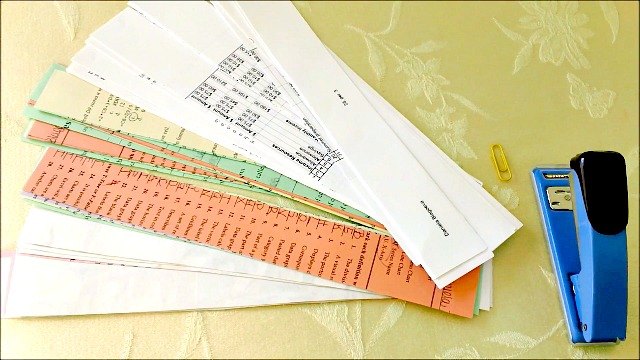
The first thing I did was cut my school papers into 1 inch wide strips, using my pencil and ruler to get equal width strips.
I think this project would work great with magazine pages, scrapbook paper, construction paper, and possibly newspaper, but I haven't tested out the newspaper - it could be just a little too thin. Maybe if you have old newspapers sitting around and decide to make this decoration, you could let me know in the comments if it worked out for you.
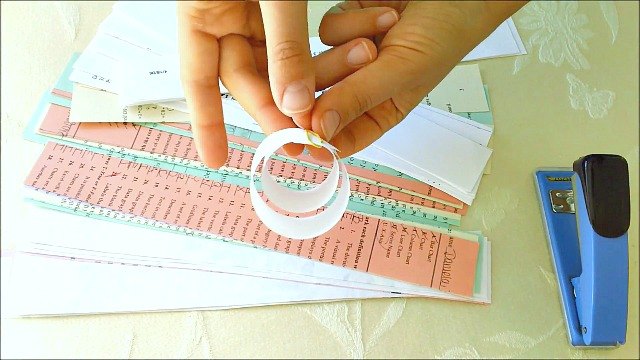
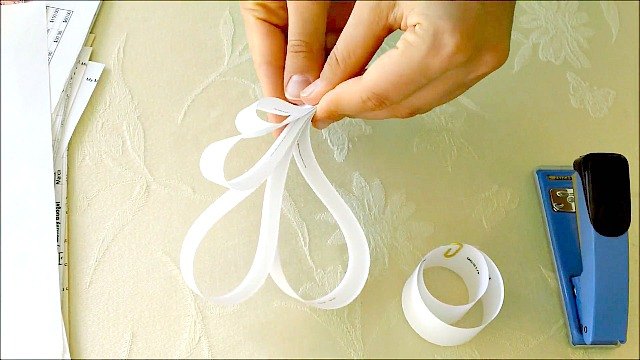
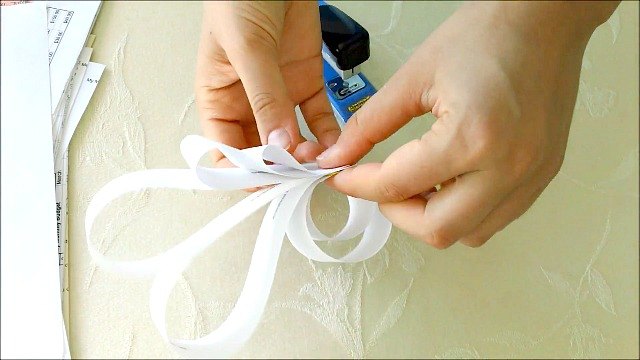
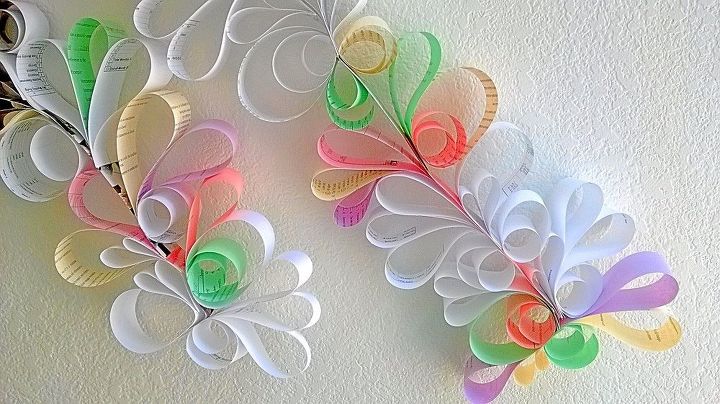
Then, the fun began! I took one paper strip and made a double loop, securing it with a paper clip. Setting it aside, I made a loop with my second strip, then something like a tear drop with my third strip. Then, I stapled them together, creating this pretty swirl art, which I attached, again, with the stapler, to the spine of the decoration - the spine is just a single paper strip at the center of the decoration.
Basically, all I did was play with paper, bending it in ways that looked beautiful to me.
This is one of these DIY projects that you have to see to understand. I can't really explain what I did in writing, so it's best that you watch the video - I promise, it's really simple and easy!
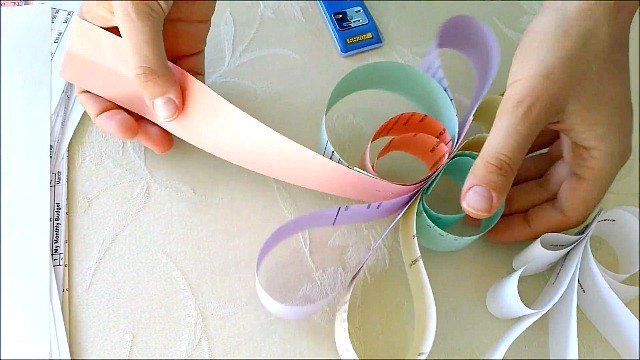
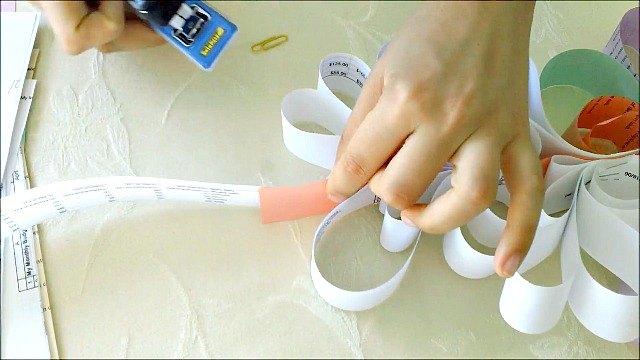
I continued making loops and swirls and attaching them to the spine.
To make the decoration longer - remember how I wanted it to hang from ceiling to floor - I kept attaching single strips of paper to the center spine as I ran out of space.
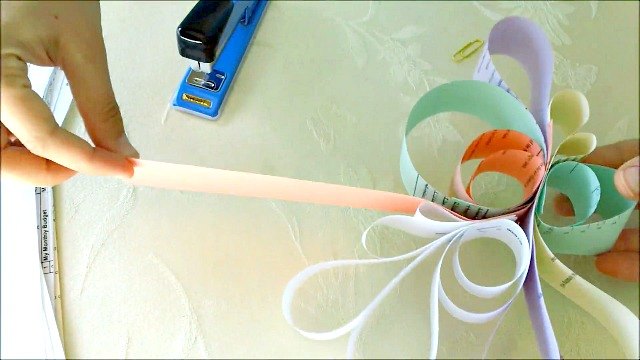
Once I reached my desired length, I moved on to my second swirl pendant.
I was really lucky to have so many essays and tests saved, because I had to make 8 pendants to cover a whole wall.
If you don't want to cover a whole wall, making a single pendant (a length that you prefer) or two pendants with different lengths, and hanging them somewhere you find perfect, would work amazingly as well. I would even try hanging these horizontally as opposed to vertically - that could create a different feel and look, which could be what you're looking for.
This project is really easy to customize for your taste.
You can use any type of paper you like, any colors, make the pendants as long or as short as you like, hang them vertically or horizontally, and you may even like to use spray paint for different coloring techniques and designs!
Really, the options are endless! I'm sure you'll be flooded with ideas once you start making these! 
Thank you for stopping by!
Please share with your friends and family, and as always, these projects are so much more fun when you get your family and friends involved!
So, create, laugh, and make memories together! 
Comments
Join the conversation
2 of 43 comments
-
I love this project. I think I'm going to make them into banners for my daughter's baby shower. It's going to be a boy so I'll do shades of blue and also some white. Thanks for the inspiration.❤️
-
Aw, so wonderful! You are very welcome!!!


Frequently asked questions
Have a question about this project?
Absolutely lovely decorations. Could you possibly turn these into mobiles? They are very eye catching. NICE JOB.
In the video it says to use one and a half inch wide strips. In the instructions is says one inch. Did you use both for different ones?