


DIY Stenciled & Styled Vintage Tulip Crate
3 Materials
$40
1 Hour
Easy
With Fall a month away, I, have started to create and style pieces at home.
I had this buffalo check stencil from Funky Junk Old Sign Stencils and I knew that I wanted to use it in my fall and winter decor.
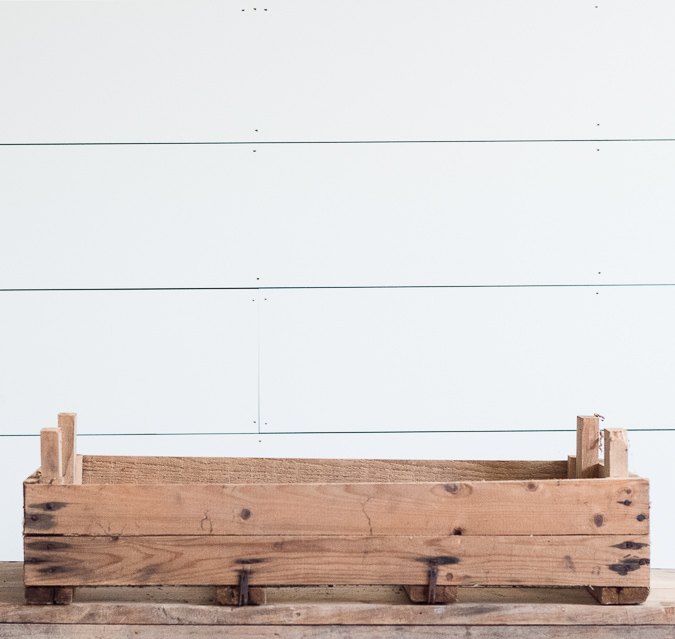
I started out with this vintage tulip crate.
A great blank canvas for a stencil.
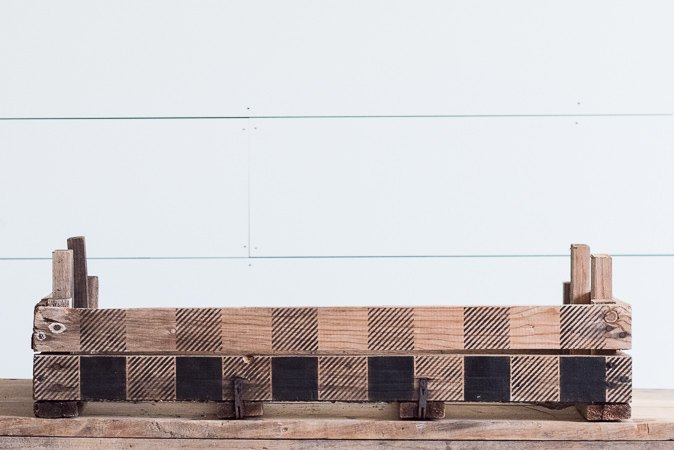
As soon as I added the stencil the crate came alive.
Stenciling is simple...if you keep your brush really, really dry!
I can't stress that enough...that is all you really need to do and have patience.
With a vintage piece, I like the stencil to look darker and lighter in areas to give an appearance of time-worn without sanding.
So I don't worry if some areas are not the same as others...if you want your piece to look perfect add a second coat.
Due to the metal on the front, I, also never taped the stencil in place.
I just held it down as I moved along.
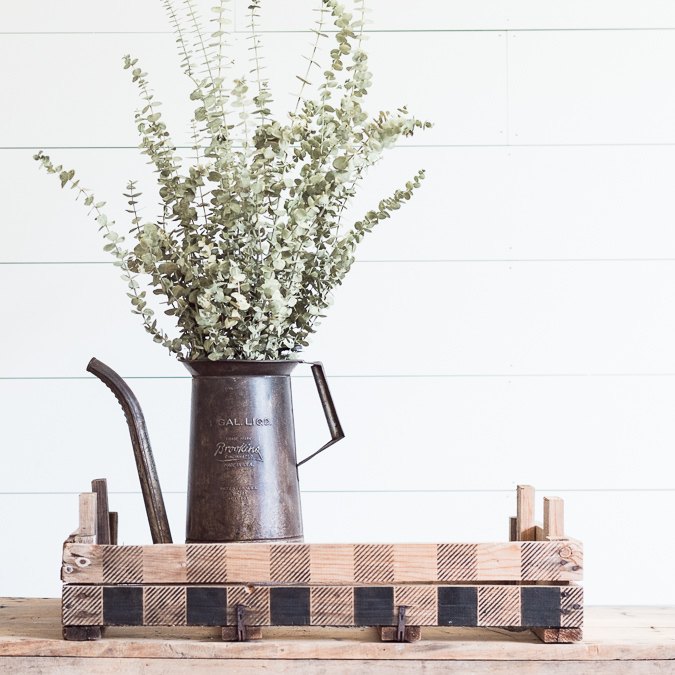
Then I started to style it for a simple fall centerpiece.
Some things I pull from my own collection like this oil jug from Cincinnati.
You can see how easy it is to change a once boring old crate into something with some life and feeling.
The voile adds texture and the soft muted color reminds me of Fall.
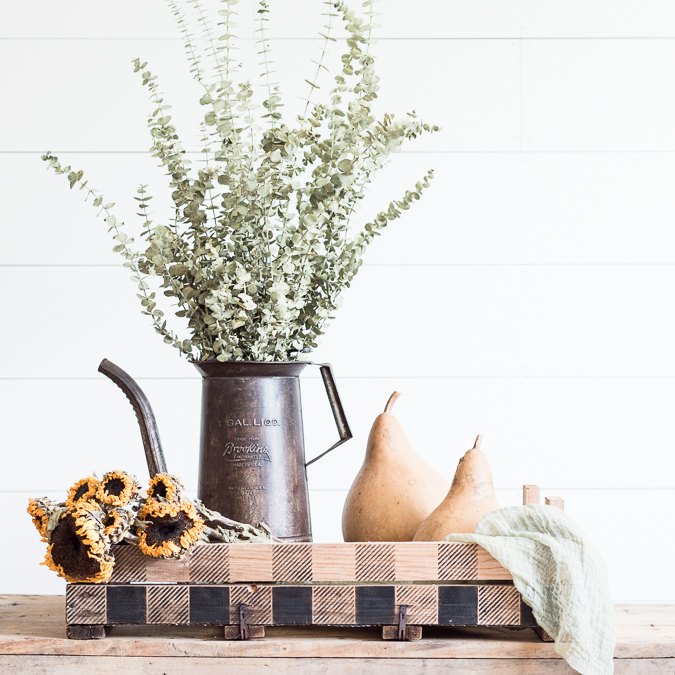
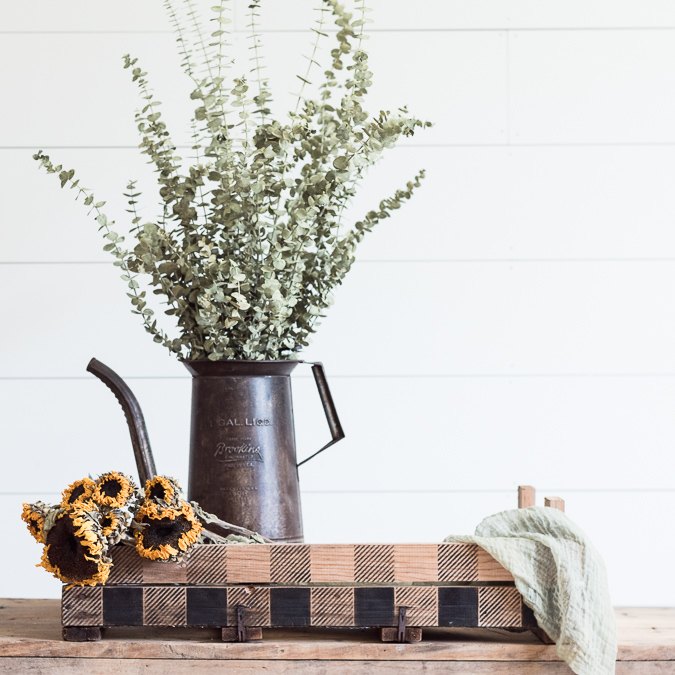
I pulled from my stash of gourds I had nestled away to complete the look.
I hope this inspires you to look around your home for something to brighten up.
It does not take much to put together a simple fall centerpiece for your dining table or kitchen island.

Want more details about this and other DIY projects? Check out my blog post!


Frequently asked questions
Have a question about this project?