


Why We Used Vinyl Peel-and-Stick Tiles in Our Powder Room and Hall
$50
1 Day
Medium
It was only a few years ago that we replaced the entire first floor of our townhouse with laminate flooring. I loved it, especially after because it replaced FIVE different flooring materials within 600 square feet! But we had a little accident last year. Our air conditioner leaked. Who knows how long it had been leaking when we first realized that the beautiful laminate flooring was warping in the hall. And, of course, that flooring had been discontinued. Bikeman searched for enough replacement boards to cover our hall but was never successful. So instead, we replaced it with peel and stick tile in the small hall and tiny downstairs guest bathroom.
Sign up for our DIY Home email list and have all our projects sent directly to your inbox.
Here’s where our problem got a little tricky. Because the laminate ran through the entire first floor the boards didn’t all end in the same place at the en of the hall. So somehow we needed to cut them.
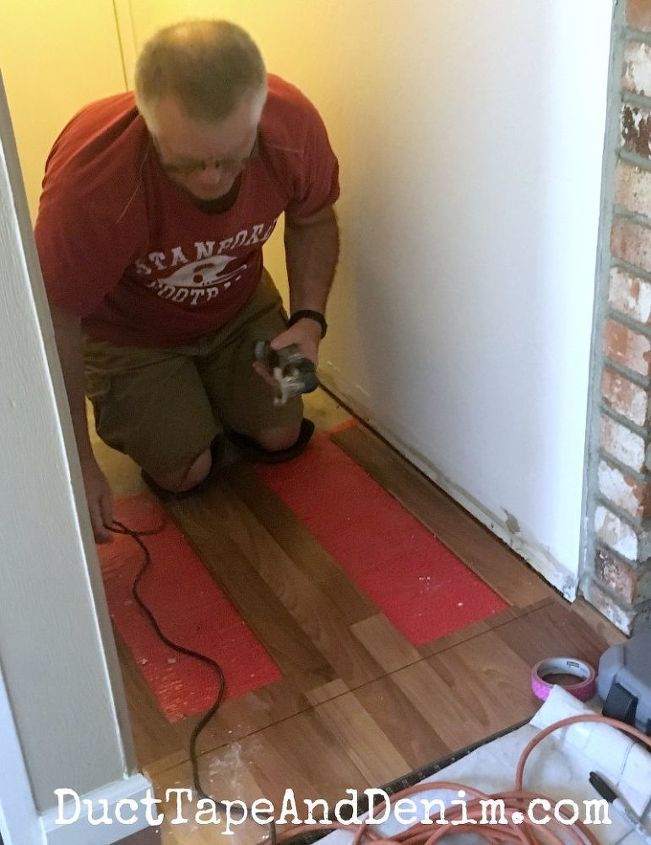
A friend of ours (with much more experience flipping houses than us) came to our rescue with this tool. A Dremel Multi-Max with a little more power then my cordless Dremel.
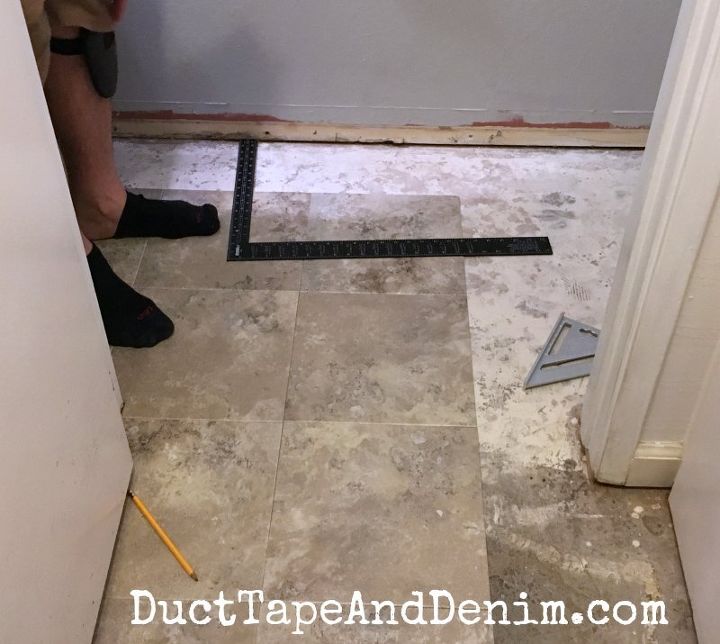
As with many of our other bathroom projects, the most work is in the prep. The floor has to be super clean before sticking down the tiles.
Bikeman used these tools and a carpet knife to cut the tiles. It was pretty easy. He said it was even easier than the vinyl plank flooring that he put in upstairs. And that said, “Easiest Flooring Ever” on the box!
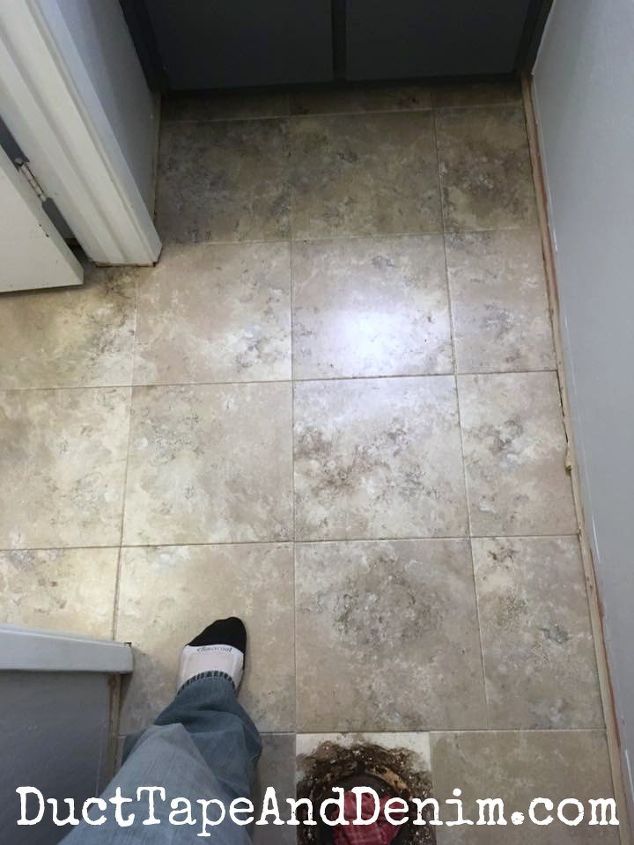
Here’s the finished floor. We didn’t have a roller so I got to be the roller and walked around on all the tiles as he was laying them in.
Check out the full blog post below for supplies and sources.
Thanks for reading!

Want more details about this and other DIY projects? Check out my blog post!
Comments
Join the conversation
3 comments
-
Ah yes, life happens! You did a great save though, I like it. Perfect solution for the blips in life we all have and you didn't need to use any duct tape this time! 😆
-
Great job!
Did you apply additional adhesive to your tiles or flooring?
If not, have you had any issues with the flooring coming loose?


Frequently asked questions
Have a question about this project?