


Print World Map on Wooden Board With Stains
by
Raghav Ojha
10 Materials
$200
4 Days
Medium
Ever wanted to draw or transfer a world map onto a wooden surface. Fortunately, there is an easy way of doing this task without breaking the bank. All you need is gather some household products along with high quality paint brush, wood stain and follow below mentioned steps.
Step 1: Gather Supplies at One Place
First and foremost, locate a well ventilated area to work in. Next, gather all the supplies that you will need to complete the job at the selected place. Following is a list of all the things you will require for making DIY wooden Map Art.
· Piece of Any Soft Smooth Wood.
· Sand Paper
· Drop Cloth
· Lint-Free Cloth or Clean Soft Cloth
· World Map Outline
· Pencil
· Carbon paper
· Eraser
· Rubbing alcohol (optional)
· Wood conditioner
· One step stain and polyurethane.
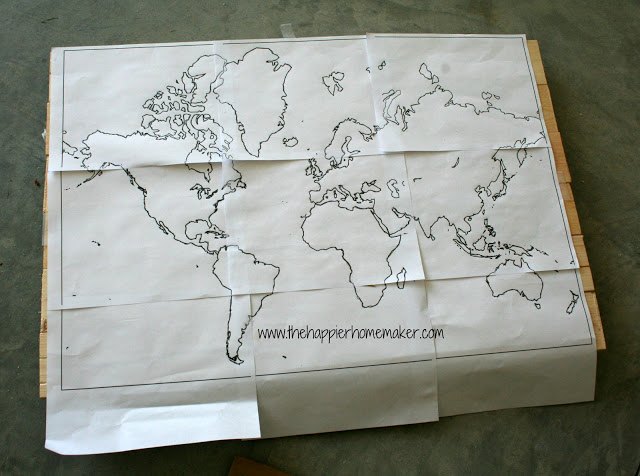
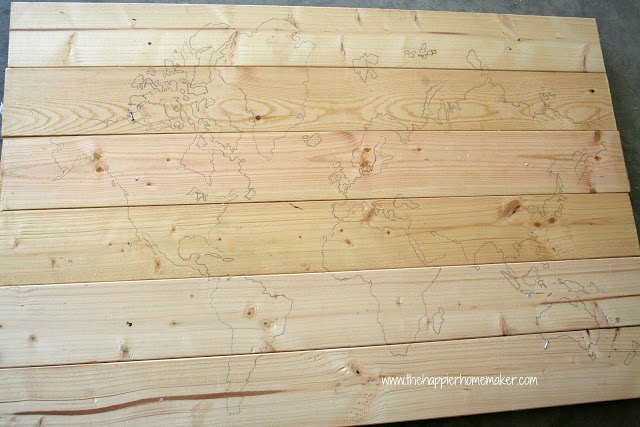
Step 2: Trace Map Template on the Wood
Lay your map template on the top your piece of soft wood. Tape it carefully to the wood. Now, start the painstaking process of tracing the map onto the wood. You can use carbon paper between the map template and wood to do this task easily. Make sure not to press your hand and any other things on the carbon paper as it may smudge a lot. Repeat this process until the entire map is trace onto the soft wood. And do not worry about the trace lines, they will be covered by the stain you will use later.
Step 3: Apply Wood Conditioner
Once you’re happy with traced map line, apply wood conditioner onto the wood. What wood conditioner does is even out the absorption of stain in wood. Do not avoid this step – Your stain will bleed in case you avoid conditioning your wood. Read the instruction carefully mentioned on the cane before applying it onto the wood. For the best result, use Varathane oil based premium wood conditioner. Next, let the wood dry thoroughly.
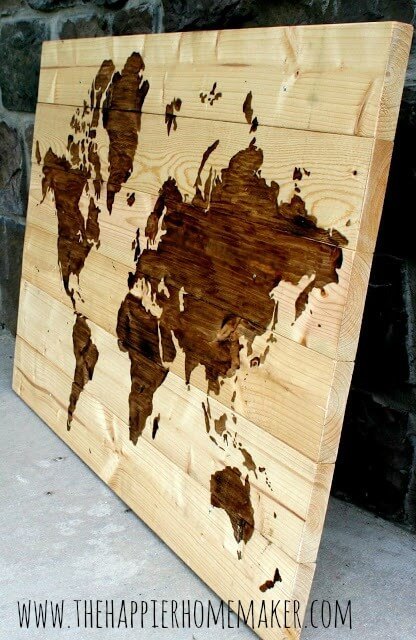
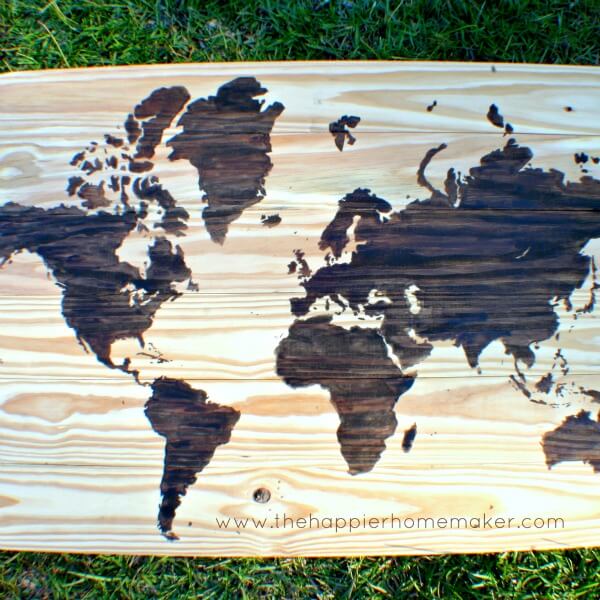
Step 4: Apply Wood Stain
After the conditioner is dry completely, you can apply stain onto the wood. Well, Varathane wood stain will be the best for staining your wood. Having quality of both stain and polyurethane in one, it allows you to add stain and protection to the wooden surface in one step. Also, use a small high quality paintbrush to paint the map design onto the wood as well as a very fine paint brush to outline sections at a time. Afterwards, fill in with a wider brush. After applying, let the wood dry thoroughly. Finally, enjoy your DIY Wooden World Map Art!!
Comments
Join the conversation
2 comments
-
Thanks for sharing this! I've always wanted to make one of these!
-
My granddaughter loves maps!!! Her bedroom has maps everywhere. She’s 19😂😂😂may have to do one for Christmas.


Frequently asked questions
Have a question about this project?