


Scarecrow Wreath

8 Materials
$8
1 Hour
Easy
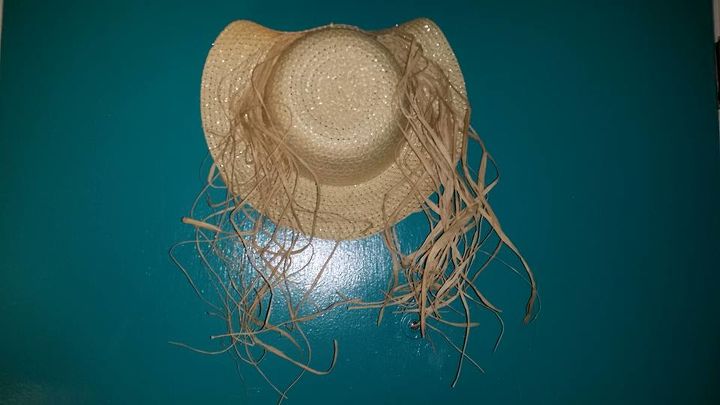
My hunny sent me a Pin, it was a cute wreath made from a straw hat. I couldn't find a detailed how to, just a picture, so... I headed to my local Dollar Tree to see what I could find. SCORE!!! I found everything I needed there.
You can also buy all the materials for this project on Amazon:
- Straw hat (Amazon)
- Raffia (Amazon)
- Ribbon (Amazon)
- Googlie eyes (Amazon)
- Leaf clusters (Amazon)
- Plastic plant drip trays (6 pack) (Amazon)
- Stuffed owl (Amazon)
- Hot glue (Amazon)
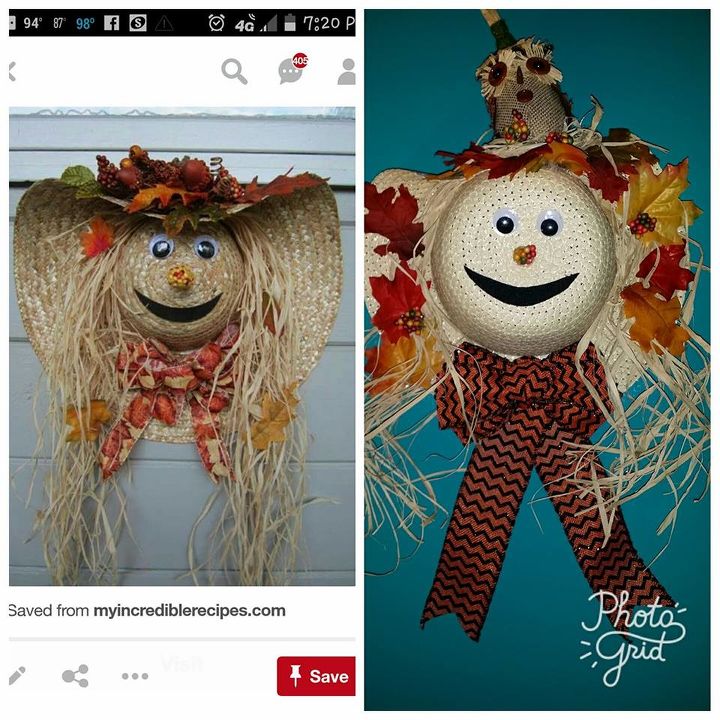
The inspiration on the left mine on the right. There are a few different ones on Pinterest but this was the one I saw first .
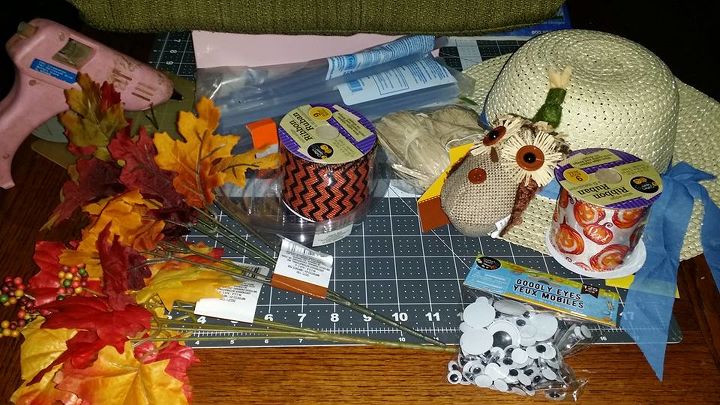
Pop into your local Dollar Tree and see what is available. If you are close to more than one maybe check those out too. I hear they carry different stuff in different stores and some stores are bigger than others so they may have more variety. But, here is what I found at mine. A straw hat, a cute stuffed owl,some ribbon. There are 2 in the picture, I wasn't sure if I would use both. I didn't so I may make another or use it for something else. Googlie eyes, there are a ton in the pack I only needed two. Raffia, depending on how much you use you could make two to four of these. There were two bundles in my pack I used one. Some silk leaves. I bought 2 one looks like oak leaves the other are maple. I also got some plant drip catching trays. I noticed the hat was a bit flimsy, I wandered the store looking for something to insert on the inside to give it some substance. Things I had on hand, a glue gun with glue sticks, black felt and a hair dryer. you don't need a hair dryer but I used one for clean up.
The first thing I did was remove the ribbon from the hat. I put it in my stash for some possible future use. Can we say hoarder. 
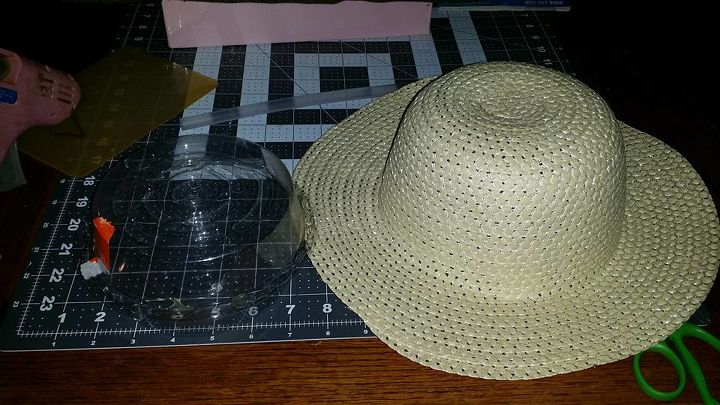
 I also took my 6 pack of plant drip catching trays and removed two. I can make two more hats with the rest or save them for something else. I put a bead of hot glue around the inside lip of one tray and glued it to the inside lip of the other tray. I now have a hollow sort of round shape to insert in the hat for some stiffness. I'm sorry it's hard to see in the picture. It is hard to photograph clear things. It didn't seem to matter if I used the flash or not, it was determined to be nearly invisible. The best I can describe it is like matching up two clam shells or maybe parenthesis ( ).
I also took my 6 pack of plant drip catching trays and removed two. I can make two more hats with the rest or save them for something else. I put a bead of hot glue around the inside lip of one tray and glued it to the inside lip of the other tray. I now have a hollow sort of round shape to insert in the hat for some stiffness. I'm sorry it's hard to see in the picture. It is hard to photograph clear things. It didn't seem to matter if I used the flash or not, it was determined to be nearly invisible. The best I can describe it is like matching up two clam shells or maybe parenthesis ( ).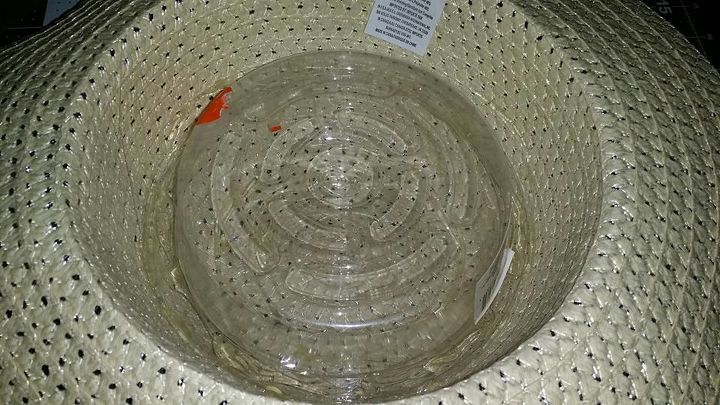
I placed the glued plant drip trays in the hat. They fit with a little wiggle room. The dome of these hats are pretty flat. So I put some hot glue on the flat part of the plant drip trays and glued it to the inside. I then ran a bead of glue along the edge of the tray to adhere it to the hat there too.
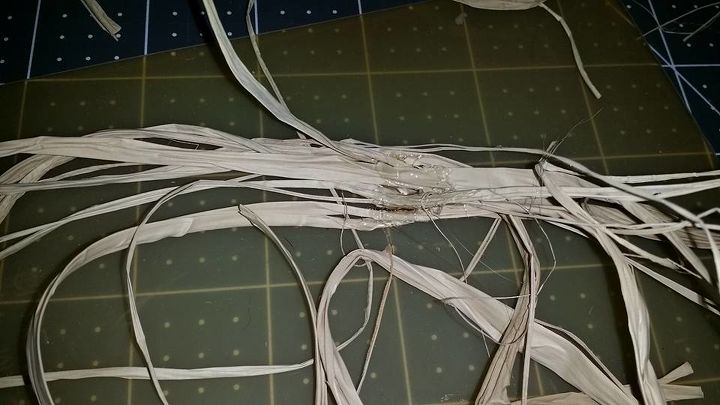
Open the raffia and straighten it out. Find the center of the raffia and lay it on the hat like in the photo. Glue it in place and then fold down the brim of the hat and glue that in place. Make sure you fold down the center of the brim to match the center of the raffia. I didn't check this and mine was crooked. So I trimmed a little of the now lopsided raffia and decided to make a nest with it.
I divided the raffia scraps into three piles and glued the center of each pile. I was hoping to make it easier to work with and to stop it from blowing off the table from the fan. I had to rescue a few pieces when the cat took off with some.
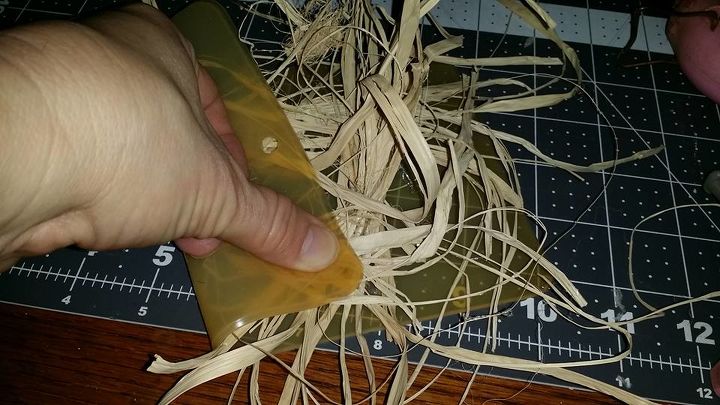
Here I am gluing the 3 chunks together. I folded over my silicone mat so I didn't burn my fingers even on low the glue gun gets pretty hot. I just kept gluing and turning until I had what resembled a nest.
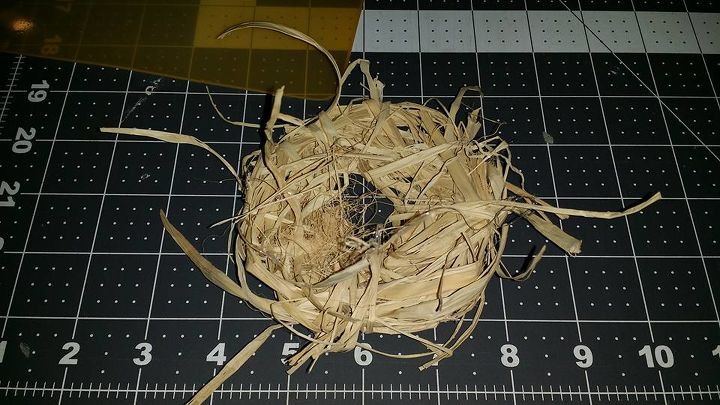
And here is my nest. Since it is being glued to the hat with a bird in it, I decided it didn't need a bottom.
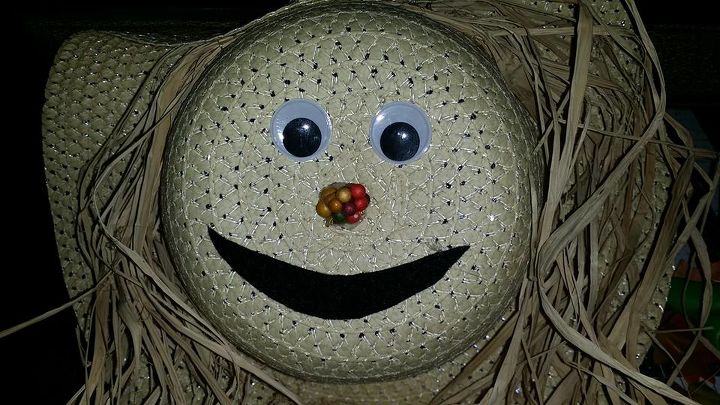
Once the nest was done I figured it was time for a face. I freehand cut the black felt for the mouth. I glued on the eyes. The nose was from the cluster of maple leaves. I just snipped off the pod looking thing from it's plastic branch and glued it in place.
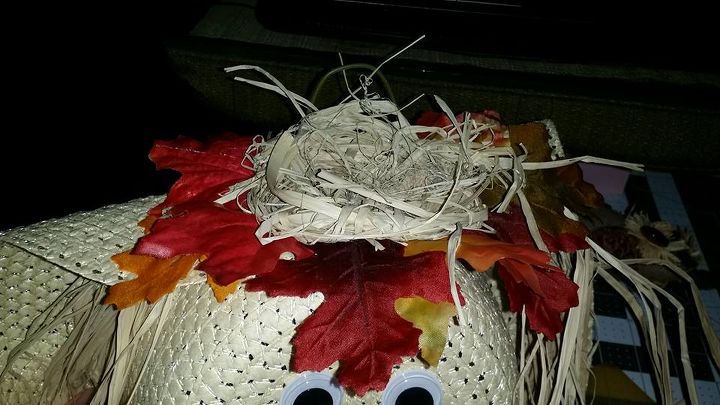
I glued some of the maple and oak leaves to the bottom of the nest and glued the nest to the brim of the hat. I then glued a stuffed owl into the nest.
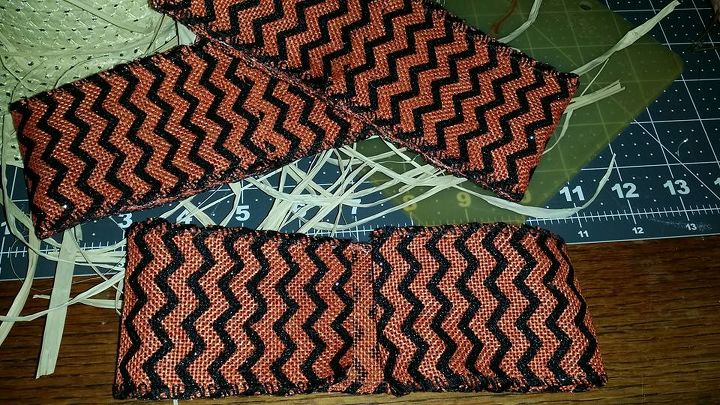
Time to make the bow. I cut three 15" strips. I folded them to meet in the back and overlapped about a quarter inch and glued that down. I then made an X shape with two of them and laid the third straight across. I forgot to take a picture sorry. I then bunched that up and made a loop with a four inch piece and glued that to the center.
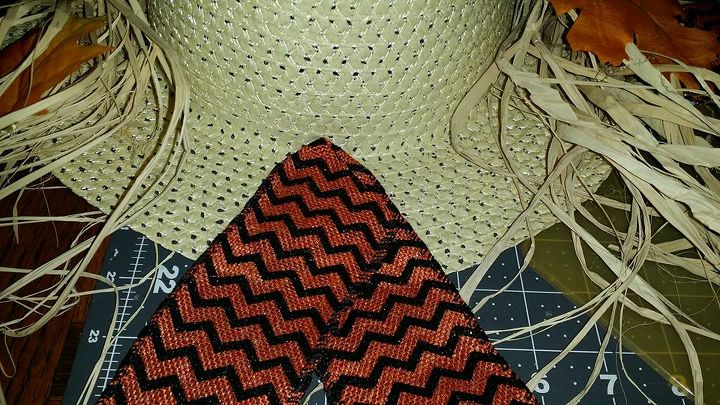
I cut a 24" piece and folded it to a point and glued that in place. And I trimmed the ends. Then glued the bow on top of the point

The finished bow. See that little clump of rough looking white glue there. My finger got stuck while I was holding it in place. See the next picture for the before and after fix.

The top photo shows the rough white bit after I pulled my finger off. I took my hairdryer and melted it into the ribbon. I think it looks a lot better after heating it. I also heated the hat all over to shrivel up and melt any glue strings that were hanging on.
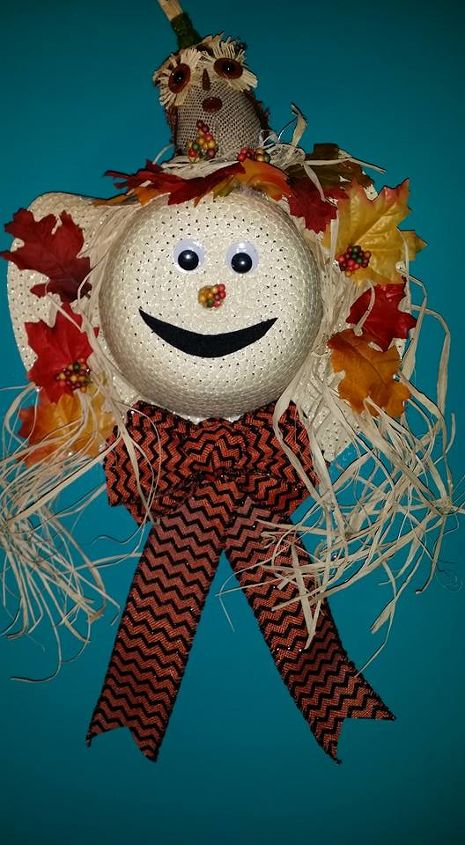
And here is the finished hat hanging on my door. There is enough room at the back to just hang it on a nail or you can snip off some of the wire from one of the leaf bundles and bend and glue it to the back if you prefer to have a hanger
Comments
Join the conversation
3 of 44 comments
-
This is just to cute? I'm definately going to make one if not this year then next year for sure to give me time to gather all the supplies I need to make it thanks for sharing this wonderful, creative and oh so cute idea!
-
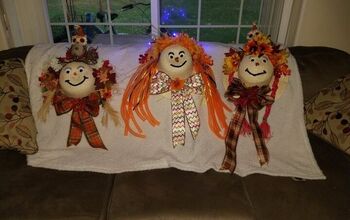
These are the three I made earlier this month. I absolutely loved playing around with different ideas. Next project is going to be Santa and Elves.... every one I know wants these


Frequently asked questions
Have a question about this project?
How big did the finished project measure & how big around was your hat???