


Vintage Trunk Turned Treasure

by
Marcy
6 Materials
$60
3 Days
Easy
You don’t have to let a tight budget compromise your sense of style, and this Vintage Trunk turned Treasure is living proof. I was in desperate need of a coffee table, when I just happened to find this old trunk at my local thrift store for under 20 bucks. It was more than a little beat up, but I fell in love with its charm. I knew with a little ingenuity, it could become a one-of-a-kind piece of furniture that would compliment my living room perfectly.
We want to help you DIY, so some of the materials in this post are linked to sellers. Just so you know, Hometalk may collect a small share of sales from the links on this page.

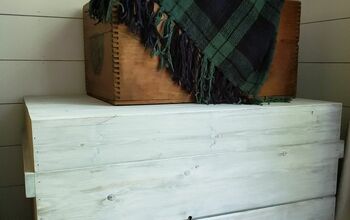
Vintage trunk BEFORE
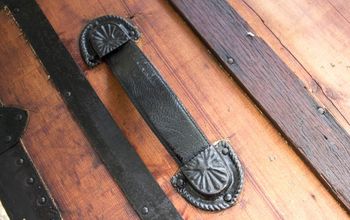
To make this old trunk work as a coffee table, there were a couple of things I needed right off the bat. First, I wanted legs to lift the table off the ground. Second, I needed to repair the leather side handles that had clearly disintegrated over time. Just check out the next photo!
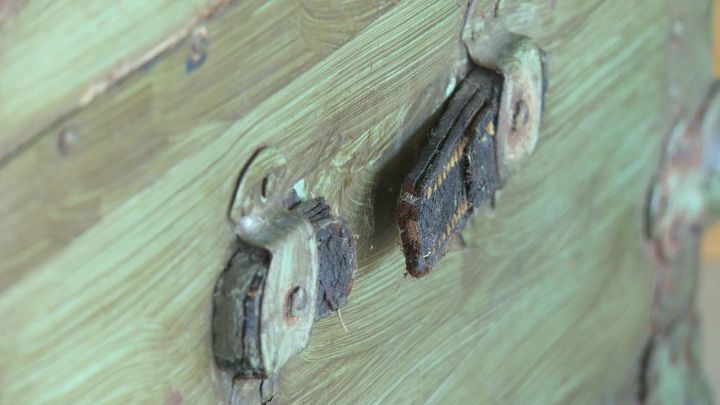
The handles needed help
I didn’t want to spend too much on this project, so while still at the thrift store, I found a solution. I simply walked over to the men's clothing area and there was the answer hanging right in front of me: A leather belt! There were actually so many to choose from, I was able to get the exact color I wanted, and in the width I needed. For just $1.99, the leather belt would be more than long enough for both handles.
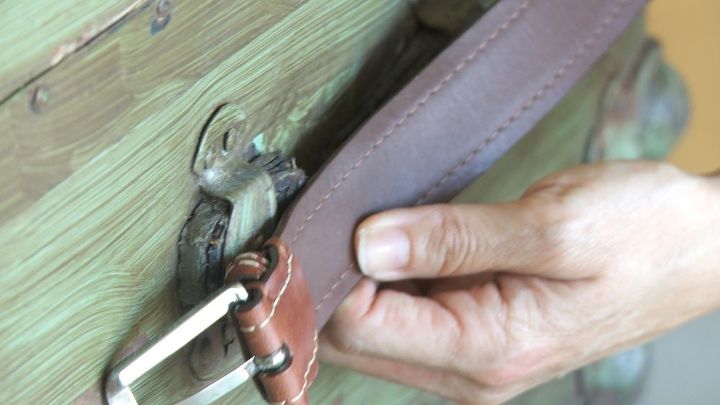
A leather belt to the rescue
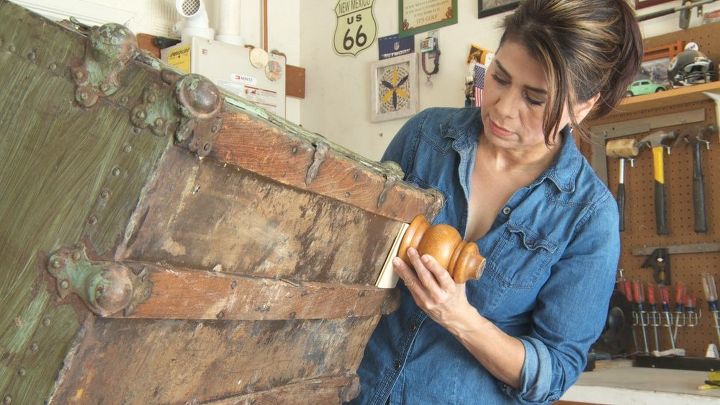
Since I had such great luck finding my new handles, I decided I'd continue searching the thrift store for the perfect coffee table legs. And, sure enough, I found them. They just happened to belong to an ugly old nightstand. For $12, I bought the nightstand, unscrewed the four wooden legs from the bottom, then donated the nightstand right back to the store. (Trust me, I didn’t want to put that thing in my car, let alone my house!)
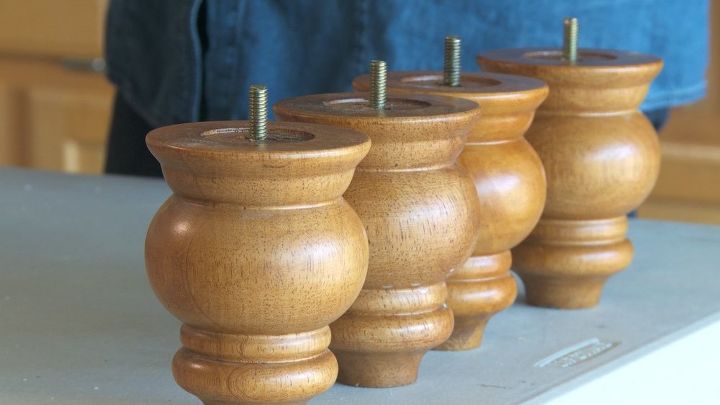
Wooden legs taken from an old nightstand
Once I had the basic things I needed from the thrift store, I couldn’t wait to get home and get to work. I just had to figure out how I was going to attach the legs. When I flipped the trunk over, there were some wooden slats that made the bottom surface uneven. Fortunately, I found some scrap wood in the shop to fix the problem. I cut them to size, drilled a hole through the bottom of the trunk, attached the new legs in place, and tightened them with a nut.
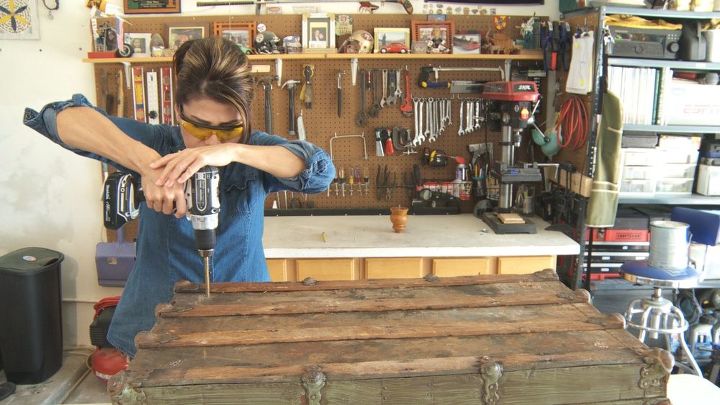
drilling a hole on all four bottom corners
attaching the legs
Next, I tackled the color. The trunk had been painted before, and while the army green color was nice, it wasn’t going to work in my living room. So, I painted the whole thing with some turquoise paint I had leftover from another project. Then I distressed it with a secondary color. Using a damp sponge (just dipped in water and wrung out), I added a couple of drops of black paint on it, and quickly rubbed it over the surface of the entire trunk. This is a really easy distressing technique I use quite a bit. You just want to make sure to apply it especially around the edges, where the effects of wear and tear would be most evident.
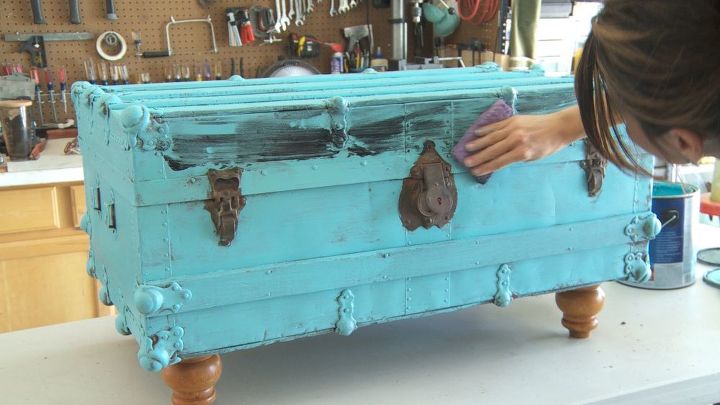
A damp sponge and a little paint to distress
Once I was happy with the paint job, I decided I wanted to stain the wooden legs a darker color. So, I took them off, sanded them lightly, and applied two layers of dark espresso stain. I later added a polyurethane clear coat finish, let them dry overnight, and then screwed the legs back into place.
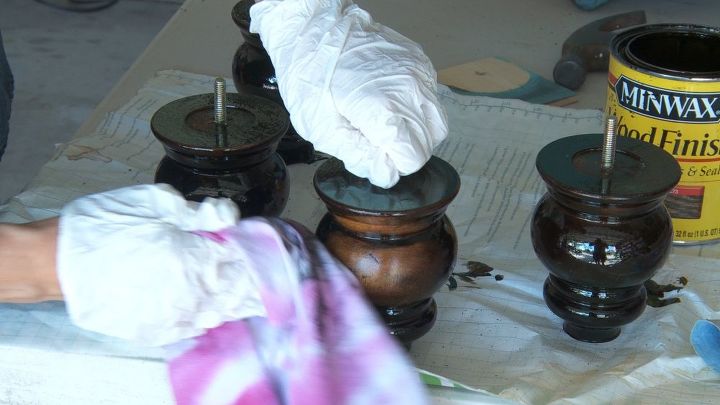
Applying a dark espresso stain
Then it was time to fix the handles. I removed the old remnants, measured and cut the leather belt to size, and was able to replace the tattered leather handles with new, sturdy ones.
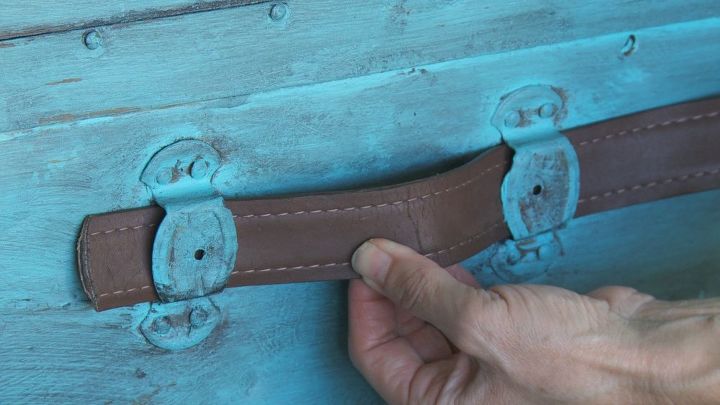
I measured before cutting two pieces
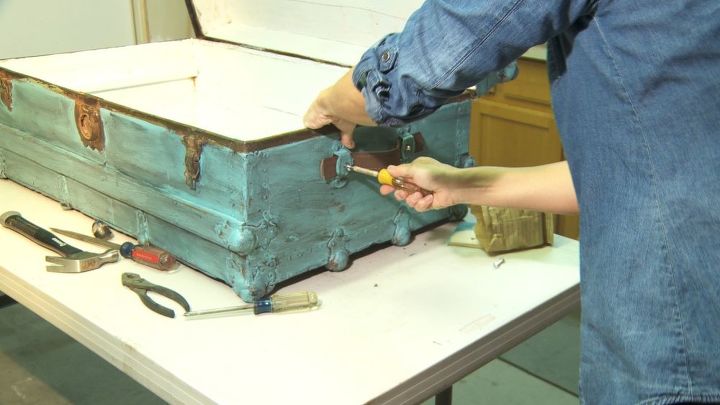
small bolts keep the handles in place
Finally, it was time to top off this project with a piece of glass. If you’ve ever bought a custom piece of glass, you know it can be quite expensive. So, I decided to check Craigslist for a used one. I ended up buying an outdated brass coffee table for $20, just so that I could use the glass top. In the end, I was thrilled with my new coffee table. When visitors come to my house, it’s the first thing they comment on. And I love nothing more than sharing my story of how nearly everything was repurposed, turning an old vintage trunk into my little treasure.
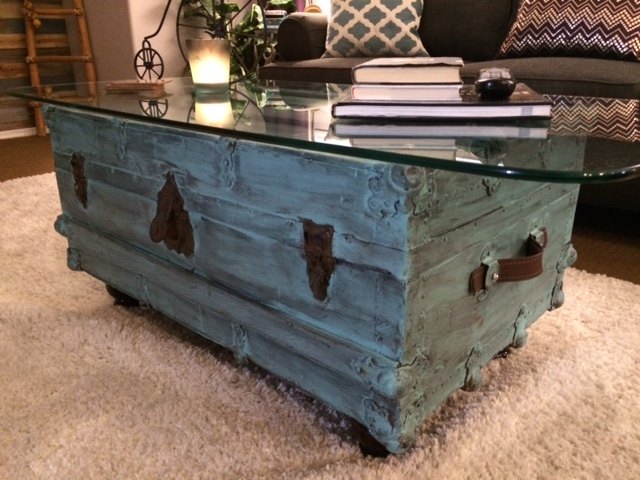
The end result
{
"id": "4219817",
"alt": "",
"title": "",
"video_link": "https://www.youtube.com/embed/cBxRUfsWFaY",
"youtube_video_id": "cBxRUfsWFaY"
}
{
"width": 634,
"height": 357,
"showRelated": true
}
Comments
Join the conversation
3 of 50 comments
-
Absolutely beautiful and inspiring! Good work and thanks for sharing.
-
Great job! Now I know what to do with my broken leather handles on my old trunks.


Frequently asked questions
Have a question about this project?
Looks awesome! I've started refinishing my old trunk and thought about replacing handles with leather belt pieces as well. Did you finish the ends - sew, glue or anything else so they don't unrave? I'm wondering if the belt stitching will pull apart with use. Thanks
What did you do to the inside of trunk? We just refinished one and don't know what to use to line inside.
Question for you...it looks like you polished - or at the least - cleaned up the 'hardware' on the trunk. What did you do to clean them up and any tips in avoiding getting paint on them? Thanks.