


How to Make a Large Pallet Sign
5 Materials
3 Hours
Easy
Welcome Pallet Lovers!
Do you love pallets and the infinite amazing transformations they can be made into? I love pallets not only because they are FREE, but I also love the rustic look and I can feel good that I am reusing something that may have ended up in a landfill.
I started out by disassembling my pallet using a reciprocating saw. I have tried using a crowbar in the past and I found the reciprocating saw to be the best method.

Then I gathered the pallet pieces, cut them with a saw (if needed) and configured the best arrangement for the pieces that would fit my space.
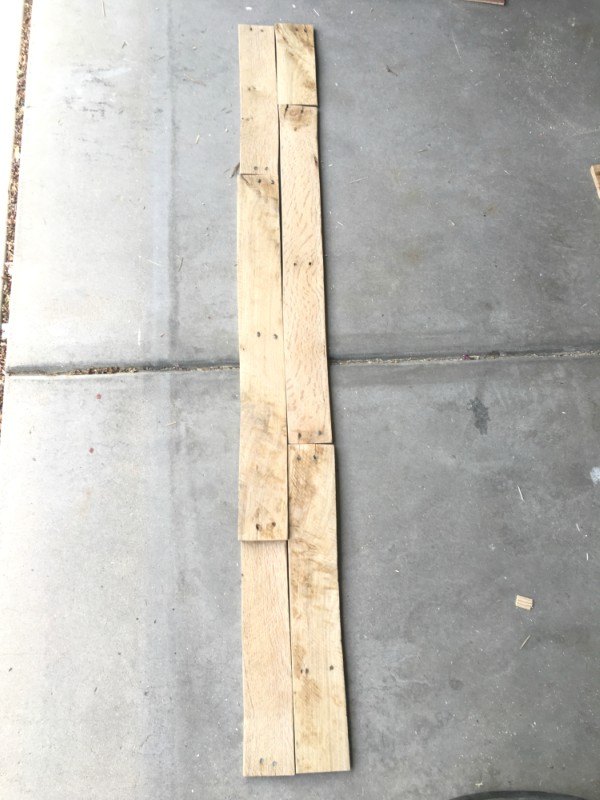
When I cut the pieces I left a few small pieces that were larger than half the width of my completed pallet. These small pieces are the support to hold the sign together from the back.
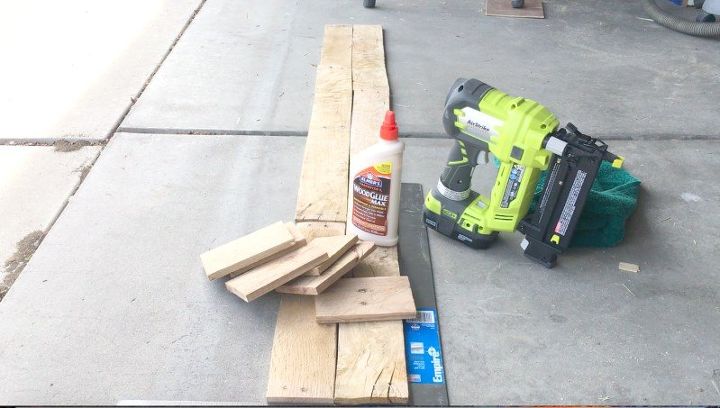
I arranged the pieces using a square and this time I applied wood glue and nailed the support pieces to the back of the sign.
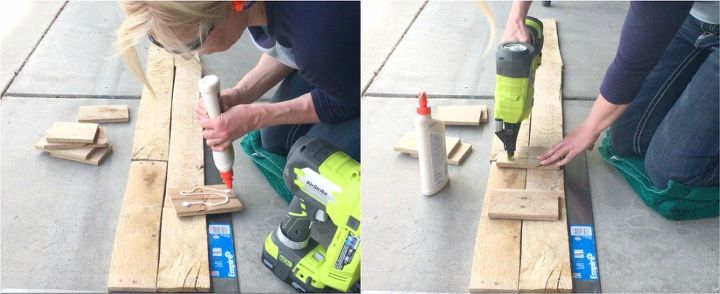
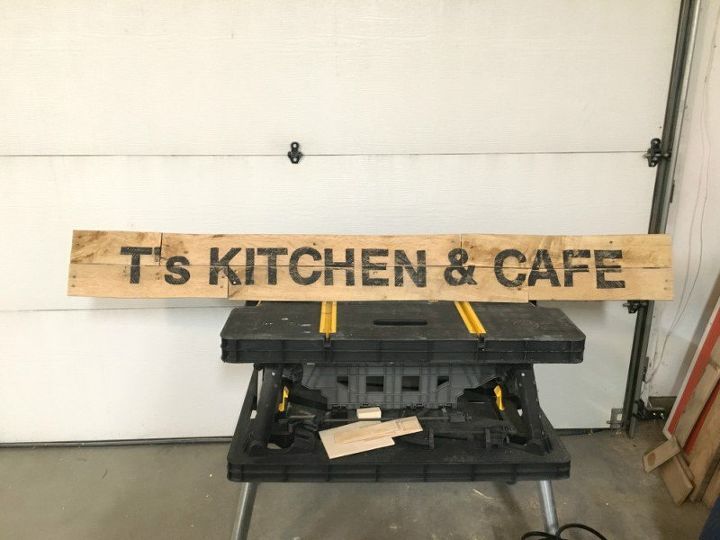
I sanded it and the sign is now ready for an image.
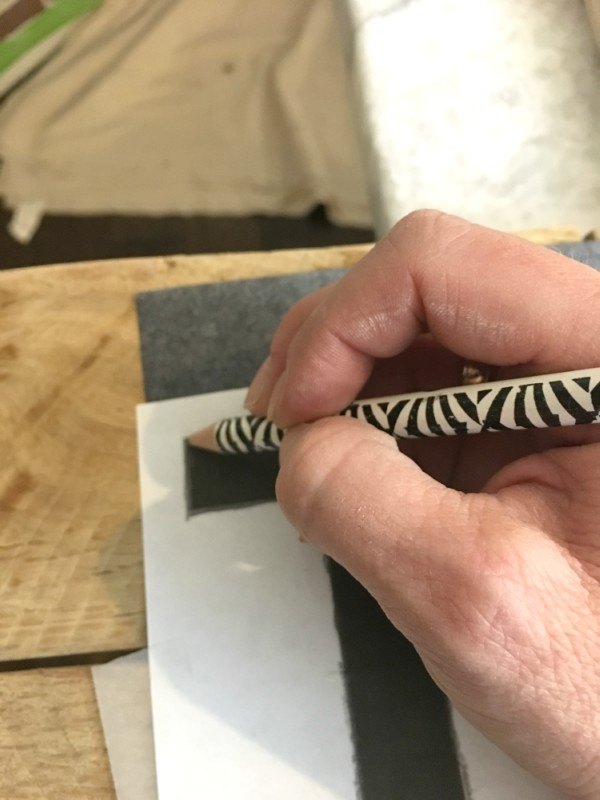
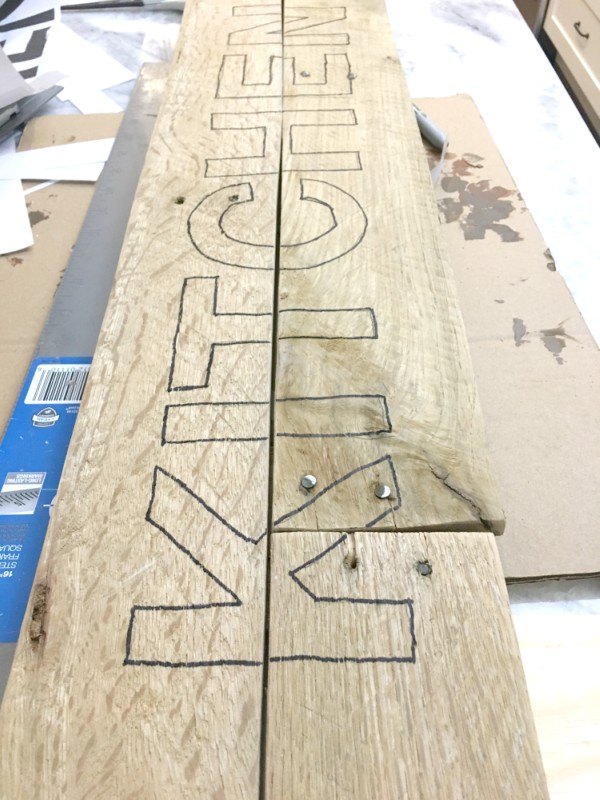
I created the verbiage in a document then I enlarged it to 5 pages using Block Posters (amazing site). I printed it out, centered it on the pallet and placed a piece of carbon paper under it. I traced the letters with a pencil and the carbon paper worked amazing at transferring the image.
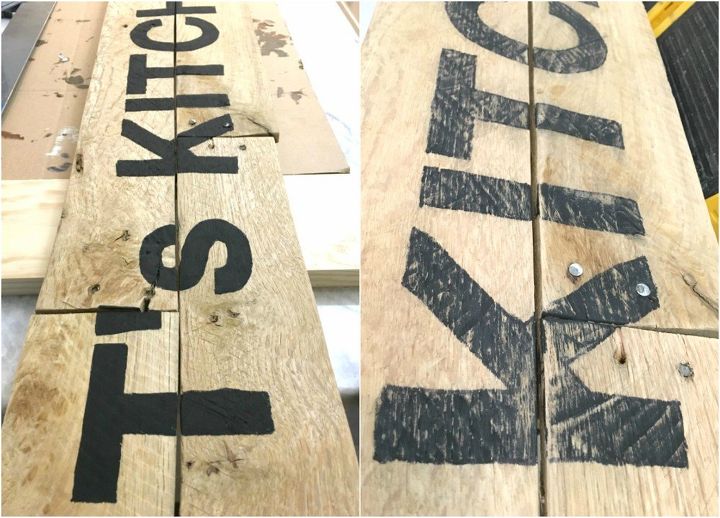
I filled in the letters with a large Sharpie and sanded it to give it more of a rustic look.
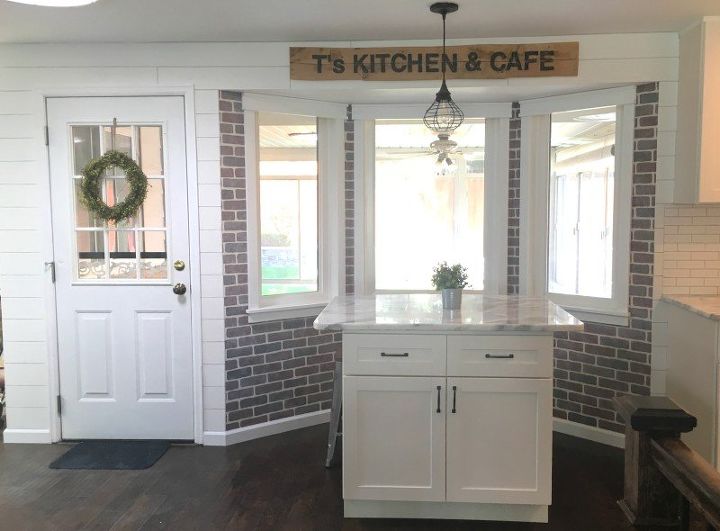
I hammered two sawtooth hooks in the back and hung it in my Industrial Kitchen Nook.
Looking for another pallet project? Check out this DIY Pallet Wood Letter. Looking for other budget friend and quick decor. Check out How to Make a Boxwood Wreath for $10.
How have you repurposed a pallet? Would love to hear about your projects.
Happy building,
Tiffany

Want more details about this and other DIY projects? Check out my blog post!
Comments
Join the conversation
2 comments
-
Great sign! I LOVE your step by step instructions, Tiffany! Thank you so much for also explaining how you hung your sign. I have found many projects seem to skip explaining that step. I will save this for a future project, for sure. :)


Frequently asked questions
Have a question about this project?